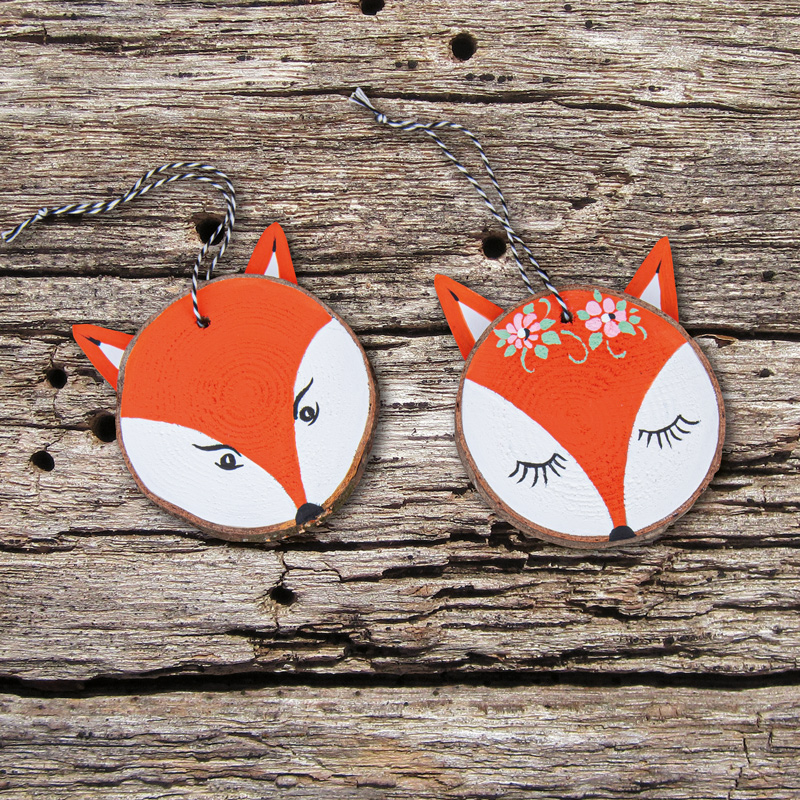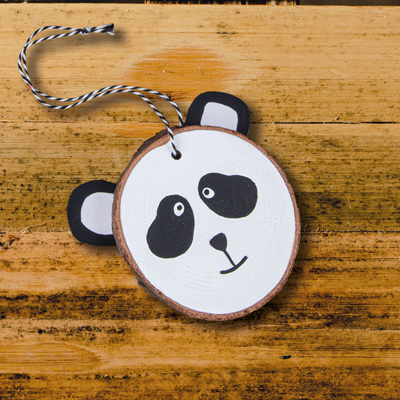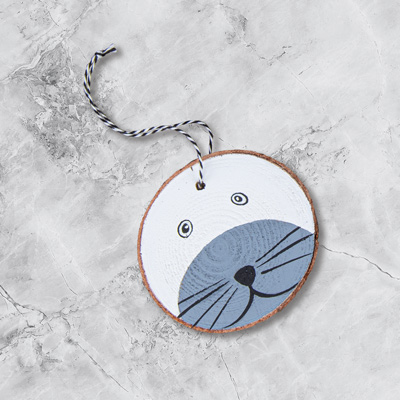
Instructions in 8 steps Fox faces for your home. Paint the wooden discs according to the pattern and the forest animals will settle in.
Besides the articles listed below, you also need: Pencil
And this is how it works: 1 ![]()

Instruction 1
Fox2 ![]()

Step 1
To get a smoother painting surface, sand the wooden disc with 120 grit sandpaper and then with 220 grit. For an easy transfer of the animal face, use the template, transfer paper and pencil. To do this, put the transfer paper on the wooden disc and transfer the pattern with the pencil. Paint the larger areas with the two flat paintbrushes (sizes 6 and 12) from the Hobby Kreativ paintbrush set. Leave the bark edging of the wooden disc unpainted as the outline of the face. For the eyes, contours and small areas, use the round paintbrushes (sizes 2 and 6) from the set.3 ![]()

Step 2
Cut out the fox head and ears from the white paper and paint them according to the template.4 ![]()

Step 3
When the paint has dried out, stick firmly the ears to the back of the disc by means of the Klebefix adhesive pen. Attach the suspension hook made of black & white yarn.5 ![]()

Instruction 2
Fox lady6 ![]()

Step 1
To get a smoother painting surface, sand the wooden disc with 120 grit sandpaper and then with 220 grit. For an easy transfer of the animal face, use the template, transfer paper and pencil. To do this, put the transfer paper on the wooden disc and transfer the pattern with the pencil. Paint the larger areas with the two flat paintbrushes (sizes 6 and 12) from the Hobby Kreativ paintbrush set. Leave the bark edging of the wooden disc unpainted as the outline of the face. For the eyes, contours and florets, use the round paintbrushes (sizes 2 and 6) from the set.7 ![]()

Step 2
Cut out the fox head and ears from the white paper and paint them according to the template.8 ![]()


