


Instructions in 8 steps If you wrap a styrofoam half-ball with cling film and then with kneading-cement, you will get an even concrete bowl.
Besides the articles listed below, you also need: Container for kneading of the cement (e.g. bowl with lid) Disposable gloves, brush, cling film, small container with water
And this is how it works: 1 ![]()

Step 1
Cover half of the Styrofoam-ball with the cling film. During the further working steps, wear always the plastic disposable gloves!2 ![]()
Step 2
Mix the creative kneading-cement (1.25 kg) with water in the ratio 9:1 (9 parts of cement : 1 part of water). This corresponds to about 125 ml. Stir the water slowly, gradually add it while constantly kneading. Knead the crumbly mixture with damp disposable gloves (if necessary, moisten several times) until the desired consistency is achieved.Hint: You can mix also, quickly and easily, the kneading-cement in a sealable container. Here also add the water gradually by stirring it constantly, then close the container and shake it well. That way there is less dust and the parts intermix perfectly.
3 ![]()
Step 3
Spread with hands the cement mixture onto the styrofoam half-ball covered with foil (not quite to the brim, leave about 1 cm free). With uniform strokes, the kneading-cement can now be modelled with hands until the mixture evenly and smoothly covers the styrofoam half-ball.4 ![]()
Step 4
If the cement is too dry for modelling, moisten it lightly with water from a spray bottle.5 ![]()
Step 5
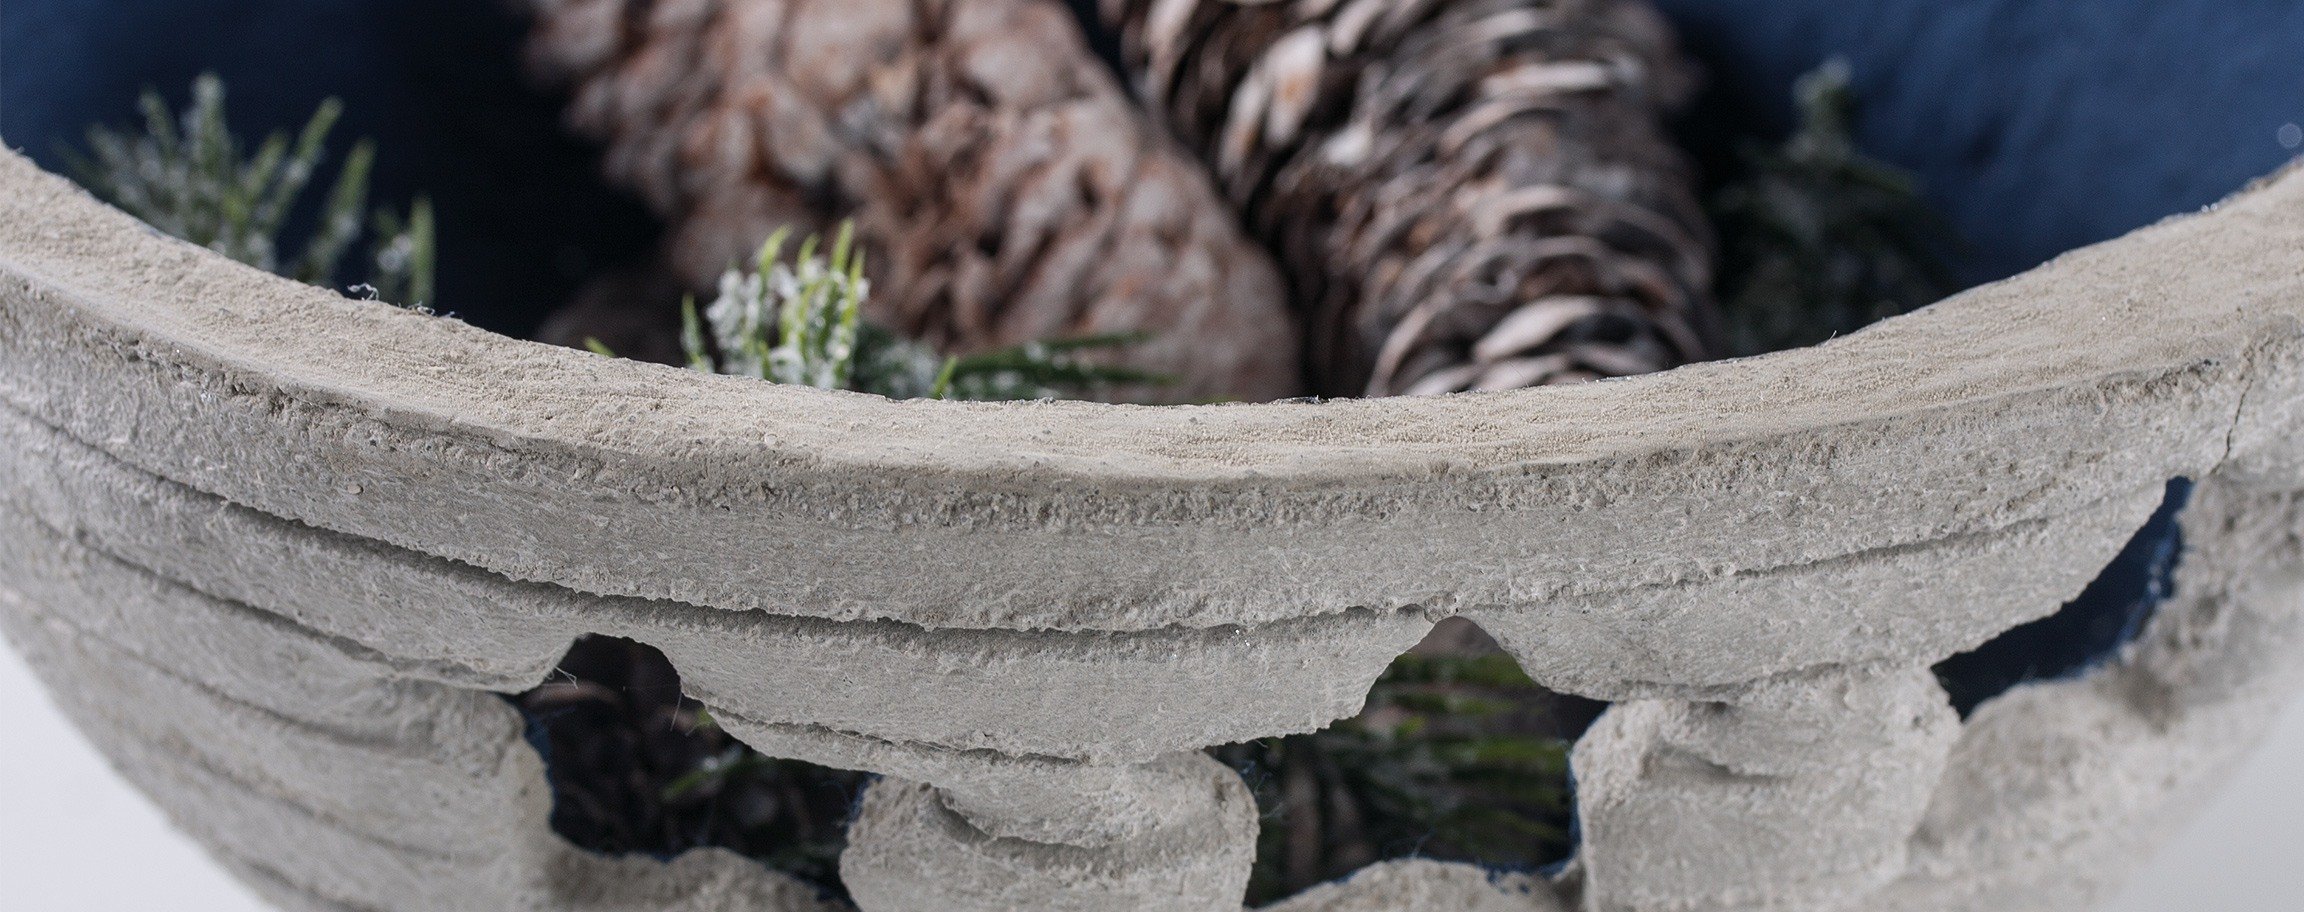
You can punch out motifs of your choice with the metallic cookie cutters from the cement-bowl and/or according to your desire, you can decorate the bowl with lines by using the modelling tool or with other patterns. Let it dry at least 1 day.6 ![]()
Step 6
Release carefully the styrofoam half-ball and the cling film from the cement-bowl. Allow it to dry once more.7 ![]()
Step 7
The entire drying period lasts for several days. After about 21 days the object is weatherproof.8 ![]()
Step 8
Depending on your desire, you can paint afterwards the deco-bowl with Chalky Finish paint or decorate with the mirror-foil.Related craft ideas Looking for similar craft ideas? You can find them here: ![]()
![Difficulty -]()
![]()
![Difficulty -]()
![]()
![Difficulty -]()
![]()
![Difficulty -]()

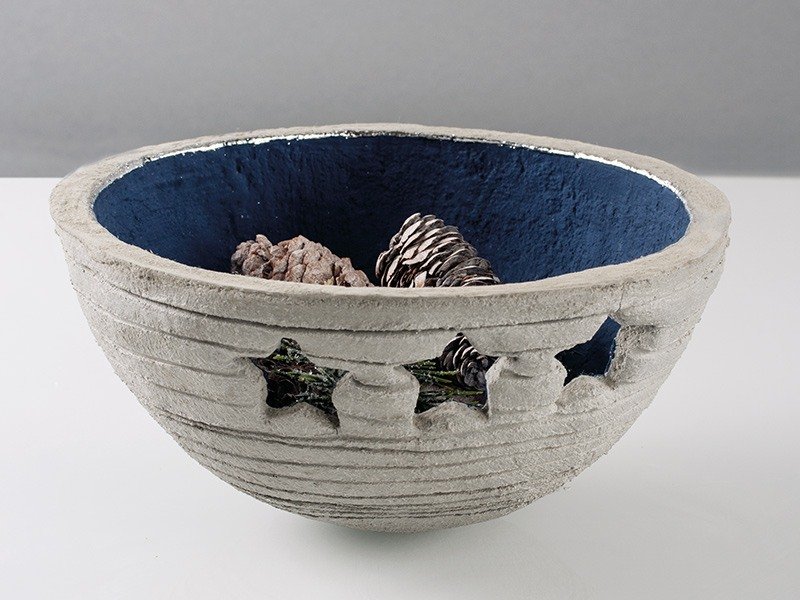
Pot with star-motif out of kneading-cement
DIFFICULTY


Cement bowl ø 9,5 cm with metal highlights
DIFFICULTY

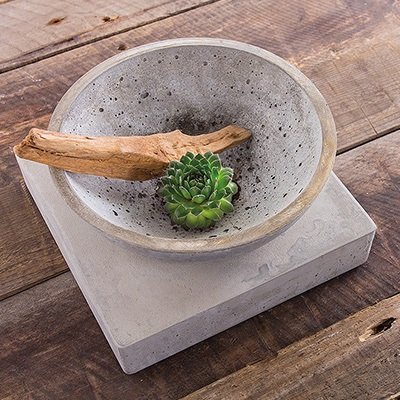
Bowl out of concrete on a plinth
DIFFICULTY


Black medium-sized star-shaped bowl out of creative-cement
DIFFICULTY