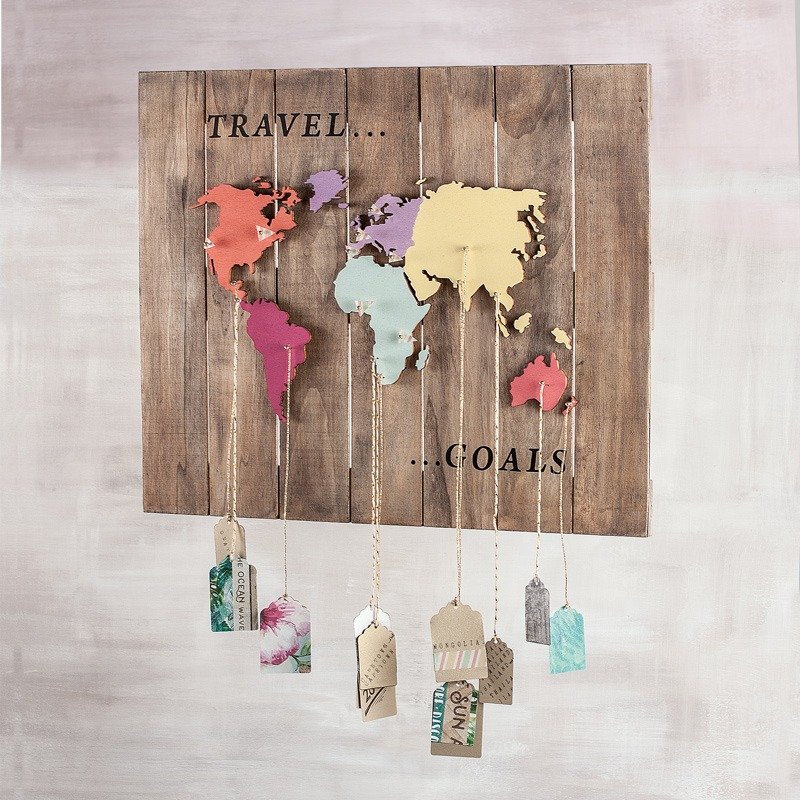
Instructions in 12 steps Paint the continents on the wooden world map in different Chalky Finish paint colours. You could stamp the wooden tags and hook them on the individual continents. And this is how it works:
1 ![]()

Step 1
Cover the whole frame out of wooden slats with the Chalky Finish dark brown cream-wax by means of the paint pad. Dip the used sponge into the Chalky Finish anthracite paint and thus wipe irregularly in the damp cream-wax. By smooth transitions of the two colours, you can achieve a nice antique wooden look.2 ![]()

Step 2
Take the continents out of the wooden world map and paint them with five different Chalky Finish colours.3 ![]()

Step 3
Make the push pins out of head pins and plastic beads. Insert a bead and affix it at a small spot with some hot glue.4 ![]()

Step 4
Cut the small pennant banners out of Washi tape bonded together by means of scissors.5 ![]()

Step 5
By means of both motif-punchers „Tag“, the metallic paper in brill.gold colour and other optional scrapbooking papers and Washi tapes – you can set the pendant up. Mark the locations onto tags by using the word tape stamp.6 ![]()

Step 6
It’s up to you if the tags or the pennant banners are your destinations. In this example, the pennant banners are the destinations and the tags – the experienced trips.7 ![]()

Step 7
In order to insert better the head pins into the wood, use the gimlet.8 ![]()

Step 8
Fix the head pins by means of a small hammer.9 ![]()

Step 9
Now space and stick the 3D-adhesive dots on the rear side of the painted continent. To place correctly the continents, lay the negative of the wooden world map onto the frame out of wooden slats, and put the parts as a puzzle according to the existing shapes.10 ![]()

Step 10
Then remove the negative and fasten the tags by means of the cords.11 ![]()

Step 11
Affix the small islands with a hot glue.12 ![]()


