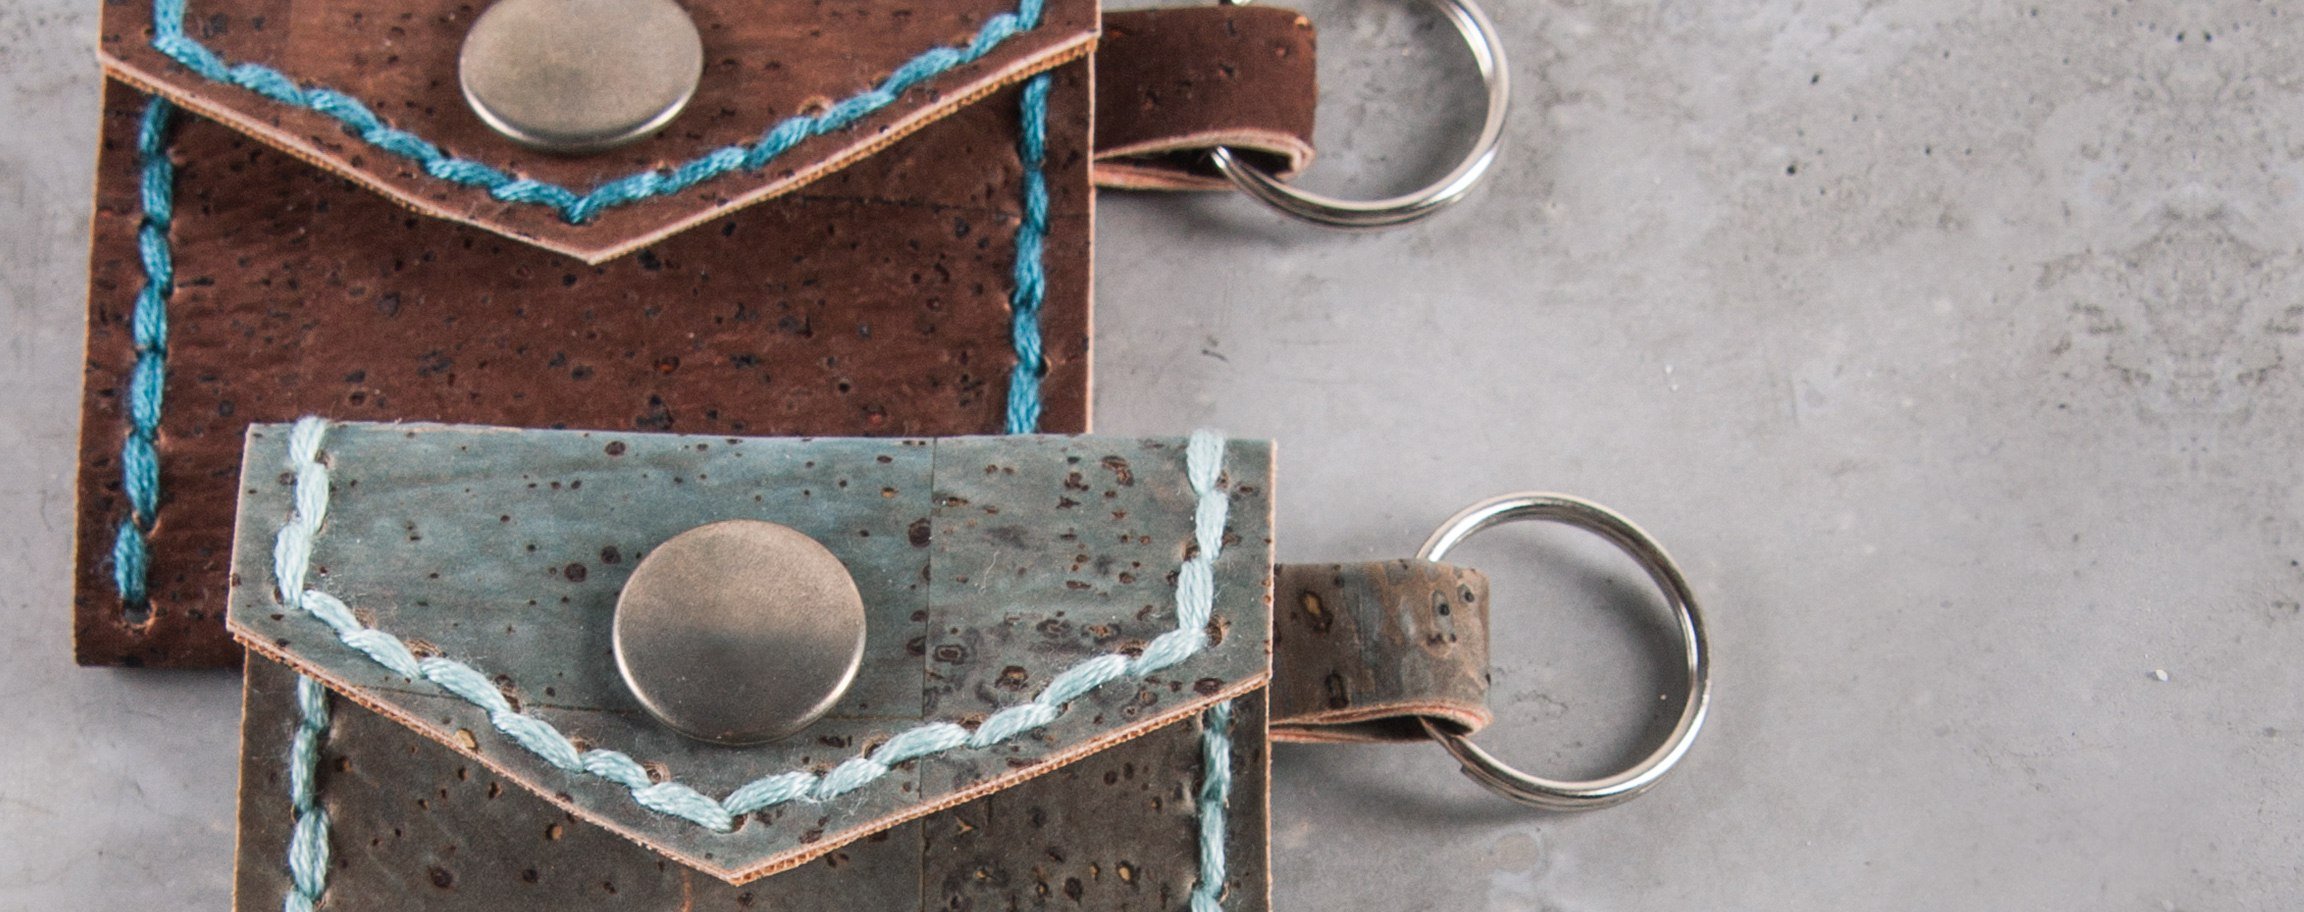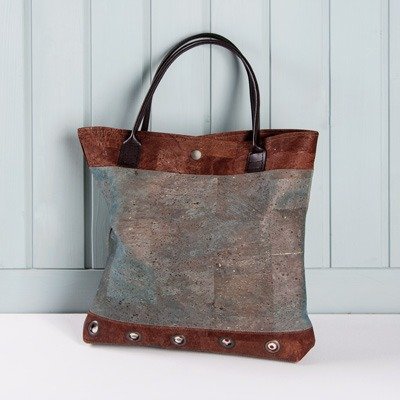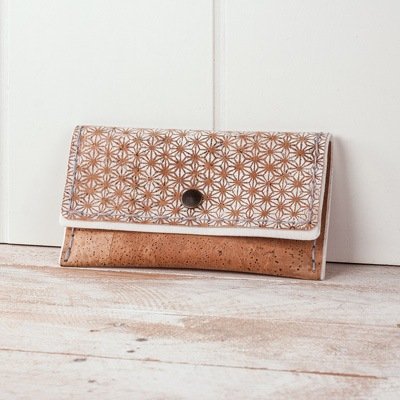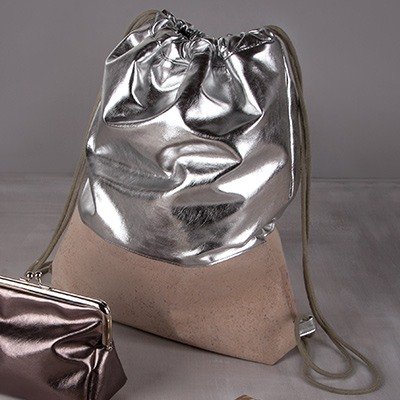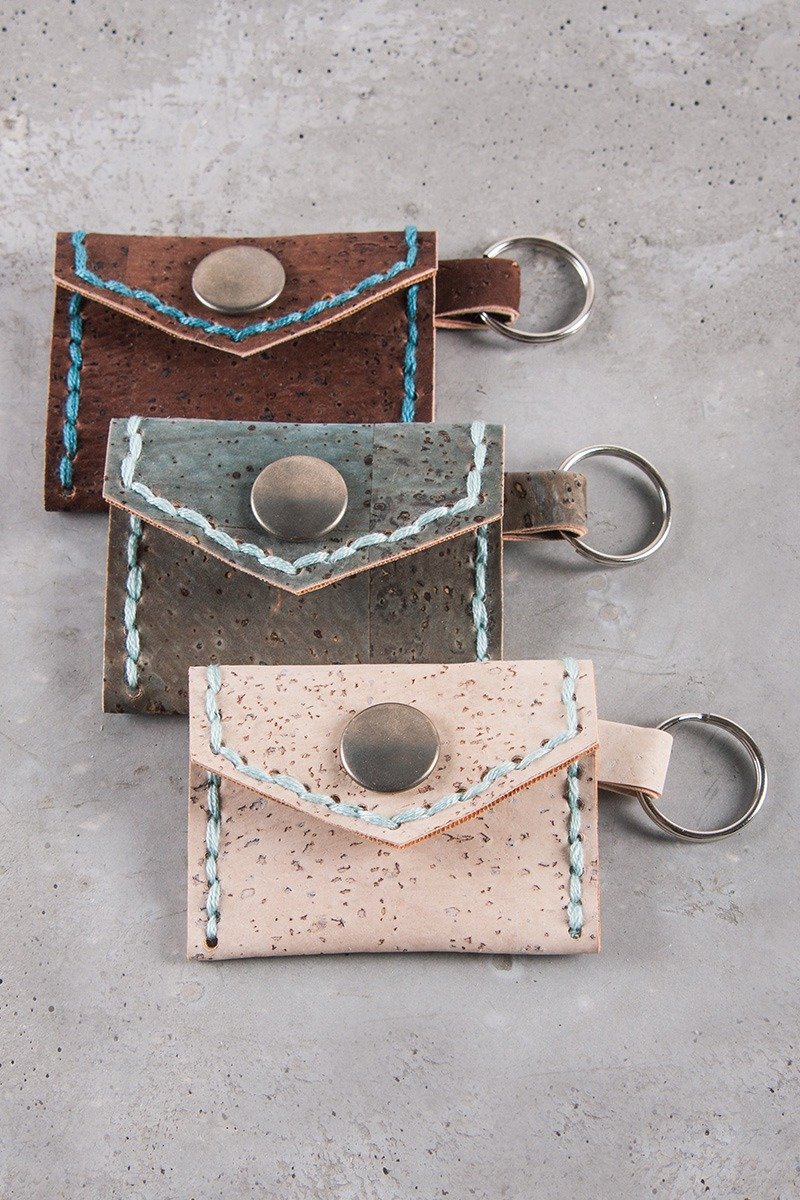
Instructions in 6 steps The edging straight stitch is made by hand. To make uniform holes, punch them according to the template with the hole punch pliers.
63 045 … Cork as cutting pattern and 1 × 2 cm × 5 cm
63 016 000 Cork as cutting pattern
Besides the articles listed below, you also need: Cardboard for stencil (see illustration), hammer, support for push-button (wood)
And this is how it works: 1 ![]()

Step 1
Place the cut-to-size sheet as following:63 045 … Cork as cutting pattern and 1 × 2 cm × 5 cm
63 016 000 Cork as cutting pattern
??? Das Schnittmuster findest du im PDF der Bastelidee. Einfach herunterladen.???
2 ![]()

Step 2
Place the two cork cuttings for the cork pouches left sides together and fix them centrically with the double-sided adhesive tape. Fasten the lower push-button at the lower part of the pouch (as described in the instructions for push-buttons).3 ![]()

Step 3
As a tab, fold the small cork cutting left sides together 2 cm × 5 cm centric over the length and fix it somehow with the dou-ble-sided adhesive tape (this will be later on the fastening for the key ring). Fold the lower part of the pouch, put the tab between the right lateral seam of the pouch and fix those with a few pins.4 ![]()

Step 4
Prepare a stencil with a cutting pattern out of a cardboard. Draw the punch holes on your pouch by using the permanent foil pen and the stencil and punch it with the expert hole punch out.5 ![]()

Step 5
Close the pouch by a simple backstitch. By starting at the right lower side of the pouch across the flap up to the left lower side of the pouch and then back again.6 ![]()

Step 6
Now fasten (as described in the instructions for the push-button) the upper push-button at the flap of the pouch.???Wie du andere Korktäschchen befüllst, findest du im PDF der Bastelidee. Einfach herunterladen.???


