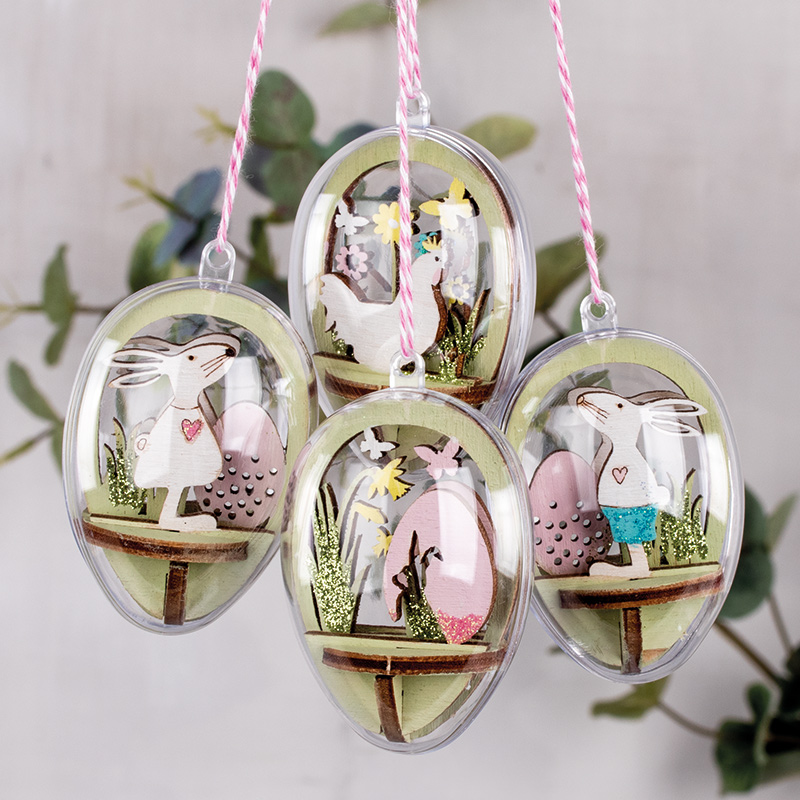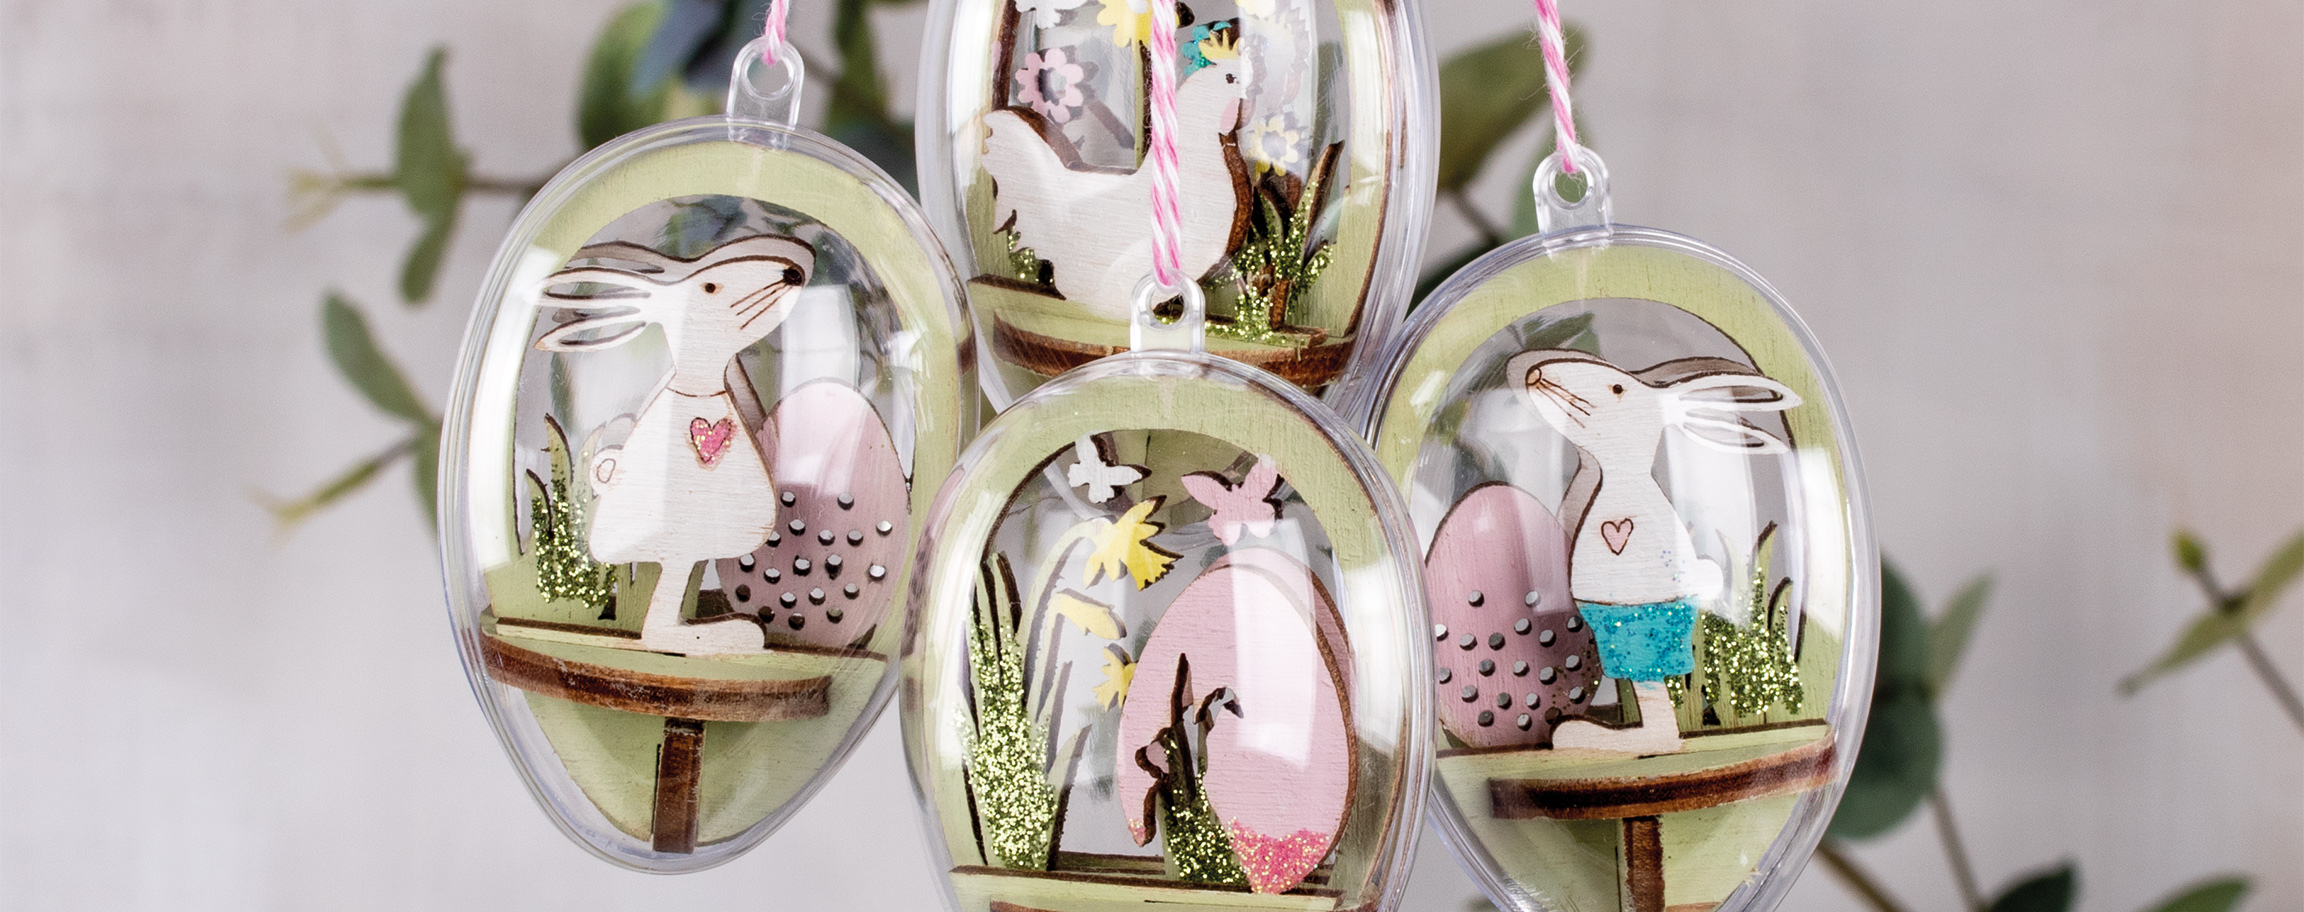
Instructions in 7 steps An entire set of original Easter decorations. Lots of different wooden Easter motifs to paint onto the see-through decorative eggs to hang up. And this is how it works:
1 ![]()

Step 1
The individual punched components shall be painted lyingflat (on both sides) on the wooden board and not yet taken out of the board. Thus the edges ofthe motifs remain unpainted when they are later plugged together.2 ![]()

Step 2
Mix the avocado-coloured Chalky Finish paint and the white Chalky Finish paint in a mixing ratio of 1:1, add somewater and mix it all together.3 ![]()

Step 3
Paint the outer contours ofthe eggs, the grasses and all bottom and plug-in parts with this Chalky Finish paint mixture on both sides.4 ![]()

Step 4
Paint the flowers, butterflies, hearts, rabbits, eggs, ... according to your own wishes with the Chalky Finish colour shades on both sides. Let the entire board to dry weil out.5 ![]()

Step 5
With the Quickie-Glue adhesive stick and the effect-glitter dust, you can add a personal touch to the motifs. For this purpose, refine the hearts, grasses, flowers, etc. with the Quicky-Glue adhesive stick and immediately sprinkle the effect-glitter dust or glitter onto the still wet glue. Let them dry out.6 ![]()

Step 6
Then carefully take out all punched components, put them together according to the instructions an the packaging and affix them with some Klebefix glue. Carefully insert the finished wooden plugs into the plastic eggs and close them.7 ![]()


