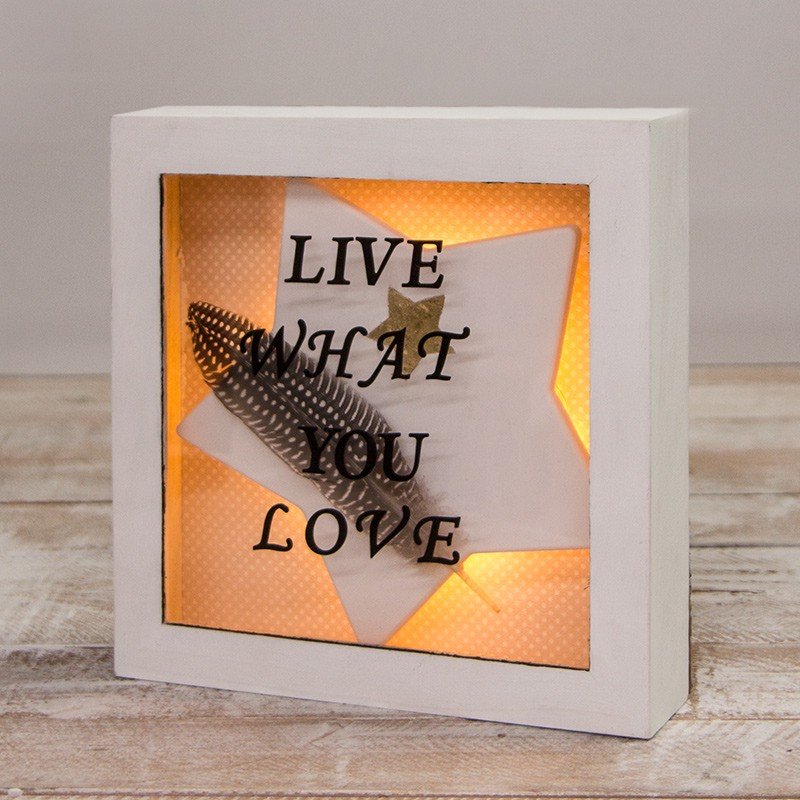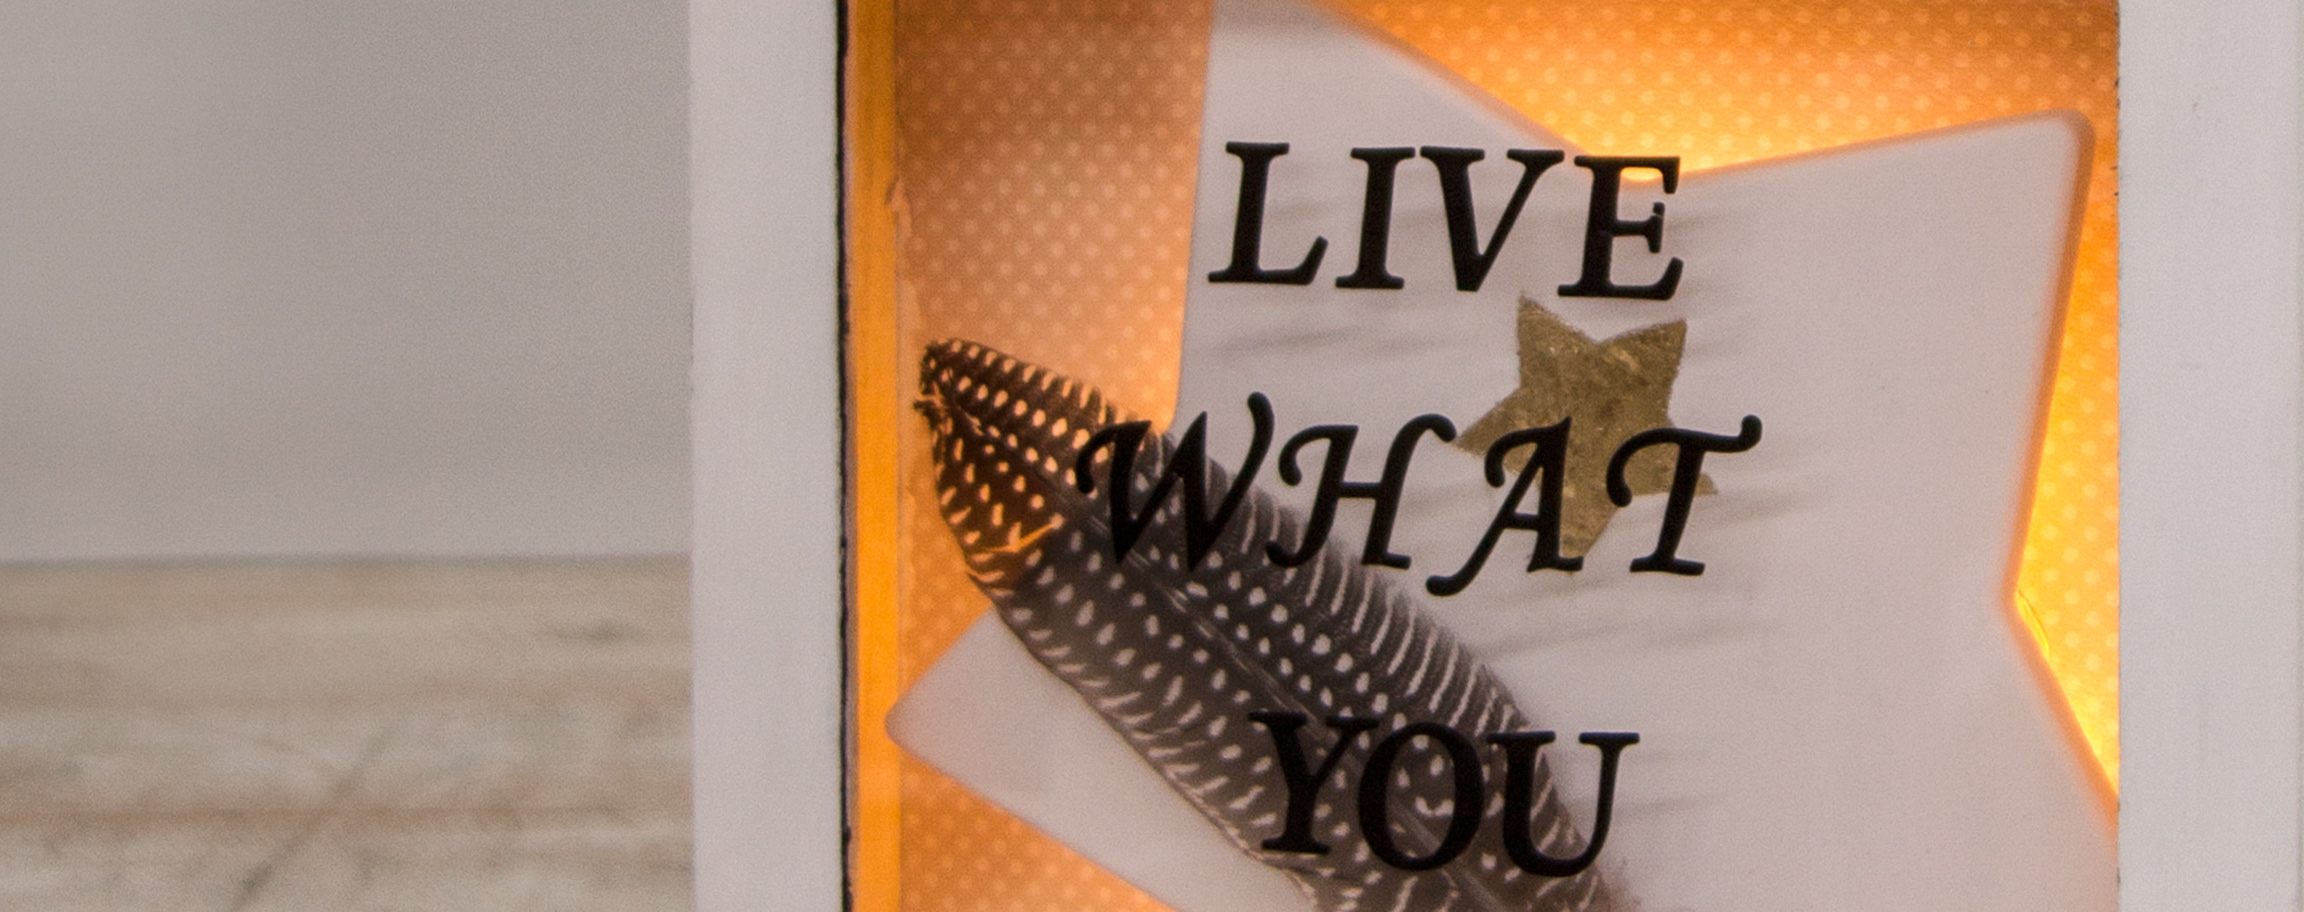
Instructions in 13 steps Create your very own wooden frame with a viewing window. Put inside an ornate Raysin star and a LED lighting.
Besides the articles listed below, you also need: Plain cardboard, scissors, batteries
And this is how it works: 1 ![]()

Step 1
For the preparation, cast the Raysin Star about 7mm thick according to the package instructions.2 ![]()

Step 2
You can remove the star carefully from the mould after about 2 hours. Thereafter, let it dry over the night.3 ![]()

Step 3
Apply the glue for foil and then the mirror foil onto the stencil Star.4 ![]()

Step 4
Prime the outside of the frame with Chalky Finish (white). Let it dry well. For a sturdy backing, cut the scrapbooking paper out and the cardboard in the size of the frame.5 ![]()

Step 5
Affix the scrapbooking paper onto the cardboard with the double-sided adhesive tape.6 ![]()

Step 6
As a gap between the back panel and the star, use the remaining paper. For this purpose, roll up together about five small paper tubes about 3.5cm in height.7 ![]()

Step 7
Draw the star with a pencil, slightly centred, on the stuck together paper.8 ![]()

Step 8
Glue the small tubes evenly distributed on the painted star by means of the mini hot glue gun.9 ![]()

Step 9
Drill a hole centrically through the paper by using the tip of the scissors, so that you can put the battery case outside.10 ![]()

Step 10
Pull the starting end of the fairy lights from behind and dispense the lights loosely within the star. Affix the fairy lights, here and there, with some adhesive tape.11 ![]()

Step 11
Affix firmly the battery case at the back panel with the adhesive tape. Glue the star onto the paper tubes and the feather onto the star by means of the hot glue gun.12 ![]()

Step 12
Close the frame with the double-sided adhesive tape.13 ![]()


