


Instructions in 10 steps Mit Hilfe der Moosgummiplatte gestaltest du dir dein eigenes Label zum Einlegen. Der Moosgummikreis mit Aussparung ergibt nachher den besonderen 3D Effekt. Die Schraube, mit der du den Knauf verschrauben kannst, gießt du direkt mit ein.
Besides the articles listed below, you also need: Behälter zum Anrühren des Betons, Holzspatel, Speise-Öl, Pinsel, Schleifpapier, Schere
And this is how it works: 1 ![]()

Step 1
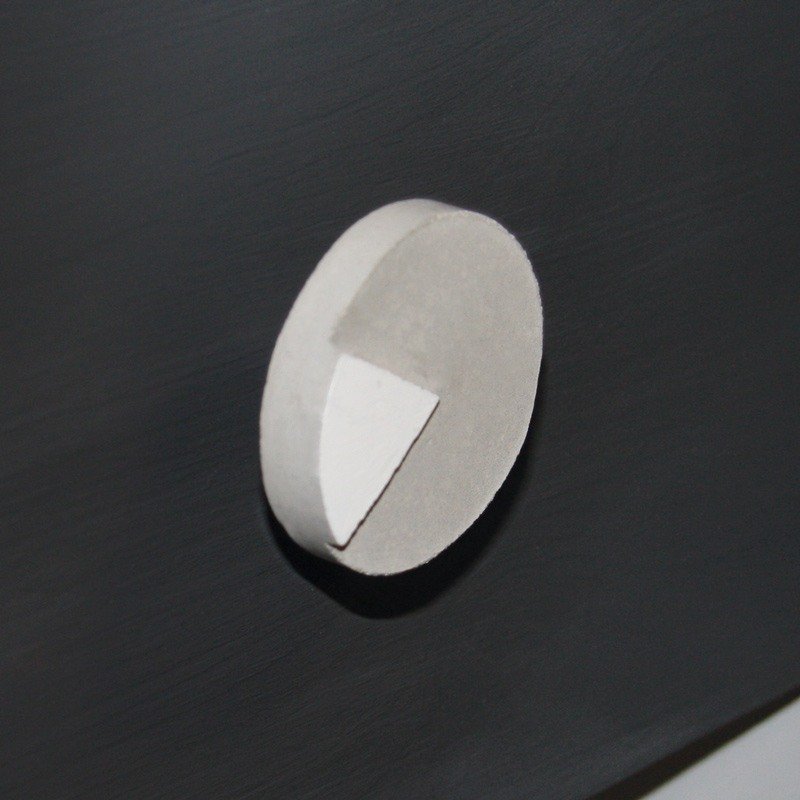
Carry out the preparation by cutting-out a circle from the crepla sheet to the size of the inner diameter of the casting mould. For added impact, cut out from the crepla circle a small “piece of cake”, put the remaining circle in the casting mould and coat the sponge rubber as well as the casting mould with a cooking oil.2 ![]()
Step 2
Place straight the casting mould on the work surface. For a safe standing position, you could use a towel or a sand bed.3 ![]()
Step 3
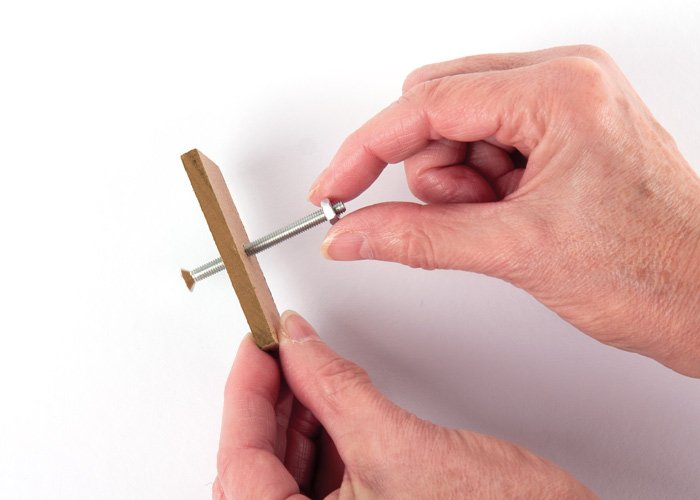
Now, the screw set can be pre-mounted. For this purpose, you have to pull the screw through the holder and then tighten the nut so that the screw has an adequate size for the deco-cement knob.4 ![]()
Step 4
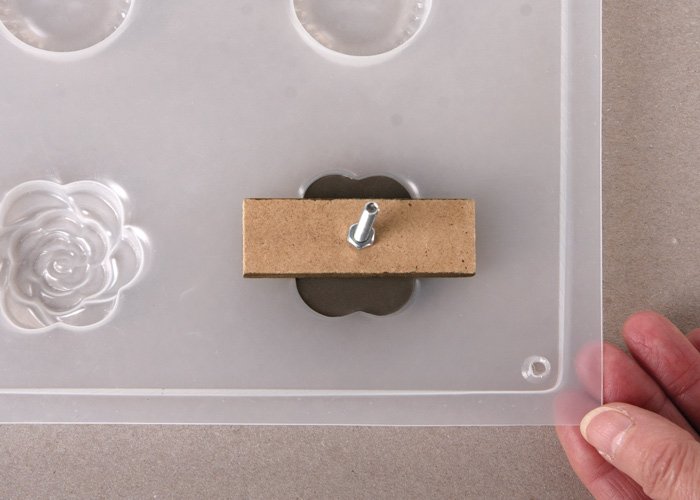
Stir 30 g of the jewellery-cement according to the package leaflet and pour it into the prepared casting mould. Position centrically the screw head.5 ![]()
Step 5
Allow to dry for 24 hours.6 ![]()
Step 6
The cast knob can now be removed by applying a slight pressure onto the back of the casting mould. Do not pull the screw! Clean the casting mould thoroughly with a detergent.7 ![]()
Step 7
Remove the crepla piece from the cement knob.8 ![]()
Step 8
You can use the sandpaper to remove unwanted unevennesses or small ridges from the knob. Allow then the knob to dry thoroughly and optionally paint it.9 ![]()
Step 9
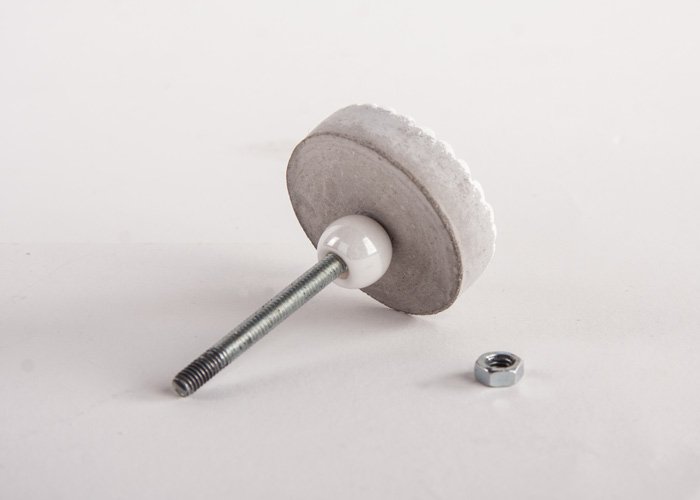
Now you can attach the deco knob to your desired object. As small spacers you can put optionally one more large hole bead onto the screw.10 ![]()
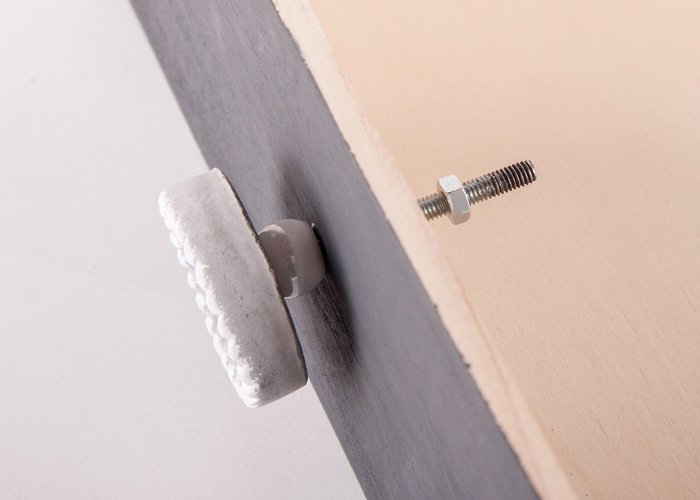
Step 10
If the screw is too long for your drawer, you can easily pinch off the exceeding part using a suitable tool (e.g. the compound-leverage end cutter) and then sand it smooth.Related craft ideas Looking for similar craft ideas? You can find them here: ![]()
![Difficulty -]()
![]()
![Difficulty -]()
![]()
![Difficulty -]()
![]()
![Difficulty -]()
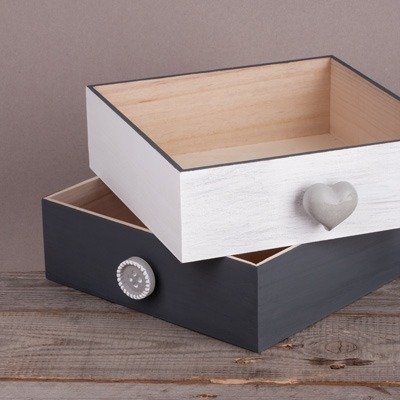
Cement knob drawer
DIFFICULTY

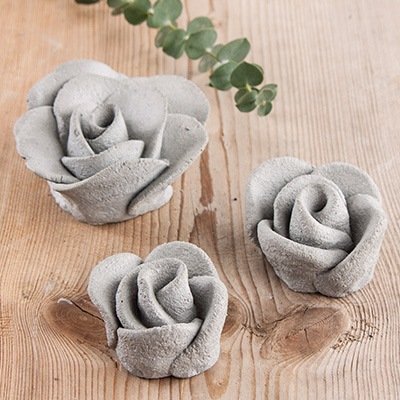
Rose out of kneading-cement
DIFFICULTY
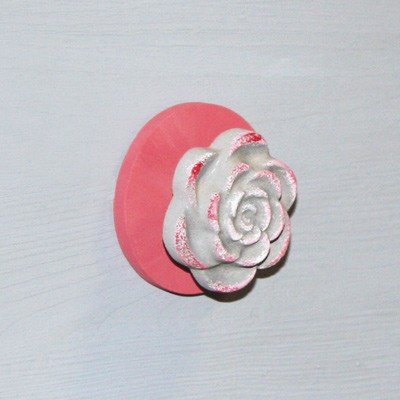
Deco knob Rose
DIFFICULTY

Cement-magnets
DIFFICULTY