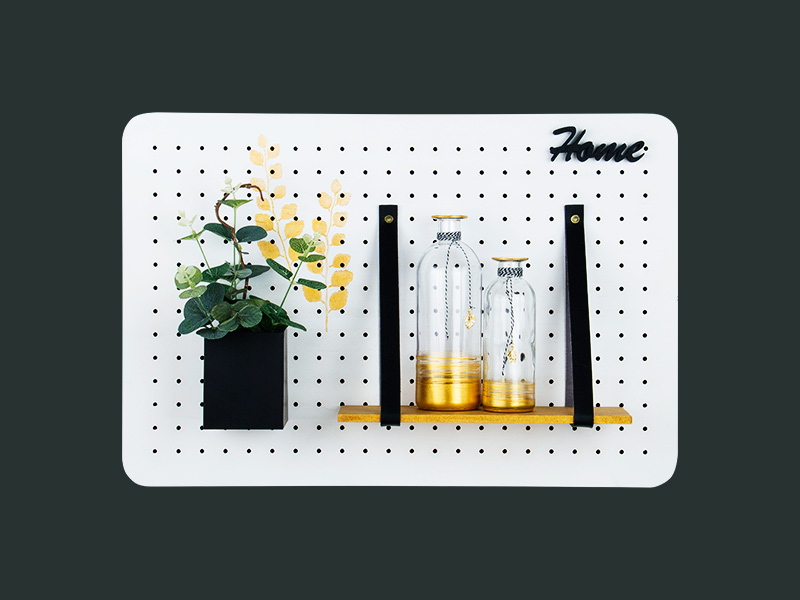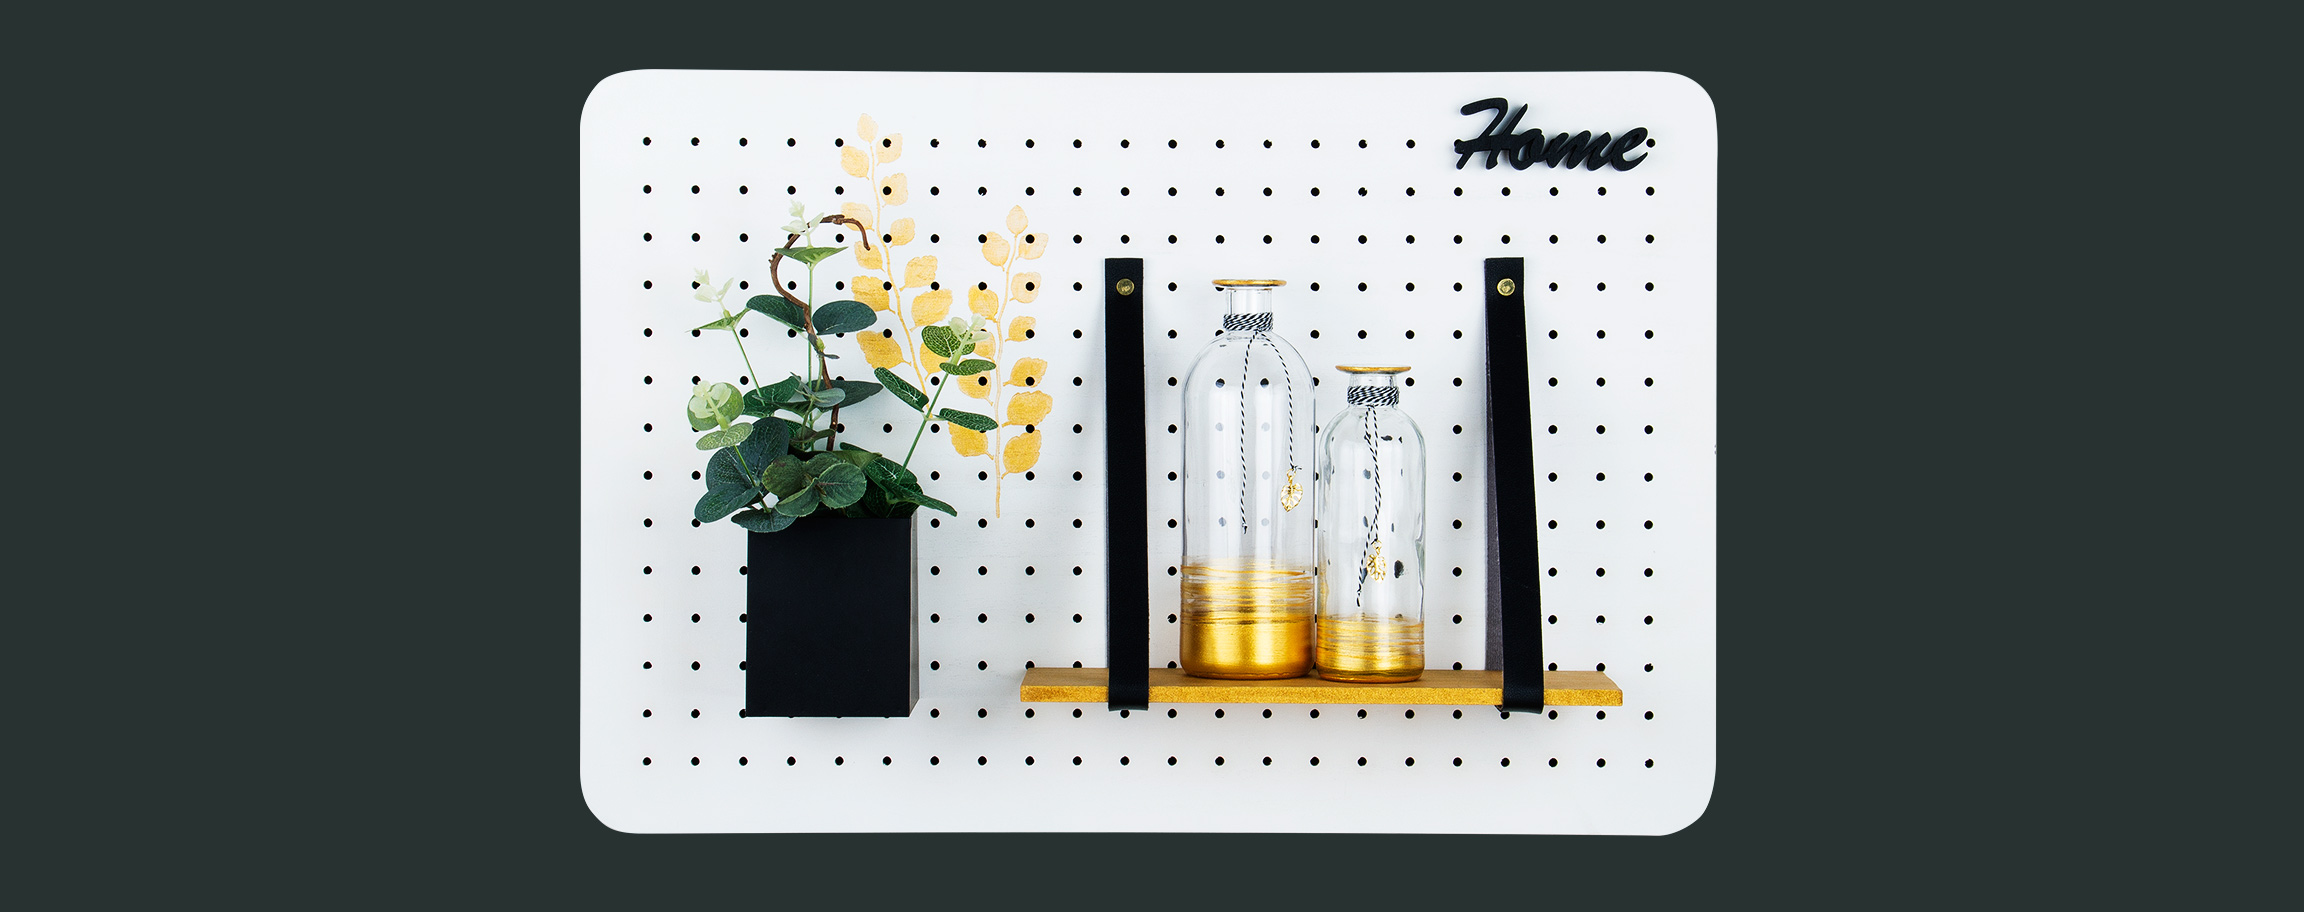
Instructions in 15 steps Our Pin & Peg is not just handy for keeping things tidy. Painted and adorned with flowers and ornate glass bottles, it becomes a stylish eye-catcher in your home. And this is how it works:
1 ![]()

Step 1
Spray the board with Chalky Finish spray. Let the board dry for about two hours. Repeat this step once again.2 ![]()

Step 2
While the board is drying, paint the shelf with the golden Extreme Sheen paint and a brush. Let it dry well out.3 ![]()

Step 3
Then, paint both bottles. Wipe the bottles with a cloth to remove dust and other debris.4 ![]()

Step 4
Place a bottle centrally on the turntable and paint the lower third of the bottle with the golden Extreme Sheen paint and a brush. Turn the turntable with fast, steady movements. It is important that the brush is always sufficiently soaked with paint.5 ![]()

Step 5
Then, paint the edge of the bottle opening with golden Extreme Sheen paint. Allow the bottle to dry well out and do the same with the other bottle.6 ![]()

Step 6
Once the bottle necks have dried out, turn the bottles upside down and apply the paint on the bottom of the bottles. Let them dry well out.7 ![]()

Step 7
Spray the spray adhesive on the rear side of the stencil Botanic and let it flash off briefly. Place the stencil according to the picture and stencil with the large brush from the set of stencilling brushes and the golden Extreme Sheen paint. Then remove the stencil immediately.8 ![]()

Step 8
Screw the wire wall basket onto the Pin & Peg board.9 ![]()

Step 9
Affix the double-sided adhesive tape at the back of the wooden lettering (in such a way that the adhesive tape is not visually perceptible between letters) and stick the lettering onto the board.10 ![]()

Step 10
Take now the bottles that have in meantime dried out and wrap the yarn around them 5 times at the the bottle neck and knot the yarn tightly. For each bottle, take one golden metal pendant Monstera leaf and attach it to one end of the yarn, respectively.11 ![]()

Step 11
Cut off twice the leatherette strap to the desired length by means of the scissors.12 ![]()

Step 12
Now, punch the cut leatherette straps at their ends with the punch pliers. Make sure that the holes are centered and not too close to the edge, so that they cannot be ripped off.13 ![]()

Step 13
Now, screw the leatherette straps into the corresponding holes on the board by means of the golden special mounting fasteners.14 ![]()

Step 14
Finally, hook the shelf onto the loops of the leatherette straps.15 ![]()


