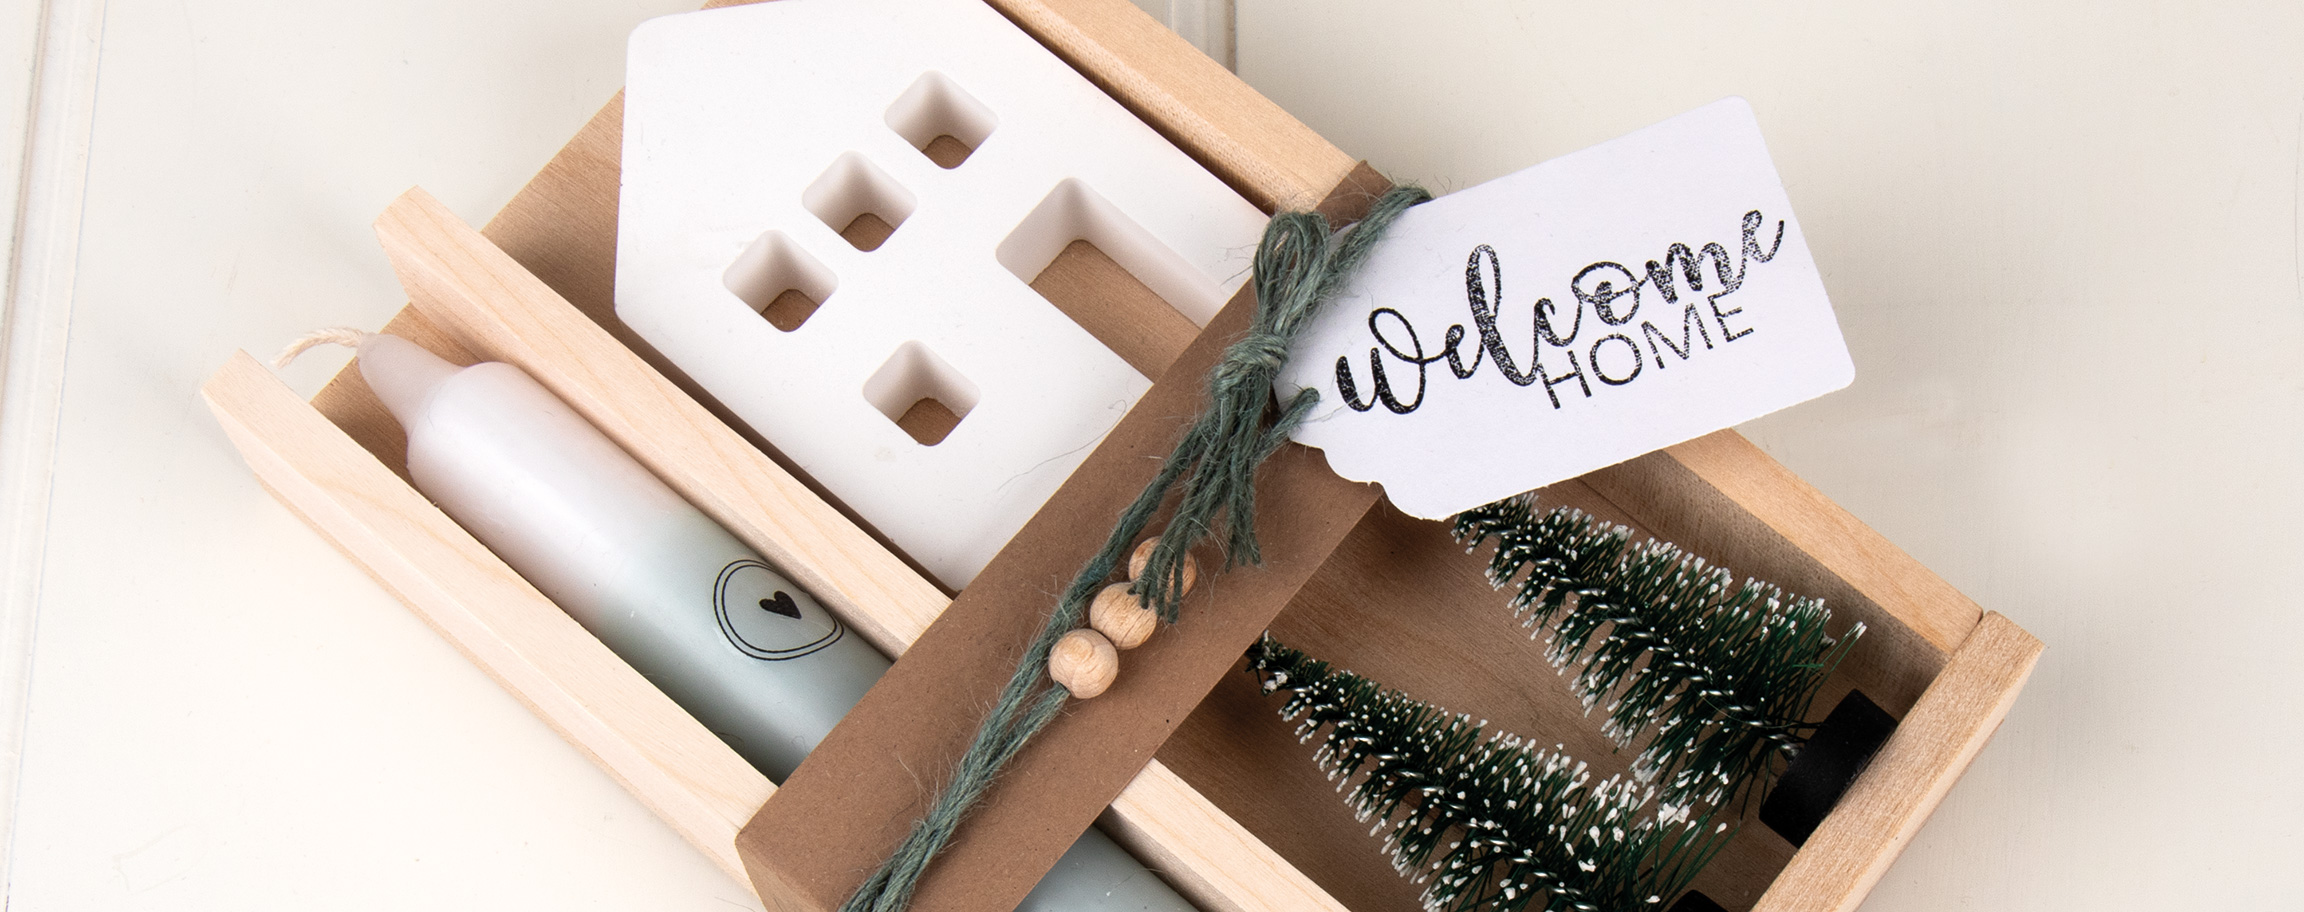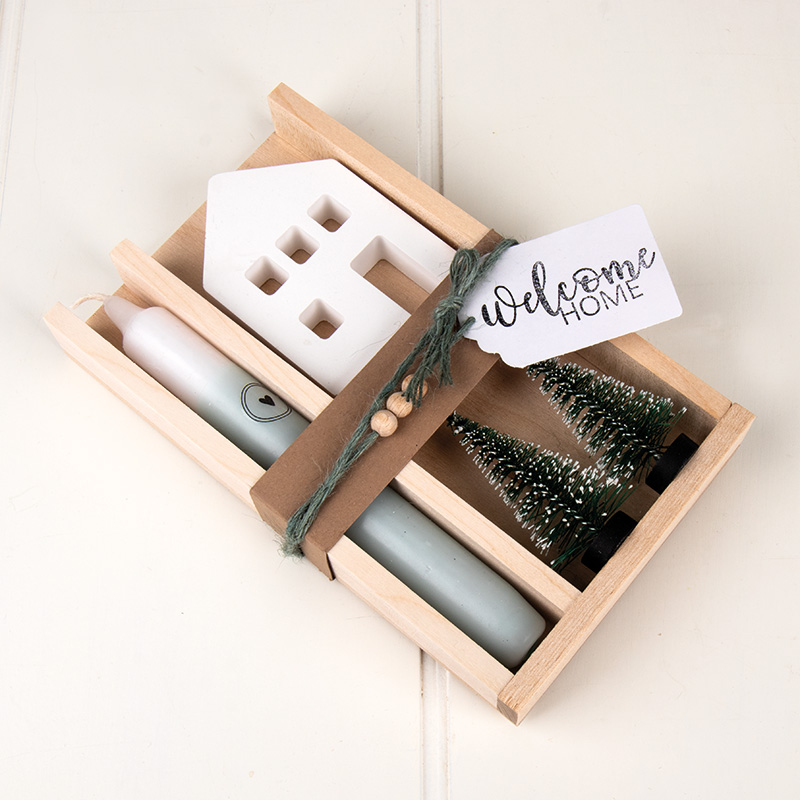
Instructions in 8 steps Just perfect as an original gift: self-cast Raysin light-up house and a candle adorned using the gorgeous dip-dye technique.
Besides the articles listed below, you also need: Glass jar for dipping candles, wooden sticks, mixing container for Raysin, scales, cord as desired (1 m)
And this is how it works: 1 ![]()

Step 1 - Raysin house
Take Raysin and the "Lichthäuser" casting mould to cast your little house to a thickness of around 1.5 cm. Once the house has dried, you can demould it.2 ![]()

Step 2 - Dip-dye candle
Fill the glass jar with wax pellets. The glass jar should be filled to about ¾ with wax pellets for each colour pigment. Heat the filled jar in a bain-marie until all the wax pellets have melted. However, care must be taken to ensure that the water only gets hot and does not boil. Crush the colour pigment with a knife, pour it into the glass jar filled with liquid wax and mix it evenly by stirring with a wooden stick.Tip: The more colour pigments are added, the more intense the colour shade.
3 ![]()

Step 3 - Dip-dye candle
Now take a candle, dip it into the dyed, liquid wax and let it dry. By dipping it several times and allowing to dry, the colour shade becomes more intense.4 ![]()

Step 4 - Dip-dye candle
Once the coloured wax on the candle has dried, decorate the candle with the motif from the transfer foil.5 ![]()

Step 5 - Tray
Arrange the wood pen blanks on the wood plank and affix them firmly by means of the glue fix pen.6 ![]()

Step 6 - Tray
Make two cuttings from the kraft paper (20 × 3 cm and 12 × 3 cm). Place the long cutting in the middle of the front panel and stick the short cutting on the rear panel over the long cutting to join the kraft paper strip.7 ![]()

Step 7 - Tray
Thread 3 wooden beads onto the cord. Wind the cord twice around the kraft paper strip, attach the tag on and tie the cord with a simple bow at the front.8 ![]()


