


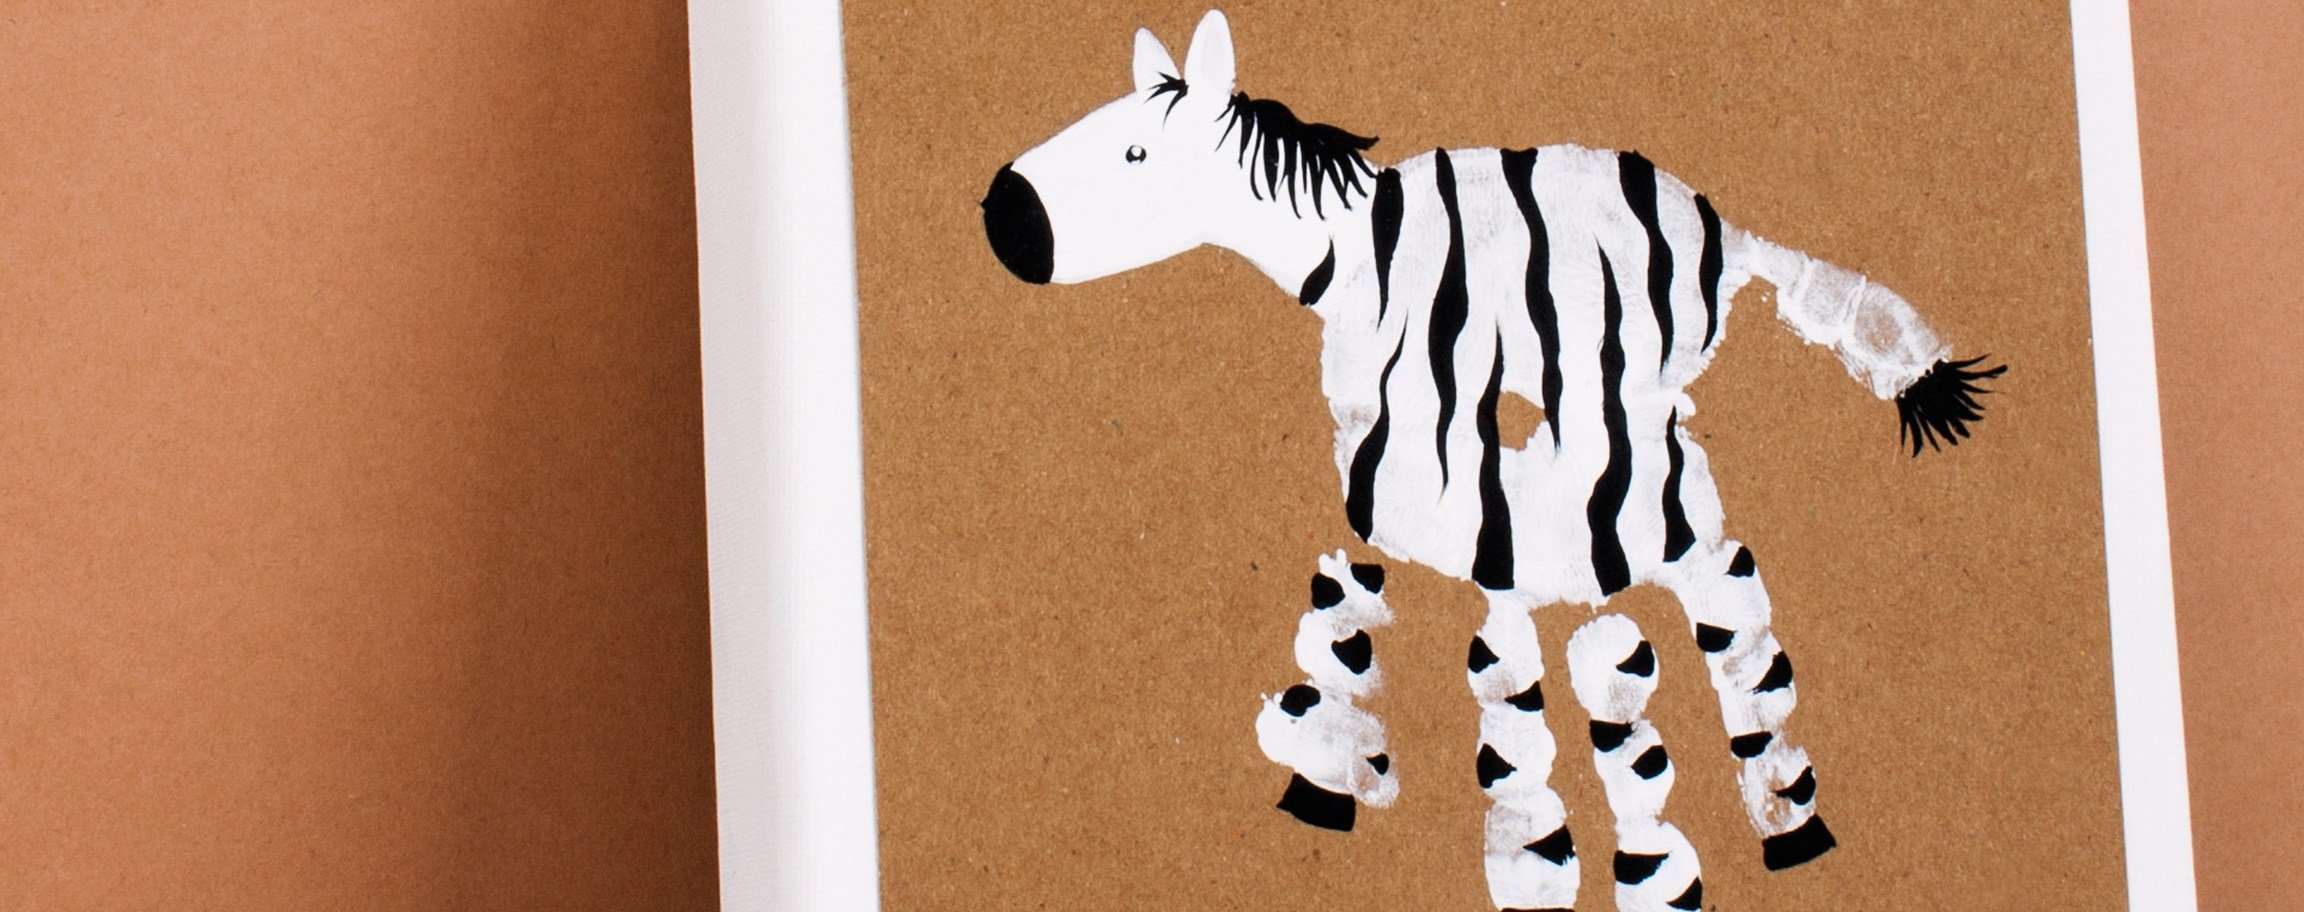
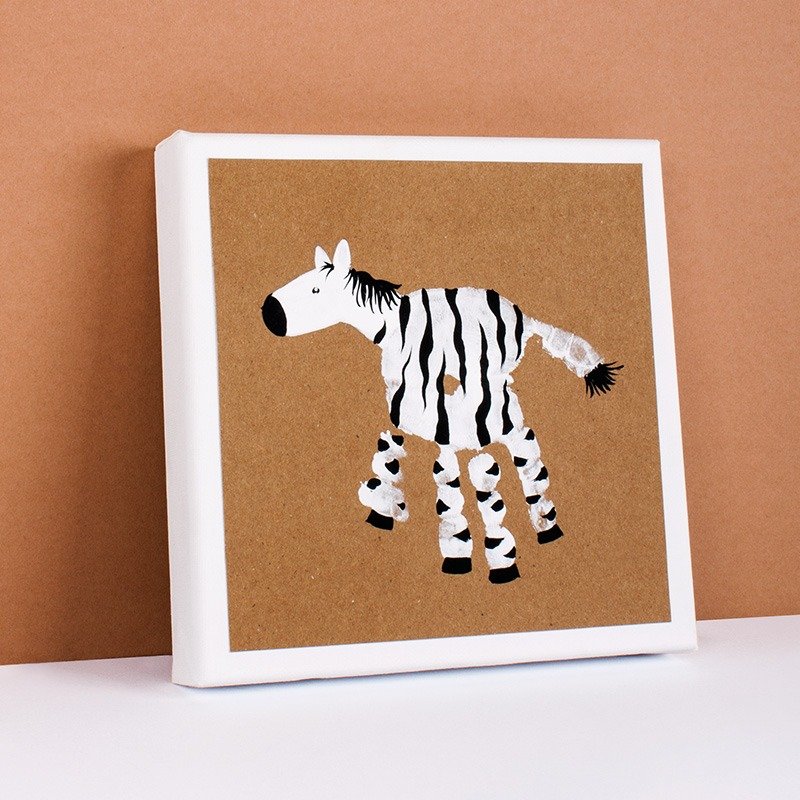


Instructions in 5 steps Your child could use the white Finger paint to create a handprint. With a few brushstrokes and the black paint a zebra could be created. And this is how it works:
1 ![]()

Schritt 1
Paint the right children’s hand palm richly with the white finger paint by using the flat brush. The hand imprint should be done with extended fingers.Tip: Press additionally onto the children’s hand’s pressure to achieve a complete impression of the hand palms.
2 ![]()
Schritt 2
Turn the sheet so that you get a tail by the thumb’s pressure.3 ![]()
Schritt 3
Once the paint has dried out, you can paint the zebra’s head & the neck with a round brush. Therefore, mix some water with a small amount of the white paint. If necessary, apply the colour twice while being diluted, it does not cover uniformly.4 ![]()
Schritt 4
With a fine round brush and diluted black finger paint, draw the face, the mane and the rest of the zebra.5 ![]()
Schritt 5
Once the colour has dried out, you can cut the paper at the corresponding format and affix it onto the canvas frame by means of the double-sided adhesive tape.Related craft ideas Looking for similar craft ideas? You can find them here: ![]()
![Difficulty -]()
![]()
![Difficulty -]()
![]()
![Difficulty -]()
![]()
![Difficulty -]()

Wooden bar-frames „Sunshine“
DIFFICULTY

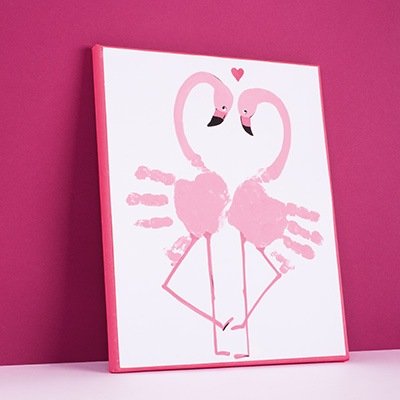
Flamingo-picture with finger paint
DIFFICULTY

Metallic message plate with Chalky Finish handlettering
DIFFICULTY

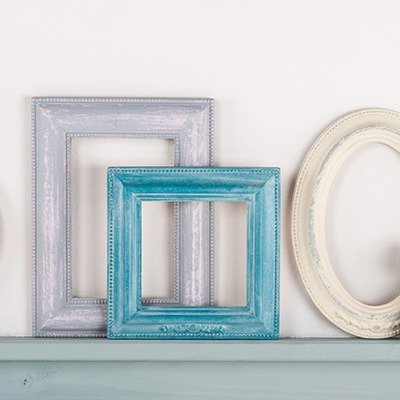
Chalky Finish Deco frames
DIFFICULTY