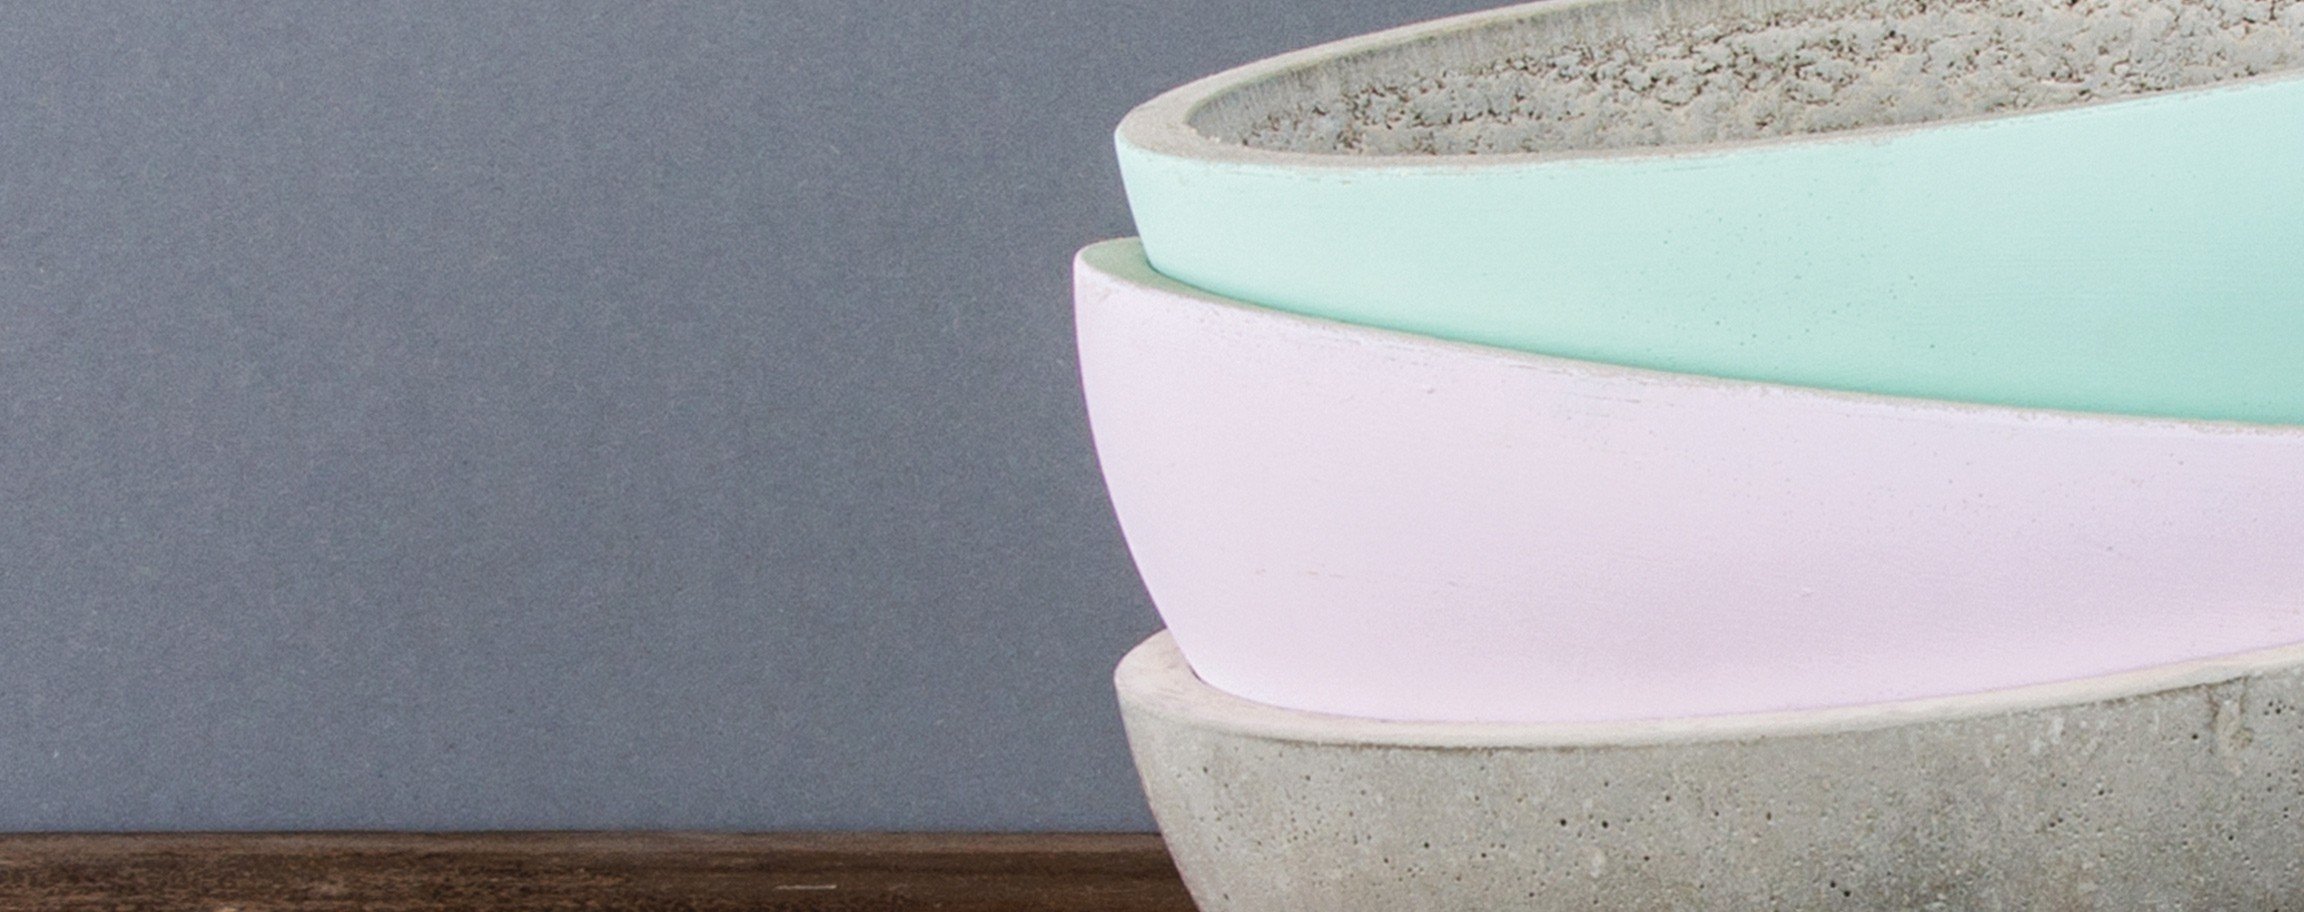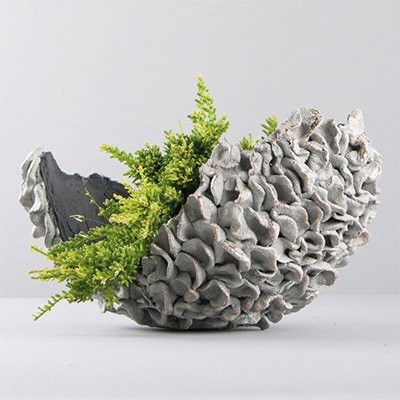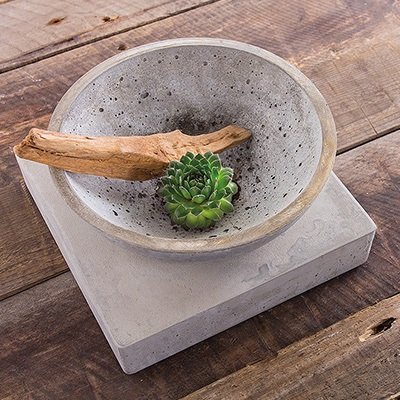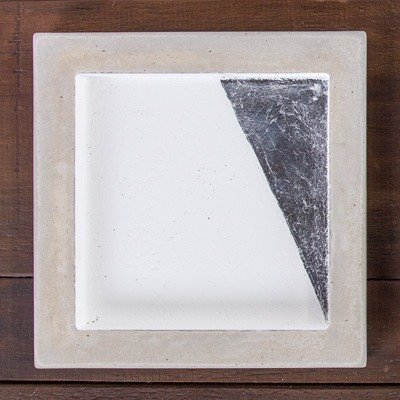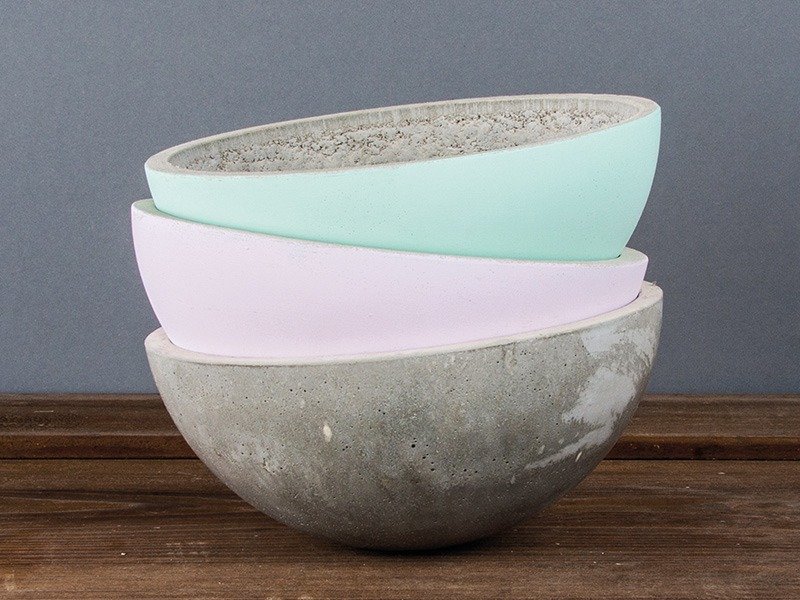
Instructions in 7 steps The Chalky Finish paint in pale pink and mint green colours provides the concrete bowl with a velvety look.
Besides the articles listed below, you also need: Cooking oil, Paper towel, Pebbles to weigh down the small plastic ball half, Empty can, as a stand fort he big plastic ball half
And this is how it works: 1 ![]()

Step 1
In preparation place the big plastic ball half on a stable surface (e.g. mug, flowerpot, or other), so that it does not wobble. Oil the inside with the cooking oil.2 ![]()

Step 2
Oil the small plastic ball on the outside.3 ![]()

Step 3
Fill a small plastic bucket with approximately 150 ml of water, afterwards add small portions of approximately 1,5 kg of creative cement. Mix the mixture with a wooden crafting stick until the mixture is smooth and pourable.4 ![]()

Step 4
Pour the mixture into the mold until it reaches the desired height (at best leave 1cm to the top). Let the creative cement rest for 1 – 2 minutes, while carefully knocking against the mold, so that possible air bubbles can escape. Afterwards immediately place the smaller plastic ball centered into the creative cement and way it down with small stones or pebbles.5 ![]()

Step 5
Let it fully harden. The curing time can vary, depending on the size and temperature (best let it harden over night). The bowl is completely hardened and can be used after 1 – 2 days.6 ![]()

Step 6
Now the mold can be demolded. First carefully remove the smaller plastic ball from the top. Afterwards remove the cement bowl from its mold by turning it upside down and Bending the pper edges slightly to the outside, thereby letting air in between mold and creative cement object. Carefully knock the mold onto a table, in order to loosen the cement bowl.7 ![]()


