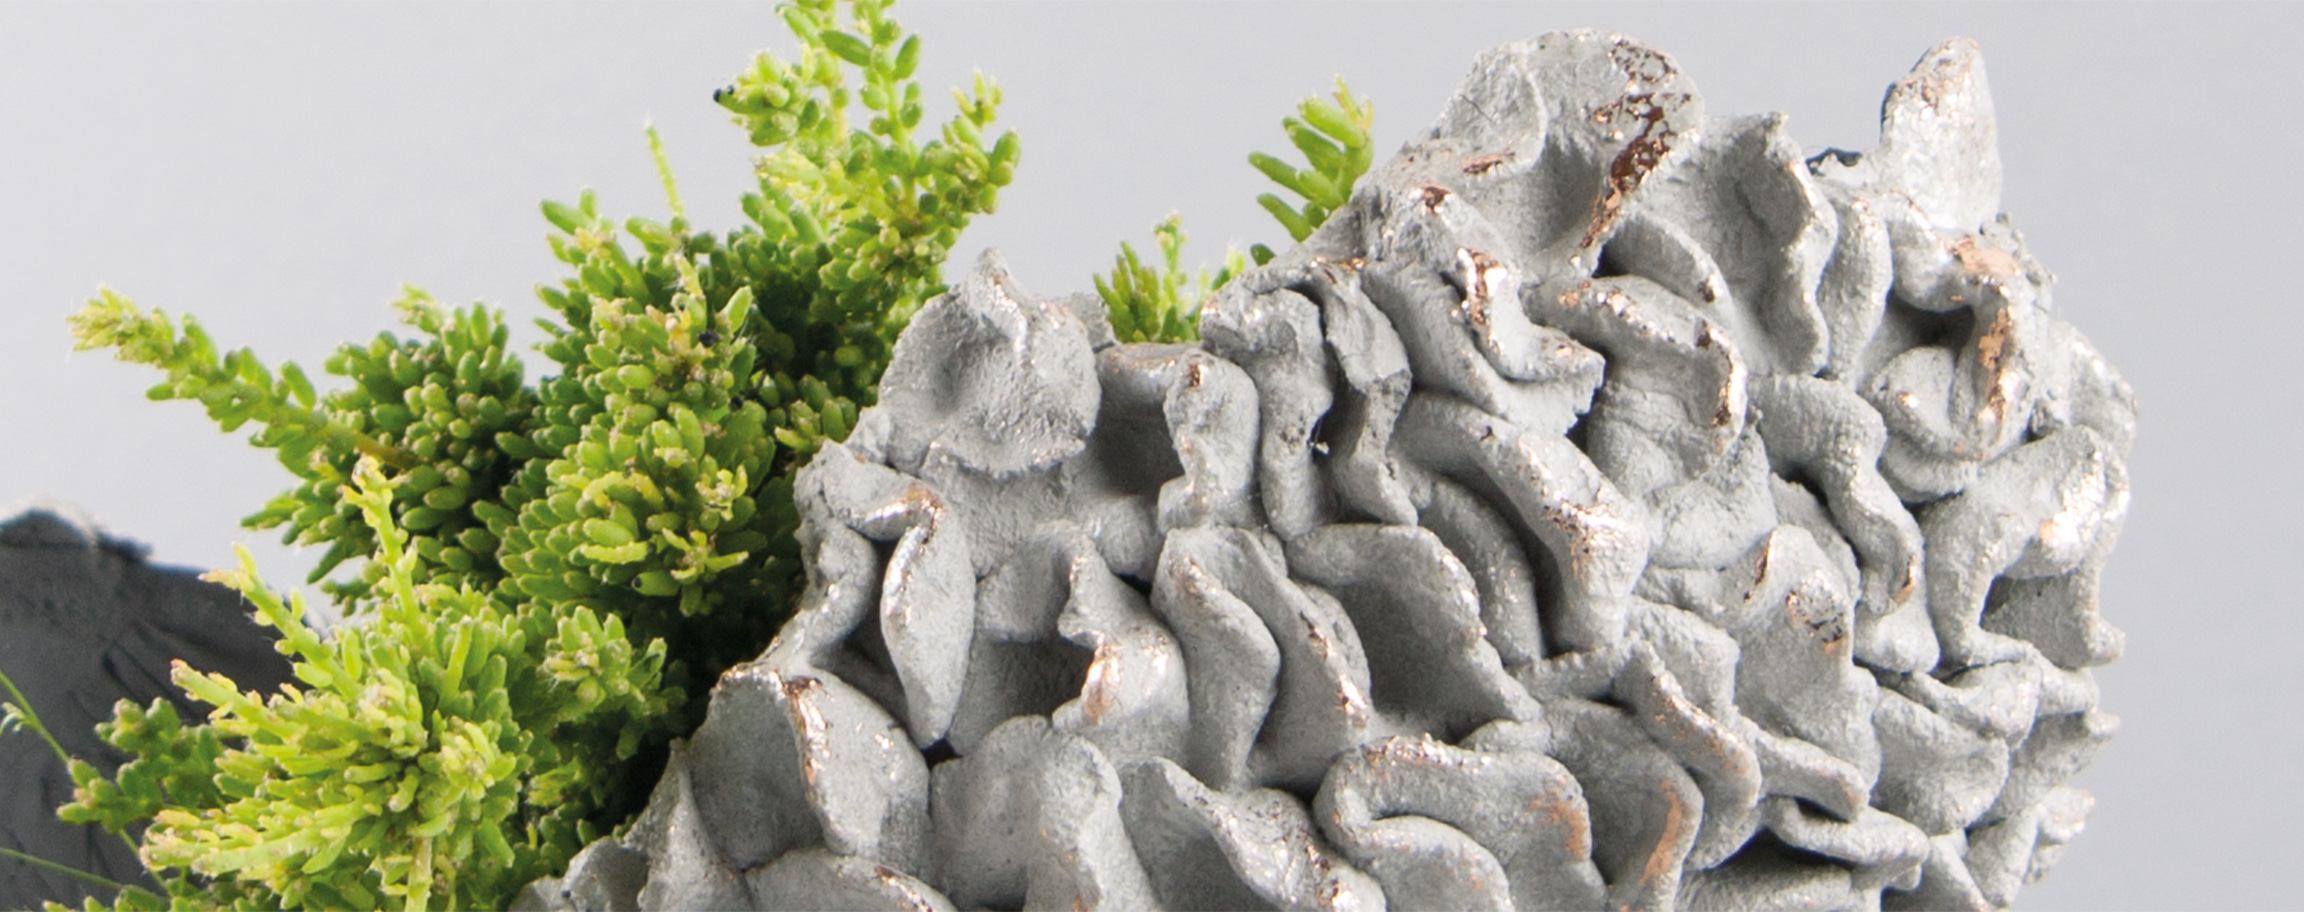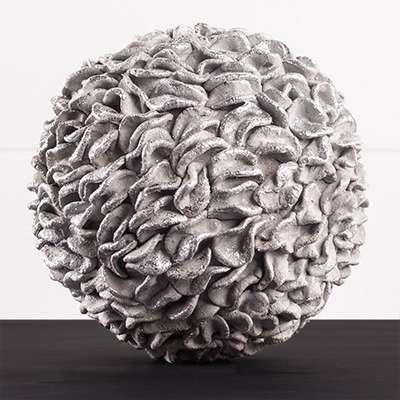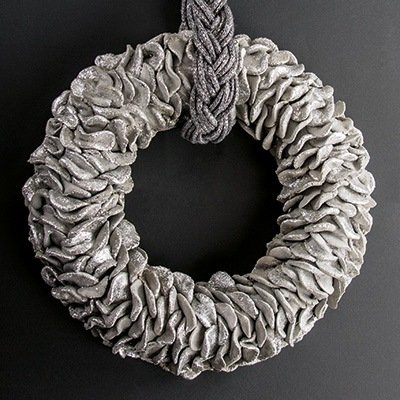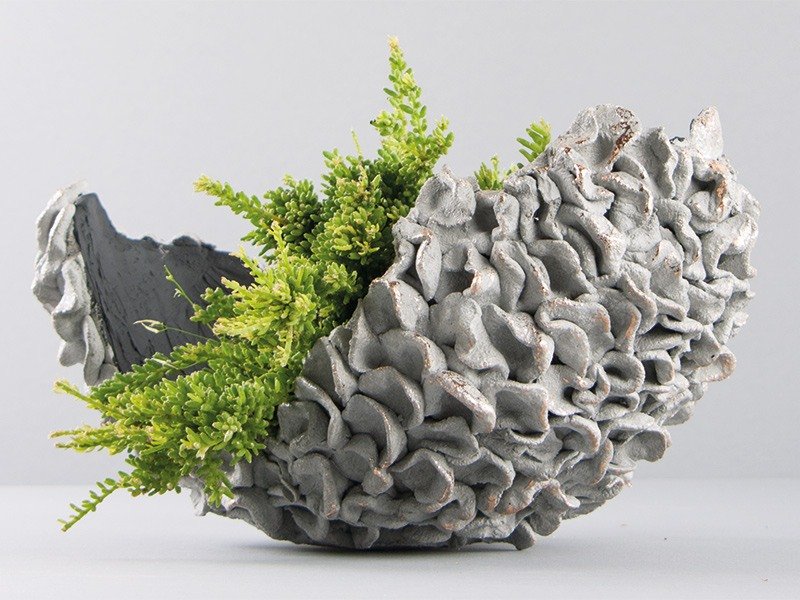
Instructions in 11 steps The shape of the bowl out of kneading-cement is achieved by means of the bubble wrap. Crumple the bubble wrap to your liking and cover the entire bowl with kneading-cement. The creases are created by individual kneading-cement balls that you can shape accordingly.
Besides the articles listed below, you also need: Air bubble wrap, sellotape (wide) or adhesive tape, container for kneading of the cement (e.g. bowl with lid), disposable gloves, stable support e.g. the lid of a plastic bucket, brush, small container with water
And this is how it works: 1 ![]()

Step 1
Depending on the size of the bowl, crumple the bubble wrap firmly to an oval shape along and stick the entire thing firmly with adhesive tape/sellotape.2 ![]()

Step 2
Thus the kneading-cement is not too dry, we recommend you to work it out in 2 sections. Always wear plastic gloves while working!3 ![]()

Step 3
Mix the half of the kneading-cement (1.15kg) with water in the ratio 9:1 (9 parts of cement : 1 part of water). This corresponds to about 125 ml. Stir the water slowly, gradually add it while constantly kneading. Knead the crumbly mixture with damp disposable gloves (if necessary, moisten several times) until the desired consistency is achieved.Hint: You can mix also, quickly and easily, the kneading-cement in a sealable container. Here also add the water gradually by stirring it constantly, then close the container and shake it well. That way there is less dust and the parts intermix perfectly. Knead more afterwards the crumbly mixture with wet disposable gloves (if necessary, moisten several times) until the mixture is malleable.
4 ![]()

Step 4
Take some cement between the palms, press it flat and coat this way one part of the prepared oval bubble wrap. According to your desire, you can determine the size and the shape of the bowl when coating.5 ![]()

Step 5
Mould small pellets out of the remaining kneading-cement, tap them flat between the palms, mould them malleably and press them scale-like on one side from the bottom up onto the shape coated with cement (poss. stop up the joints with your thumb). At the apex of the bowl keep free a plane surface as a stand space.6 ![]()

Step 6
The cement mixture should be smooth and easily malleable. If the cement is cracky during kneading, just sprinkle it with some water.7 ![]()

Step 7
Once the kneading-cement used-up, repeat the mixing of the second half as described above and decorate the rest of the decorative bowl.8 ![]()

Step 8
Let it dry at least 1 day.9 ![]()

Step 9
Now, the bowl can be reversed and placed on the prepared stand space. Remove carefully the air bubble wrap. Let it dry.10 ![]()

Step 10
Optionally, you can paint the inside of the bowl with the Chalky paint and decorate further its outer surface with silver highlights. Therefor, spread some glue for foil onto the “leaf points” by using the brush and let it dry clearly (it lasts at least 1 hour). Then decorate it with the mirror-foil according to the package instructions.11 ![]()


