


Instructions in 12 steps The ball out of kneading-cement is made in two steps so that both halves of the styrofoam ball can be decorated in the same manner. Let them dry overnight.
Besides the articles listed below, you also need: Container for kneading of the cement (e.g. bowl with poss. lid), disposable gloves, stable support e.g. the lid of a plastic bucket, PET spray bottle (item 38 798 000), brush, small container with water, stand for the styrofoam-ball (e.g. a can)
And this is how it works: 1 ![]()

Step 1
For a solid standing onto a stand, place the styrofoam-ball for example on a can.Thus the kneading-cement is not too dry, we recommend you to work it out in 2 sections. Always wear plastic gloves while working!2 ![]()
Step 2
Mix a half of the creative kneading-cement (1.9kg) with water in the ratio 9:1 (9 parts of cement : 1 part of water). This corresponds to about 210 ml. Stir the water slowly, gradually add it while constantly kneading. Knead the crumbly mixture with damp disposable gloves (if necessary, moisten several times) until the desired consistency is achieved.3 ![]()
Step 3
Take some cement between the palms, press it flat and coat thinly around a half of the styrofoam-ball.4 ![]()
Step 4
Mould small pellets out of the remaining kneading-cement, tap them flat between the palms, mould them malleably and press them scale-like from the bottom up onto the circular worked-out with cement coated styrofoam-syrface (poss. stop up the joints with your thumb).5 ![]()
Step 5
The cement mixture should be smooth and easily malleable. If the cement is cracky during kneading, just sprinkle it with some water.6 ![]()
Step 6
Let it dry over night.7 ![]()
Step 7
The next day, turn the ball around, so that the free styrofoam-surface is facing upwards.8 ![]()
Step 8
Repeat the mixing of the remaining kneading-cement as already described and coat the free styrofoam-surface as described for the first half. Damp the dry/fresh connection joints of the kneading-cement with a brush, so that the two layers bond well.9 ![]()
Step 9
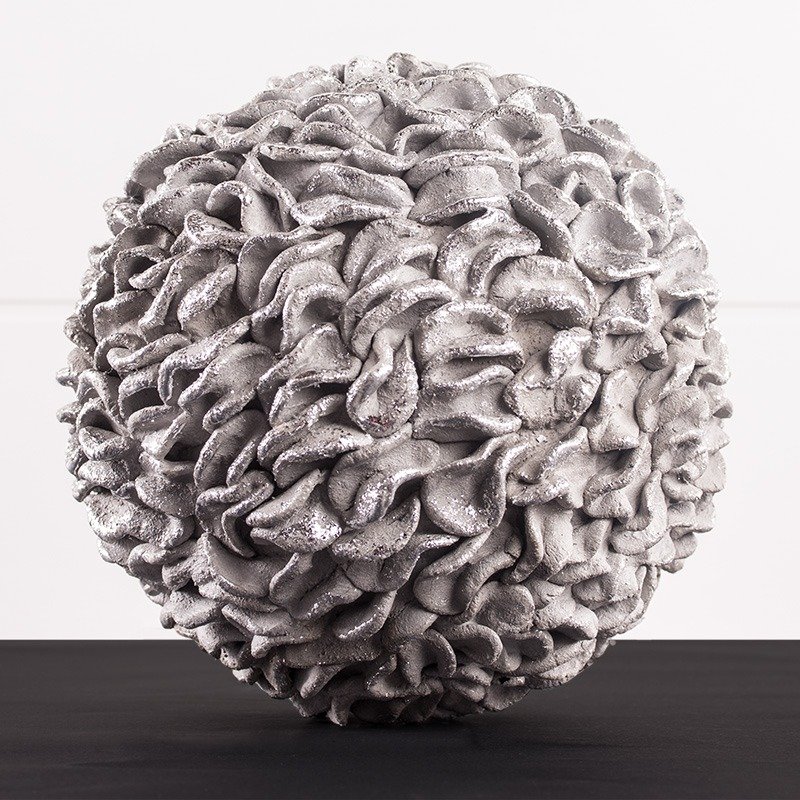
Decorate as well the second half as already above described in a sophisticated folded optic way. Here also work again top down.10 ![]()
Step 10
Let it dry at least for 1 day.11 ![]()
Step 11
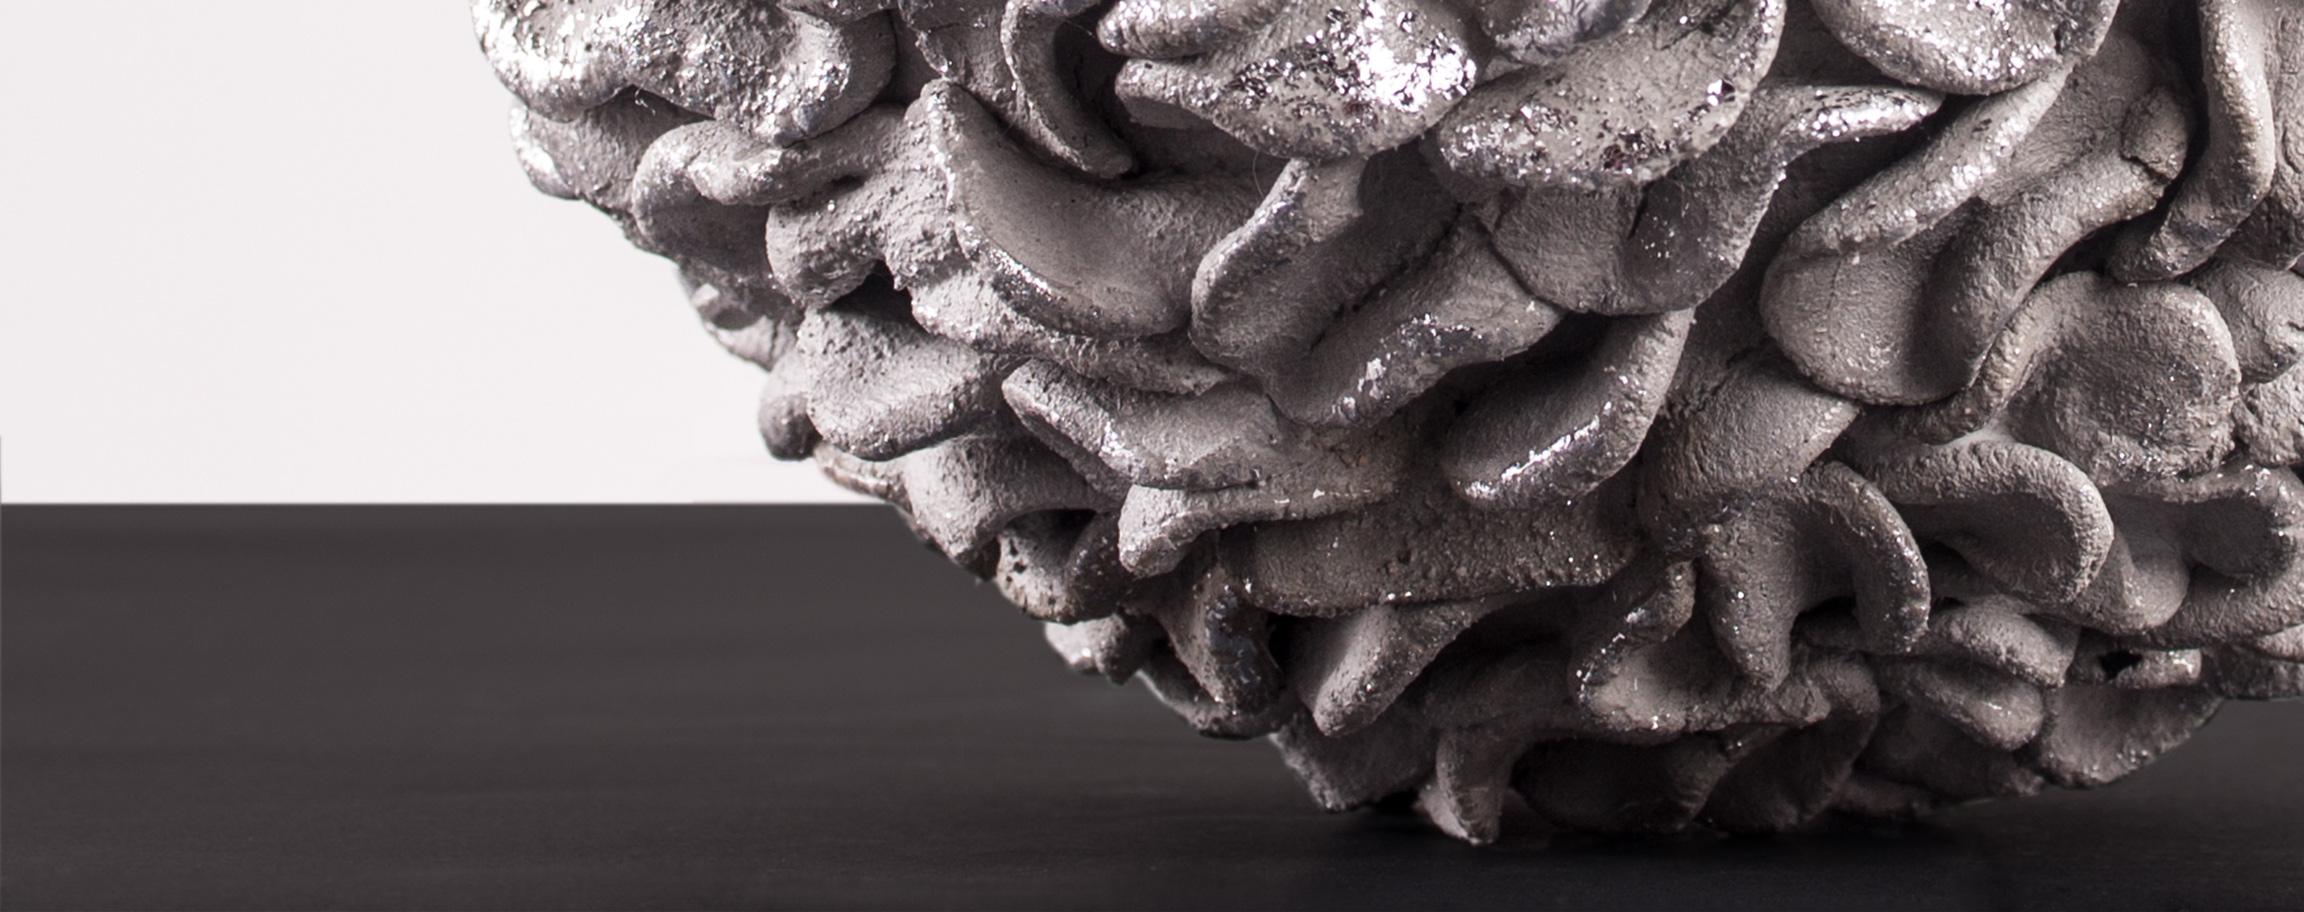
Optionally, you can decorate the tips of the folds with silver and/or brass-coloured highlights. Therefor, spread some glue for foil on it by using the brush and let it dry clearly (it lasts at least 1 hour). Then decorate it with the mirror-foil according to the package instructions.12 ![]()
Step 12
The entire drying period lasts for several days. After about 21 days the object is weatherproof.Related craft ideas Looking for similar craft ideas? You can find them here: ![]()
![Difficulty -]()
![]()
![Difficulty -]()
![]()
![Difficulty -]()
![]()
![Difficulty -]()
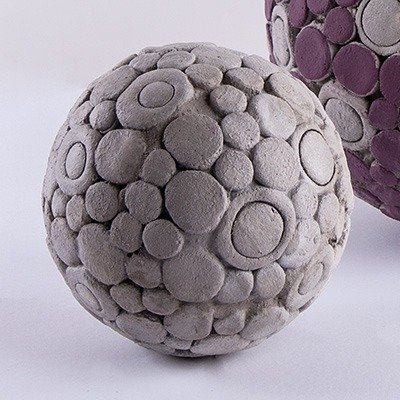
Small kneading-cement ball with circles
DIFFICULTY

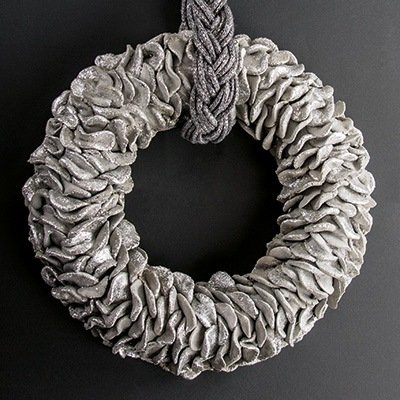
Wreath out of the kneading-cement
DIFFICULTY


Deco-bowls out of the kneading-cement in folded optics
DIFFICULTY

Big apple out of the kneading-cement
DIFFICULTY