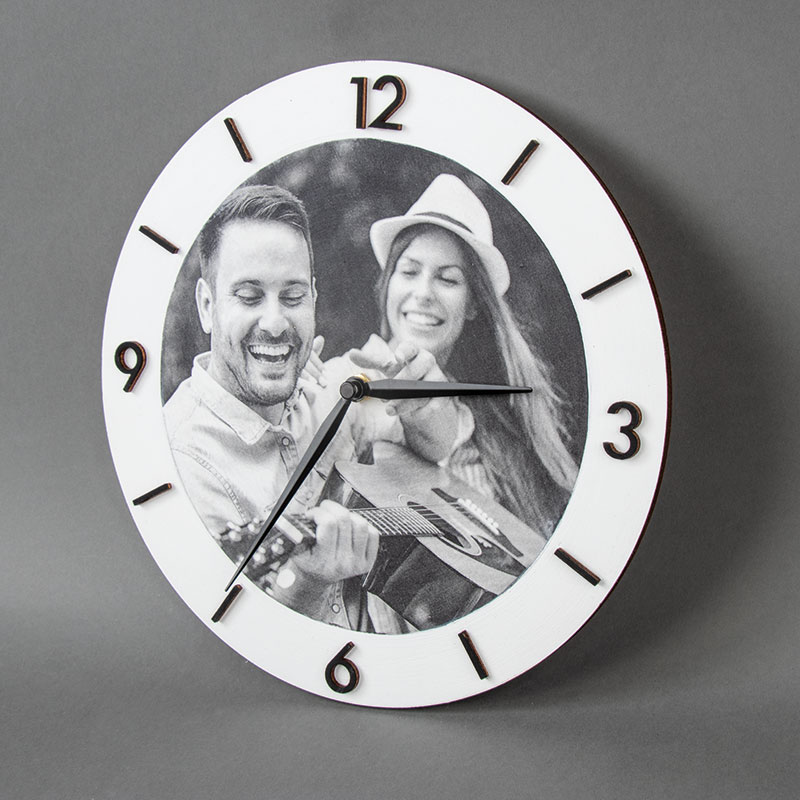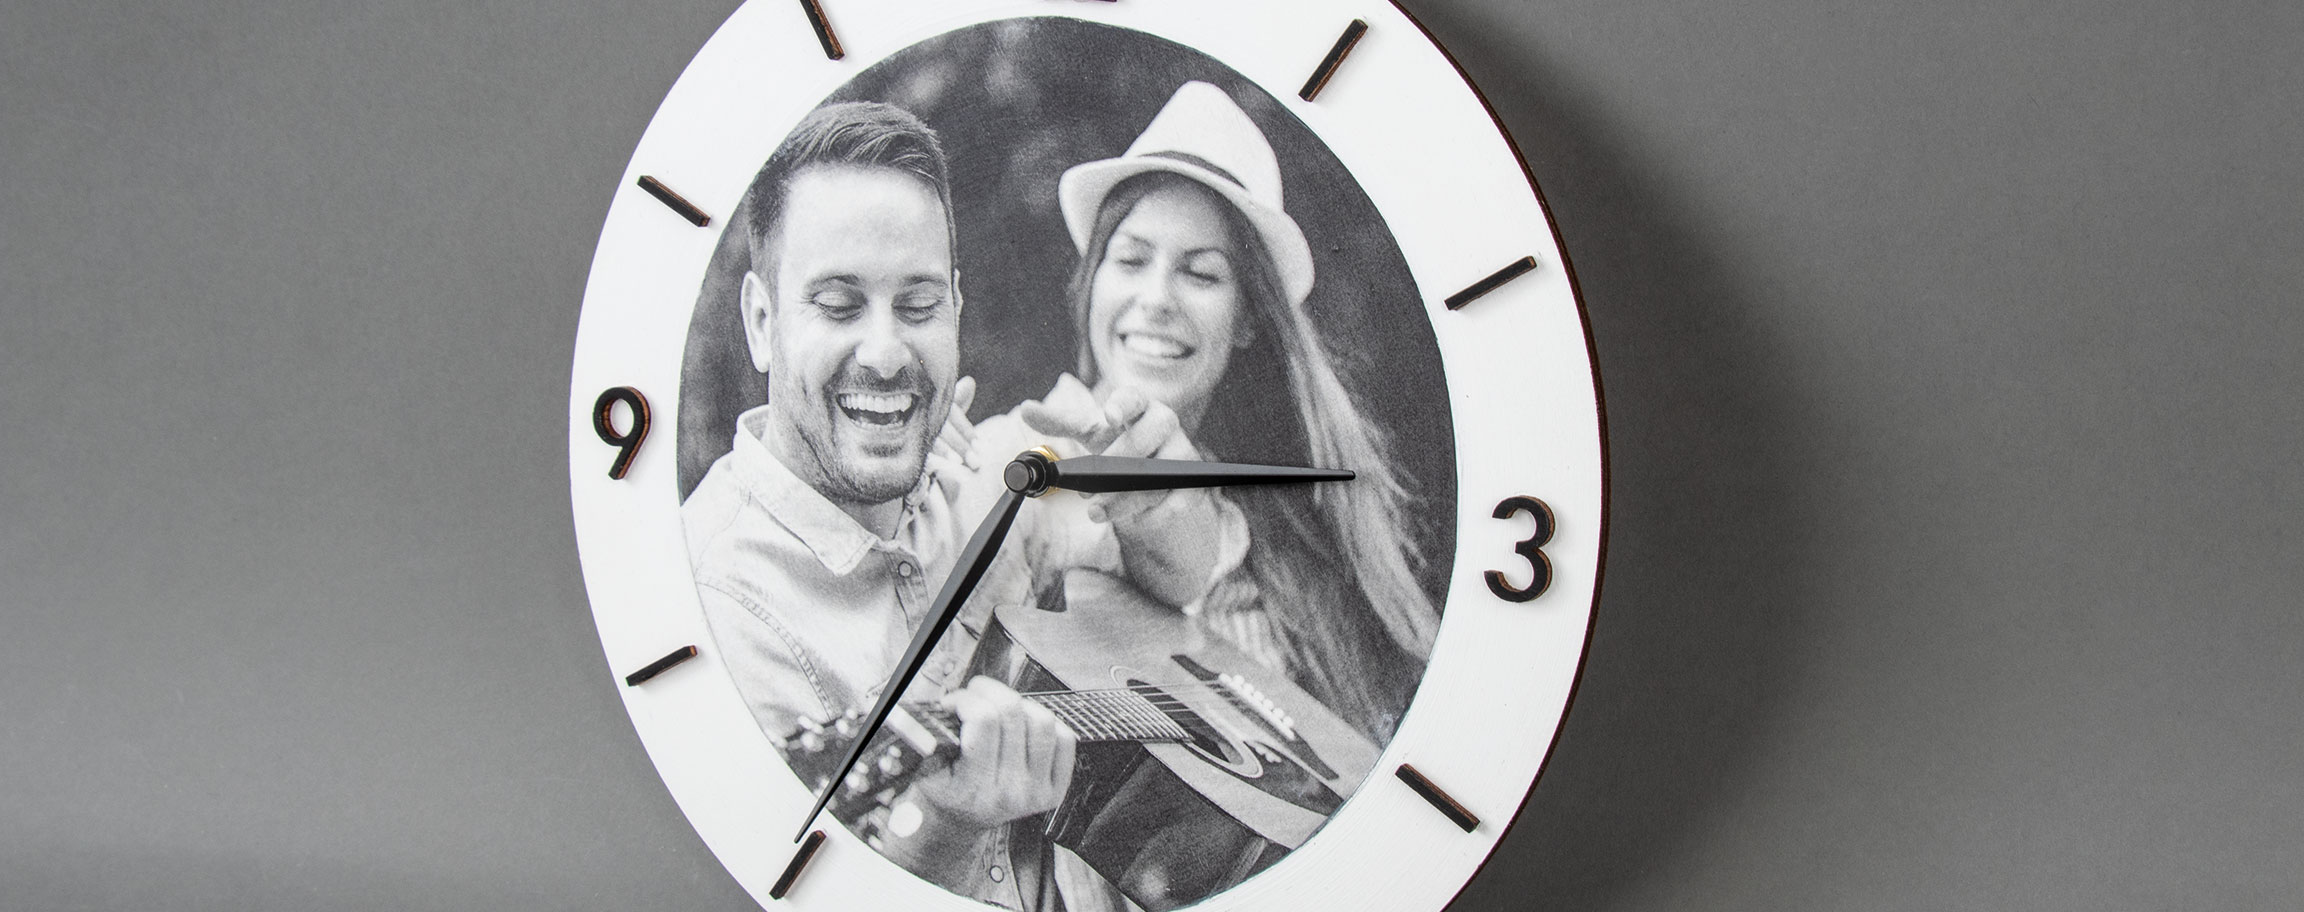
Instructions in 8 steps You can make your very own clock by means of the simple wooden board with wooden numbers and hands. You can further customise it with a picture of yourself. Thanks to transfer medium, you can apply motifs of your choice.
Important: Do not spread the transfer-medium over the rear side of the printout, otherwise the paper can no longer be removed!
Besides the articles listed below, you also need: compass, pencil, kitchen cloth, 1 AA battery (1.5 V)
And this is how it works: 1 ![]()

Step 1
Paint the entire surface of the raw wood board with the white Chalky Finish paint and let the paint dry well out.2 ![]()

Step 2
Print the desired motif as a mirror image on a DIN A4 copy paper with a laser printer. Draw a circle (with a diameter of approx. 18.5 cm) by means of the compass and cut out the motif circularly as accurate as possible with the scissors.3 ![]()

Step 3
Put the photo in the middle of the primed board and trace carefully the edge with the pencil.4 ![]()

Step 4
Firstly, paint richly by quick brush strokes the inner surface area of the wooden board with the large synthetic flat paintbrush and then the front side of the paper printout with the transfer-medium.Important: Do not spread the transfer-medium over the rear side of the printout, otherwise the paper can no longer be removed!
5 ![]()

Step 5
Put immediately the printout face down onto the still wet transfer-medium and smooth it down with a firm pressure by hand. Excess medium at the edge can be removed with a kitchen cloth, for example.6 ![]()

Step 6
Paint the wooden numbers with the small synthetic paintbrush and the ebony Chalky Finish paint.7 ![]()

Step 7
After 8 hours drying time, moisten the paper with the painting sponge and rub off carefully the paper layers with your fingers.Tip: It is recommended to work in stages. Allow to dry out between rubbing processes and then repeat it until all paper layers are removed.
8 ![]()


