


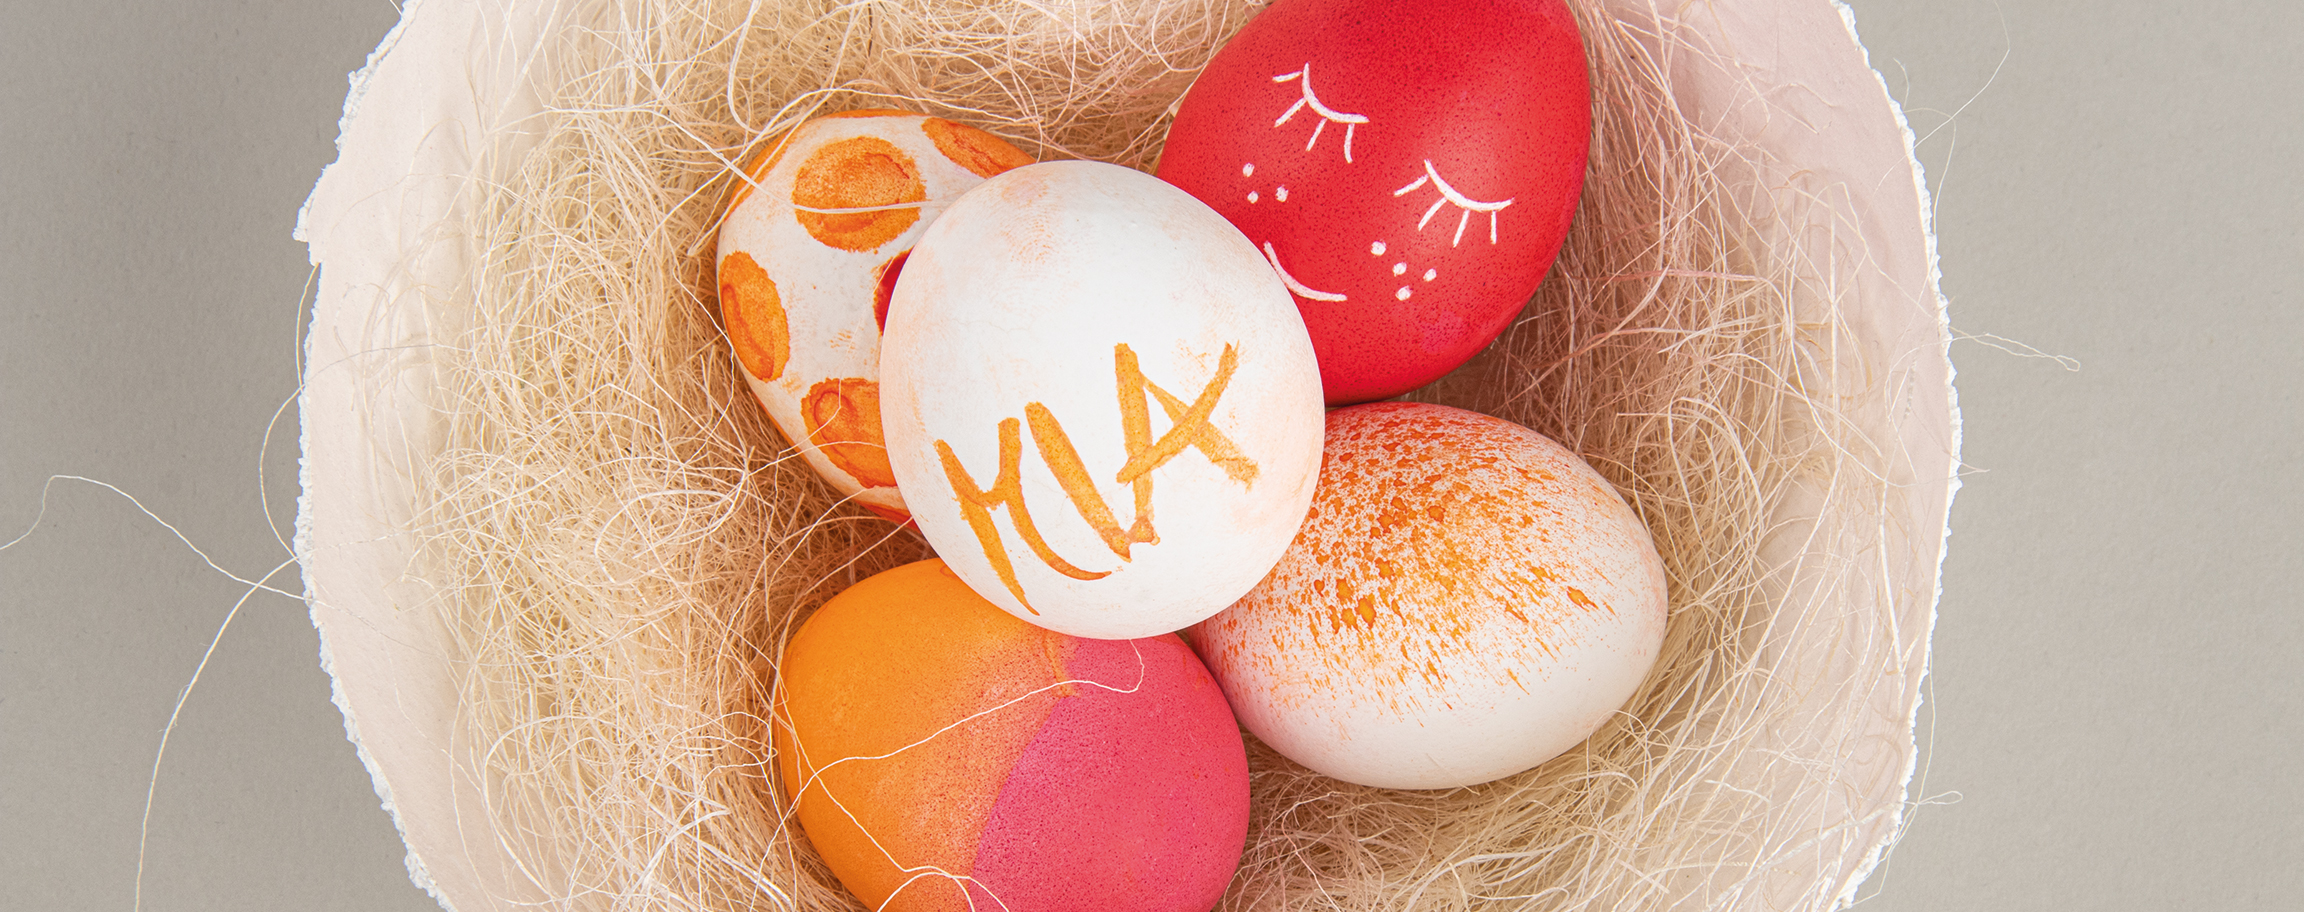
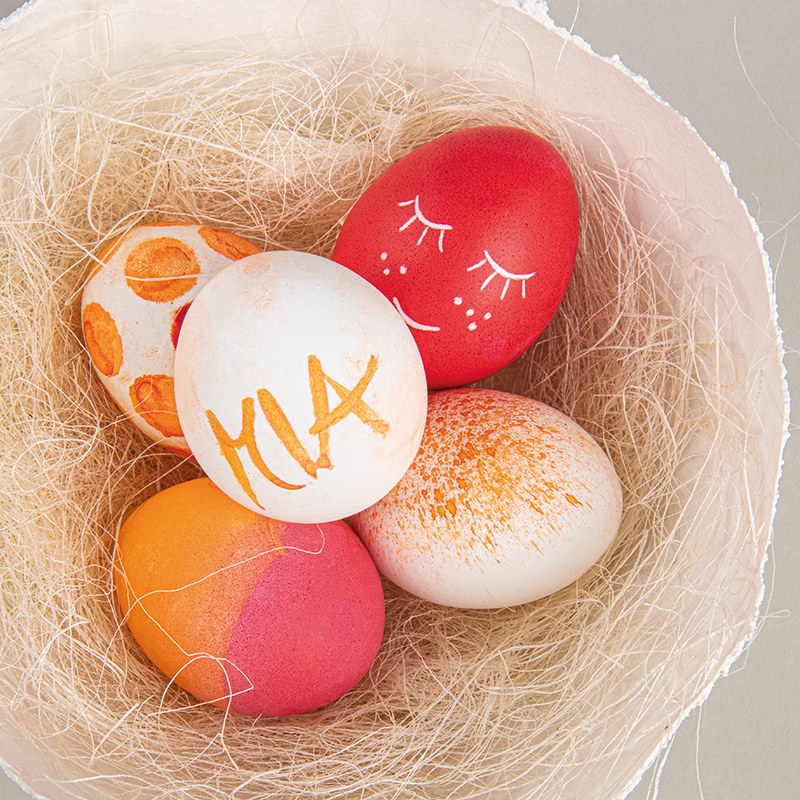


Instructions in 6 steps Creative egg-dyeing techniques:
Please note the following: For any applied technique - except the scratch painting technique - it is important that the hen’s egg is freshly cooked and still warm. The dye should also be warm when processing, so that the dye can better permeate the eggshell.
Besides the articles listed below, you also need: Fresh hen's eggs (preferably light-coloured), bowl, tablespoon, vinegar,cooking oil
And this is how it works: 1 ![]()

Basic "egg dyeing" instructions
Put the hen’s eggs in the water for cooking, dissolve the chosen egg dye in 125 ml of hot water and add a tablespoon of vinegar. Put the warm eggs in the dye solution for about 3-4 minutes. Let them dry on paper towel. Oil them (with e.g. cooking oil) to get a beautiful shine. The dye is suitable for brown as well as white eggs, but the resulting colour shades may differ. Each colour is sufficient for about 6-8 eggs (depending on the egg size).2 ![]()

Dipping
Stir two different dye colours in one glass each and dip the egg halfway into one of the two colours for a few minutes. Allow to dry for a few seconds and then turn the egg over and dip its other half into the other colour. The colours can also be partially immersed/dipped one upon the other. Drip off the painted egg on a kitchen paper and let it dry.3 ![]()
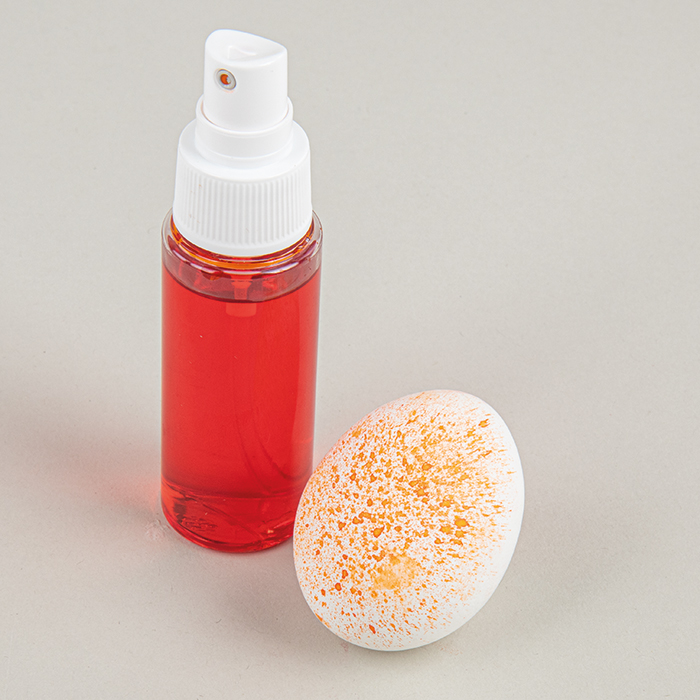
Spraying
Pour the already mixed dye into the spray bottle and spray onto the egg to your liking (from a distance of about 15-20 cm). We recommend that you test the spraying on a paper first.4 ![]()
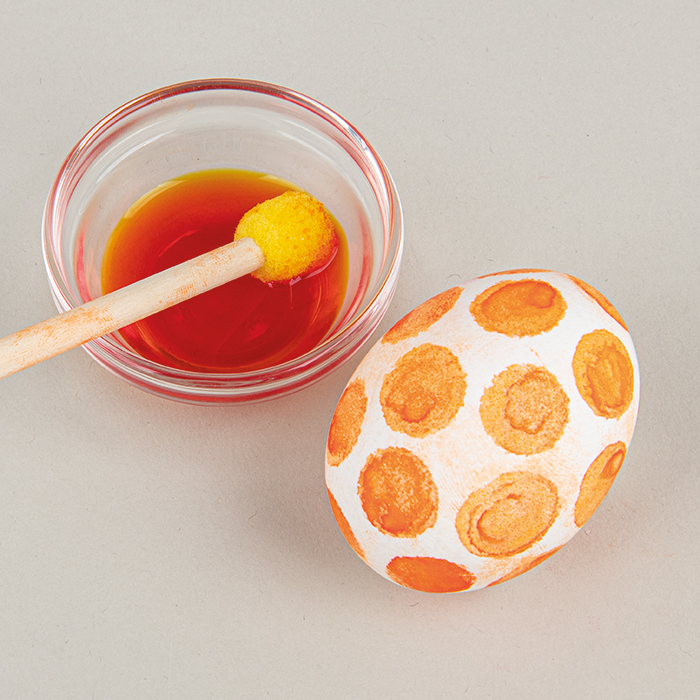
Dabbing
Stir the dye vigourously (more concentrated, using less water than usual) to achieve a beautiful, intense colour result when using the dabbing method. Soak up the dye with the small sponge stamp and set carefully the dots (allow dots to dry before turning the egg).5 ![]()
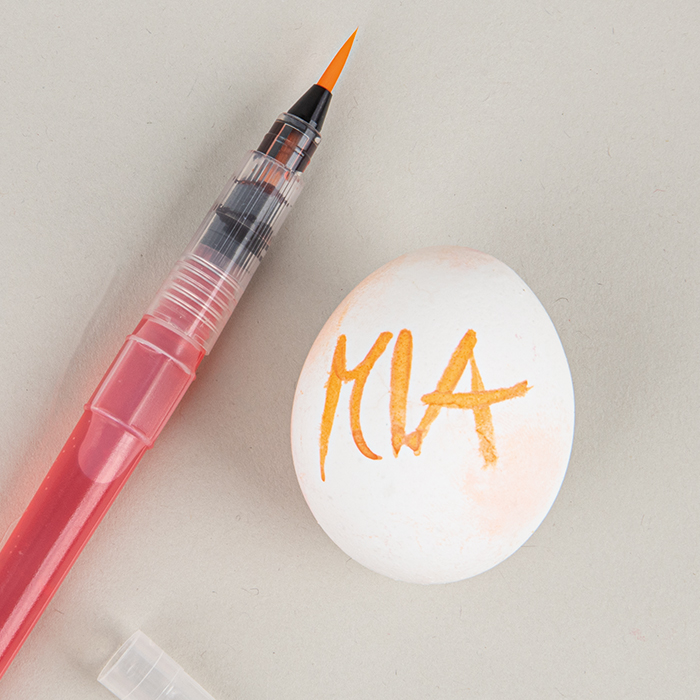
Writing on
Stir the dye vigourously (more concentrated, using less water than usual), fill the H2O pen with it and decorate or write on the egg as desired.6 ![]()
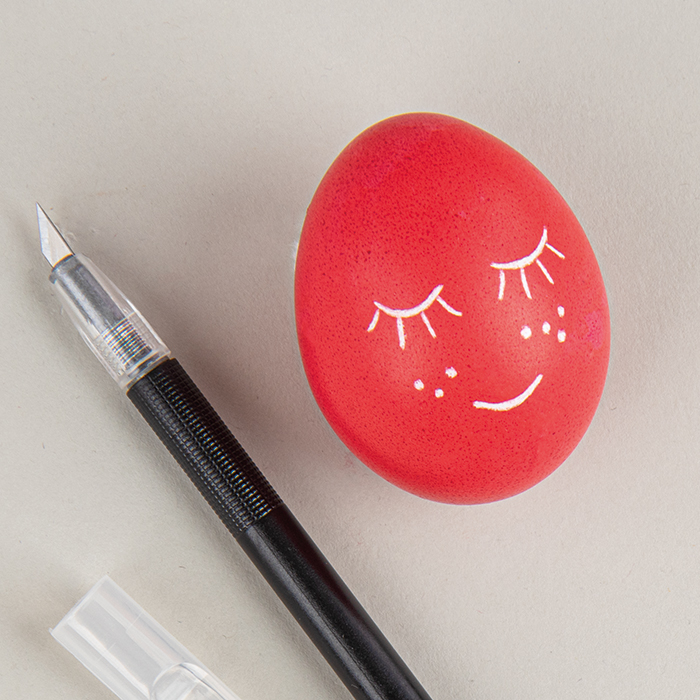
Scratch painting technique
Dye the hen’s egg according to the basic instructions and let it dry well out. Create the motif by incising the craft knife (carefully and precisely with slight pressure) into the surface of the coloured egg to reveal a lighter coloured layer underneath (white eggshell).Related craft ideas Looking for similar craft ideas? You can find them here: ![]()
![Difficulty -]()
![]()
![Difficulty -]()
![]()
![Difficulty -]()
![]()
![Difficulty -]()
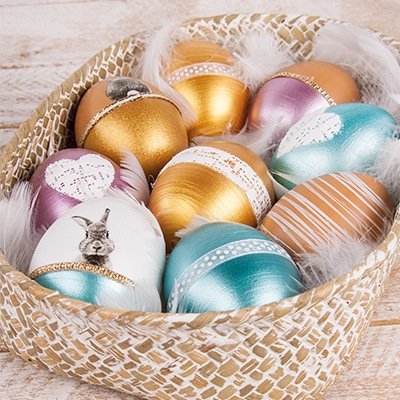
Eggs with Extreme Sheen
DIFFICULTY


Styrofoam-egg in various colours
DIFFICULTY
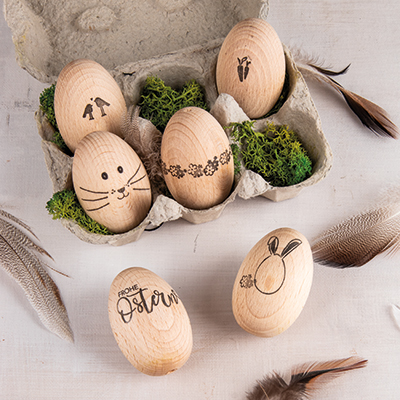
Stamped wooden eggs
DIFFICULTY
Self-made Easter nests
DIFFICULTY