


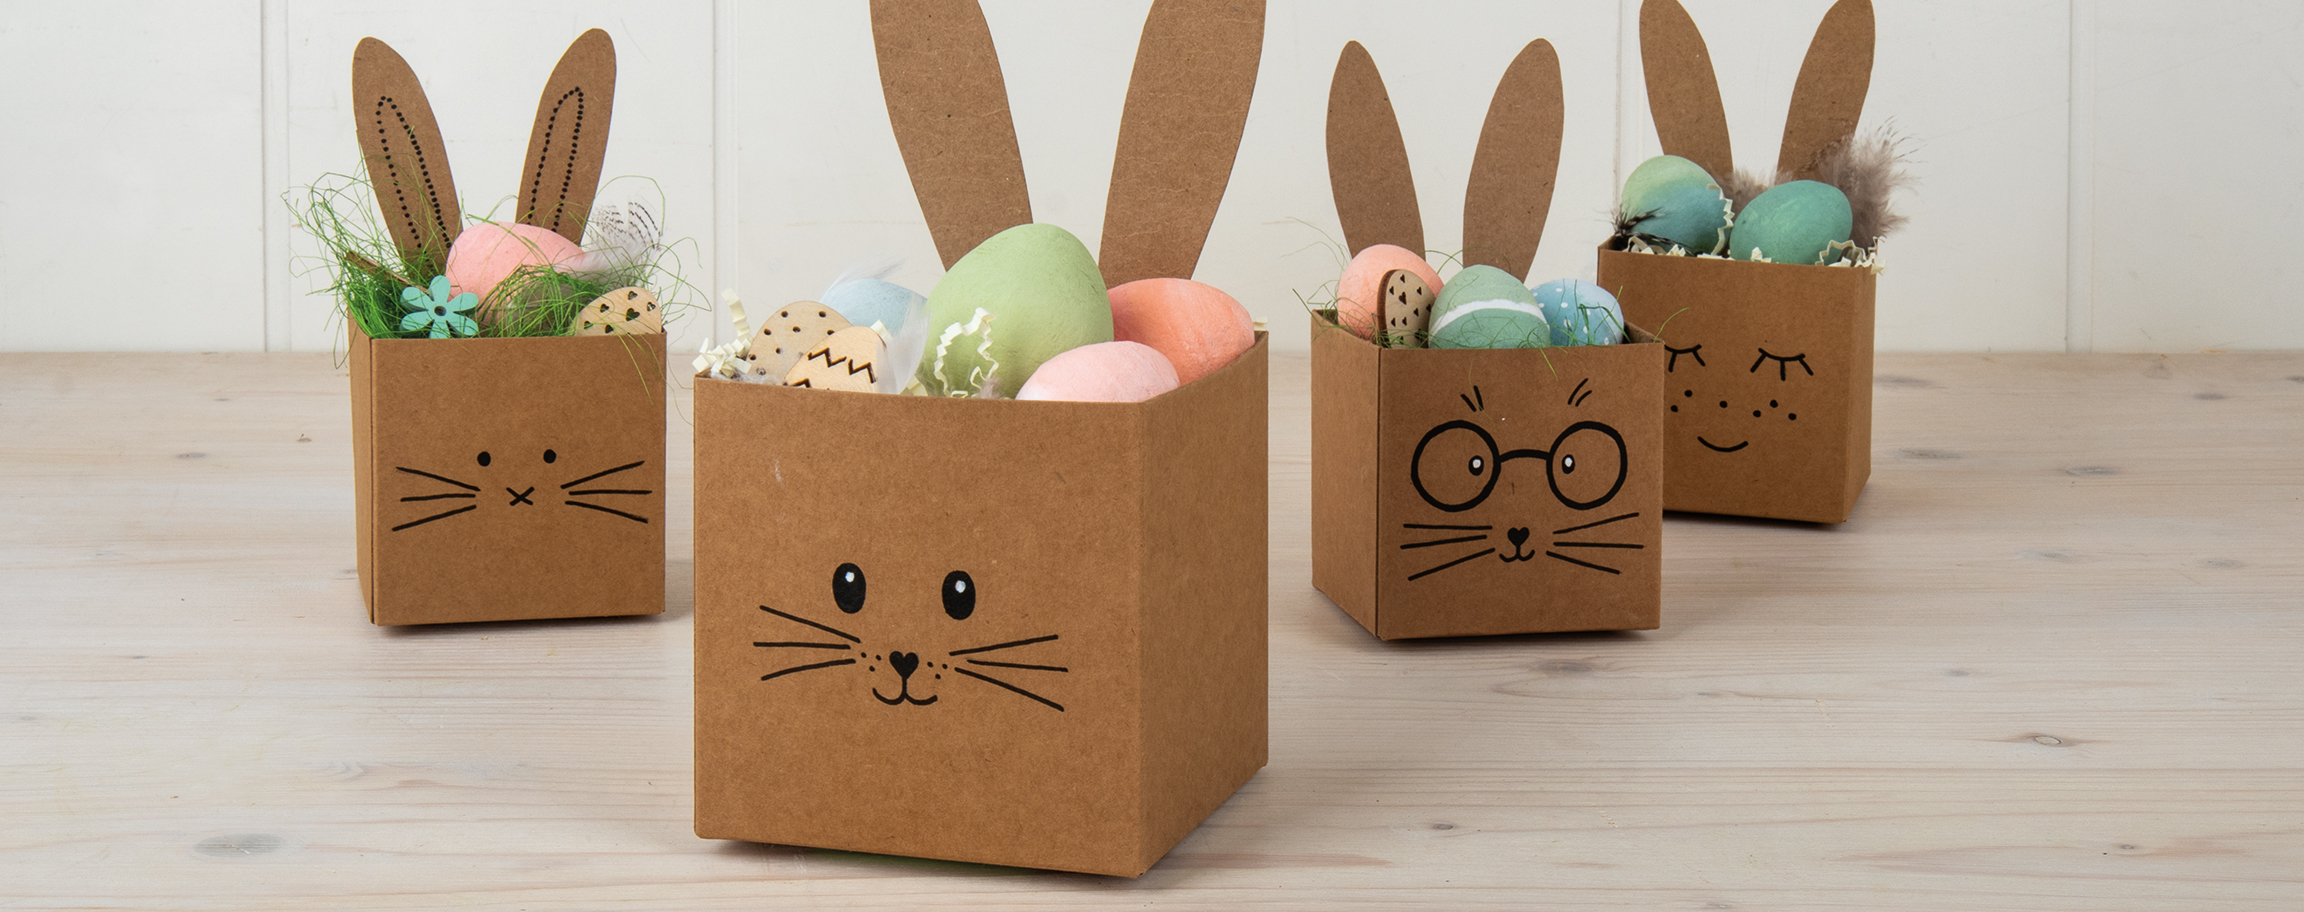
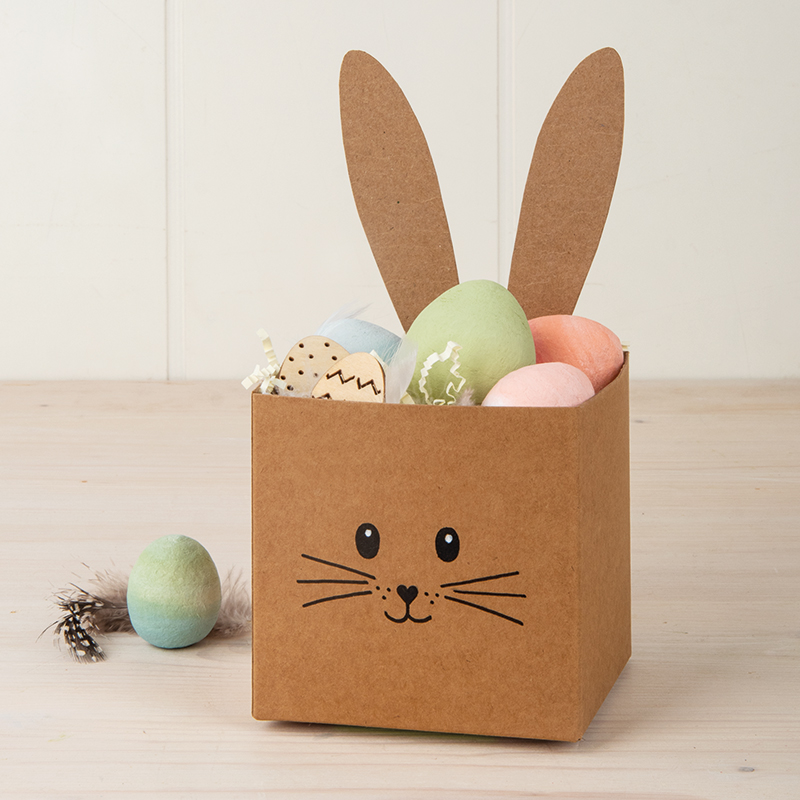


Instructions in 5 steps Delight your loved ones: everyone would be happy to get a gift in the form of a self-made Easter nest designed from a folding box. For the decorative touch, you will only need a black Multi-Liner.
Besides the articles listed below, you also need: Transfer paper, pointed-tip paper scissors, pencil or ballpoint pen
And this is how it works: 1 ![]()
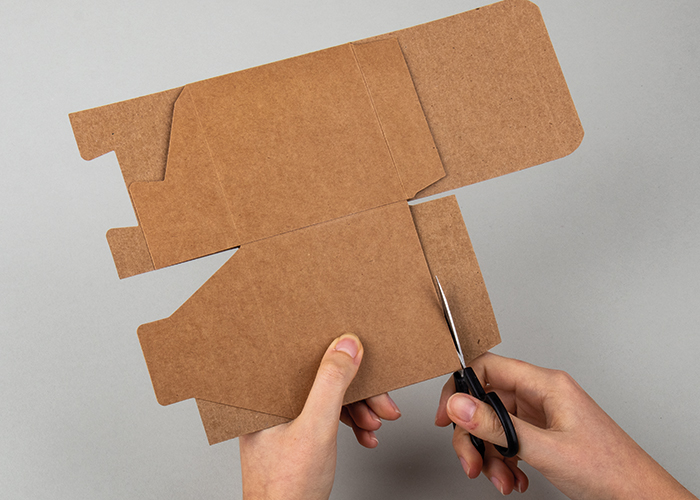
Step 1
Cut the two rectangular flaps of the folding box along the fold line by means of the paper scissors.2 ![]()

Step 2
Copy both sides of the template sheet and cut out the ears and the face on the square-shaped outer sides of the copy.3 ![]()
Step 3
Lay the transfer paper with the black side facing down on the front of the folding box. Place the chosen bunny face in the middle and trace its outlines with a pencil or ballpoint pen. Do the same when transferring the bunny ears on the inside of the opposite lid.4 ![]()
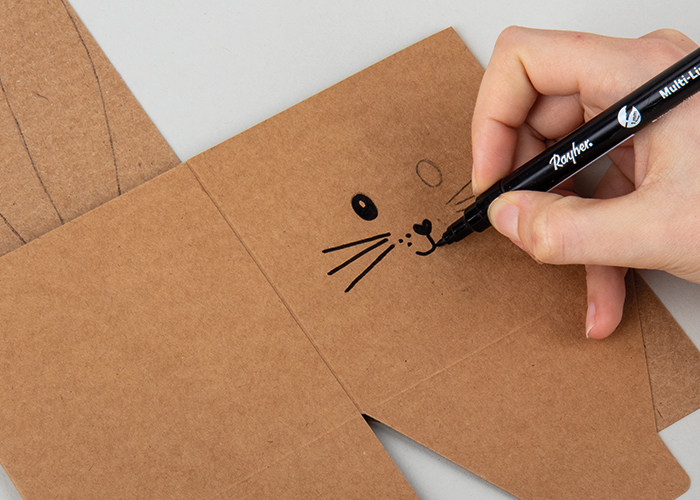
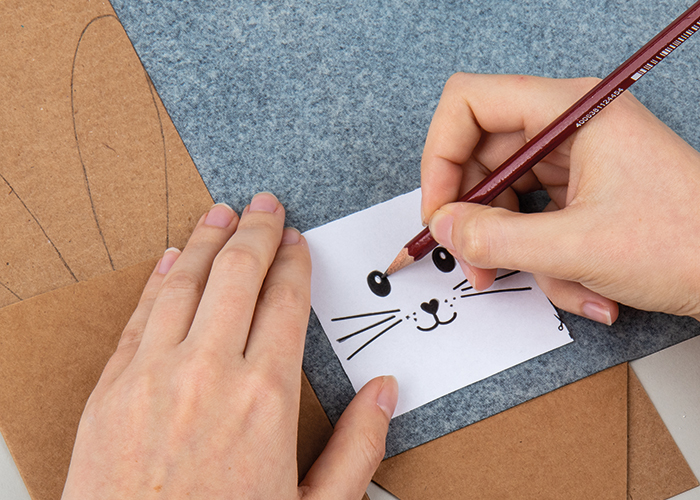
Step 4
Draw the eyes, muzzle and whiskers using the Multi-Liner.5 ![]()
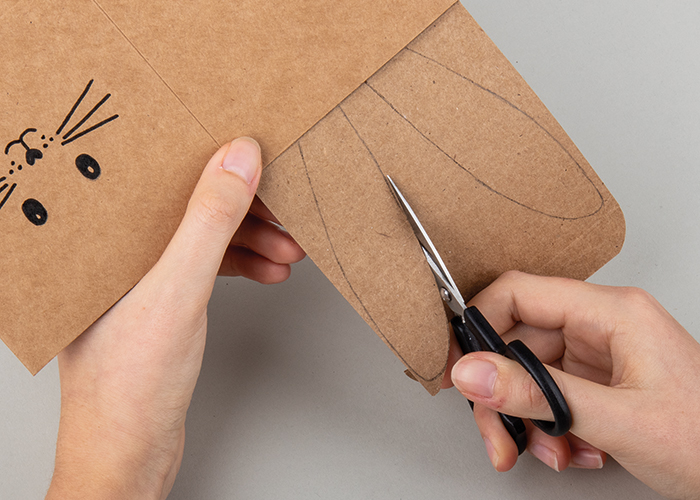
Step 5
Cut out the ears along the outlines with the pointed-tip paper scissors and fold the box together.Tip: The eyes look particularly lively if you use the white acrylic marker to create a tiny dot of light.
Related craft ideas Looking for similar craft ideas? You can find them here: ![]()
![Difficulty -]()
![]()
![Difficulty -]()
![]()
![Difficulty -]()
![]()
![Difficulty -]()

White Styrofoam-eggs
DIFFICULTY

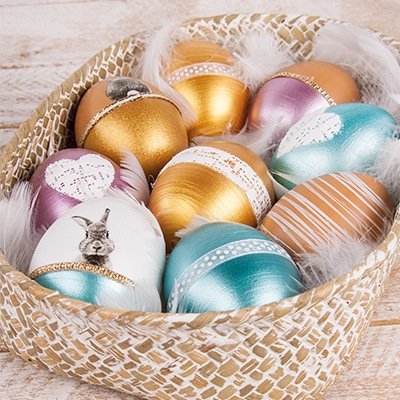
Eggs with Extreme Sheen
DIFFICULTY
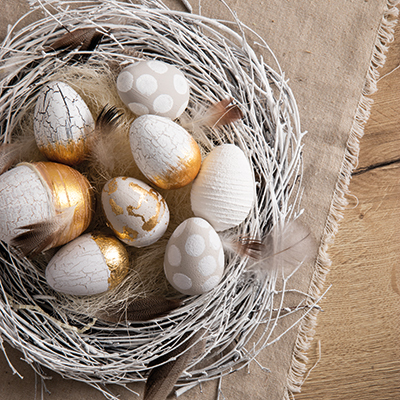
Easter nest with eggs
DIFFICULTY

Easter eggs dyeing techniques
DIFFICULTY
