


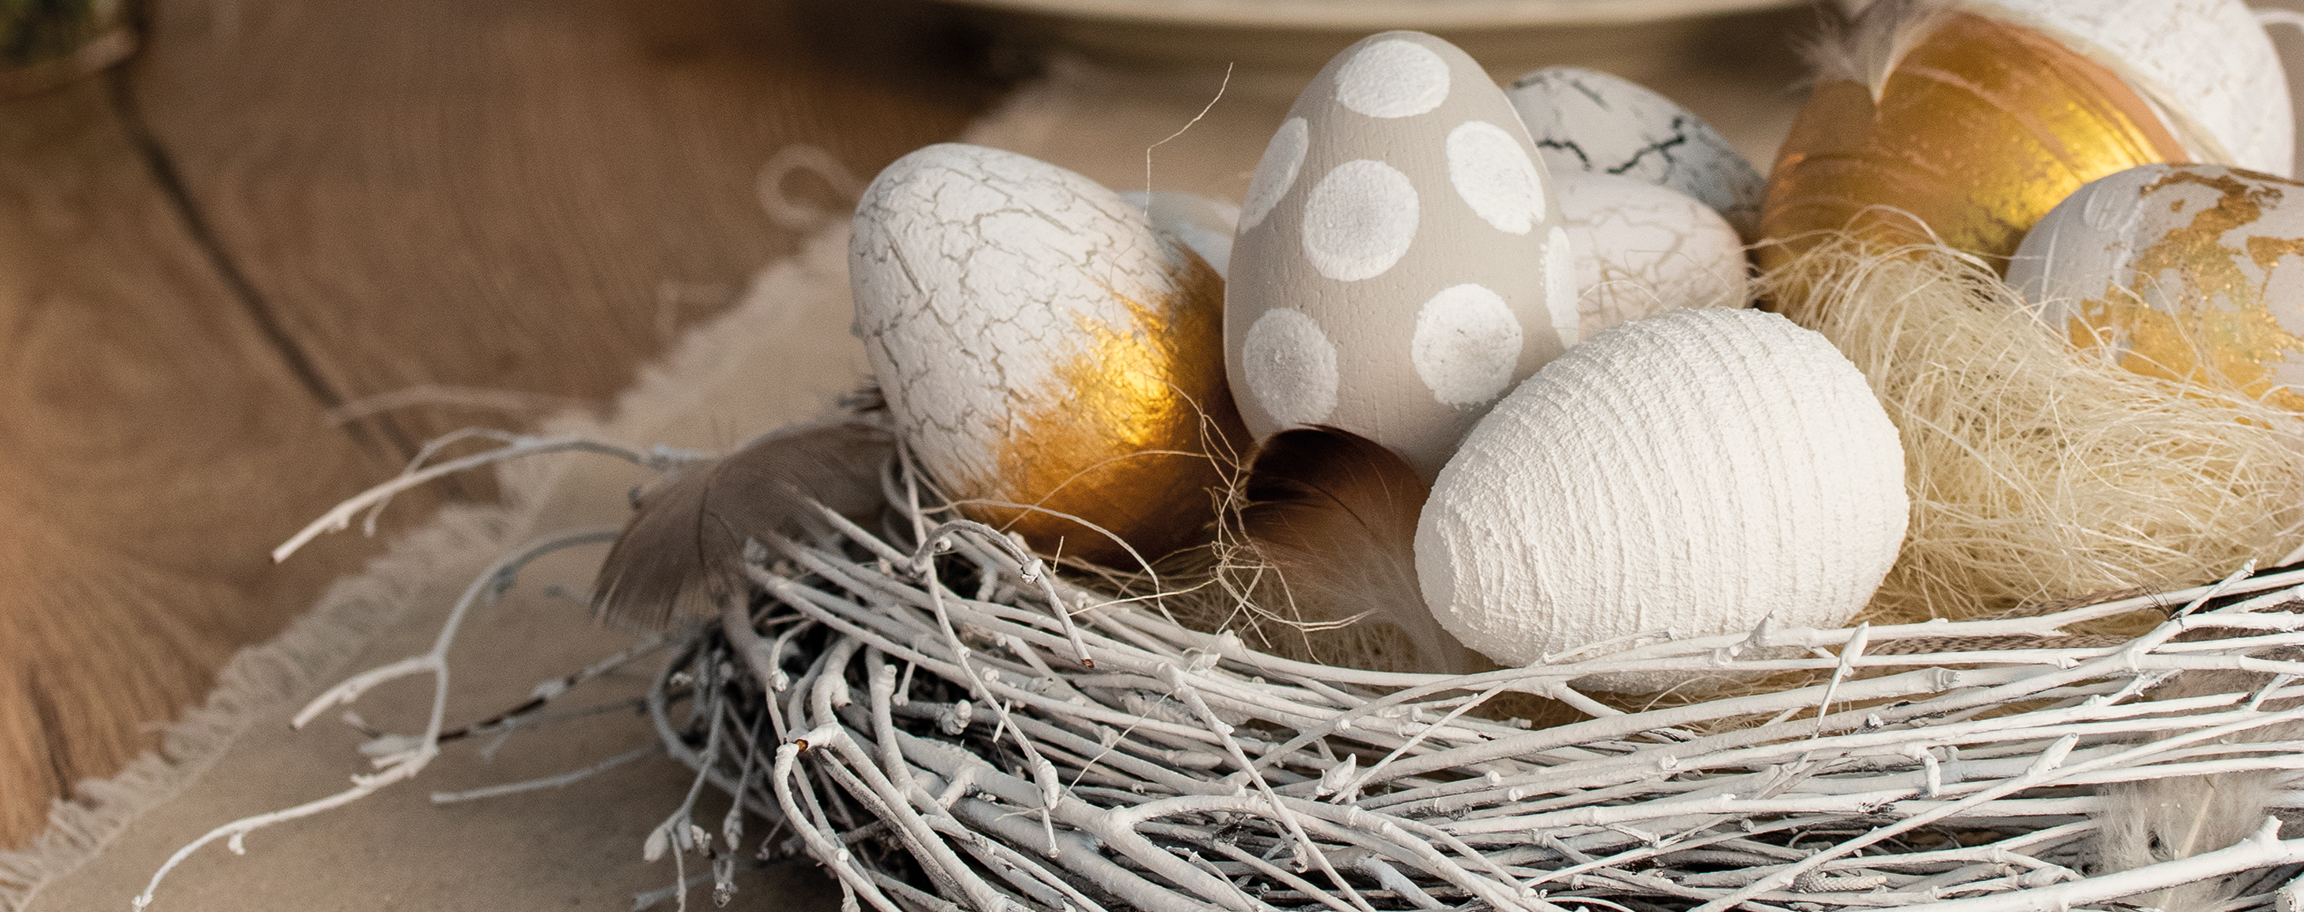
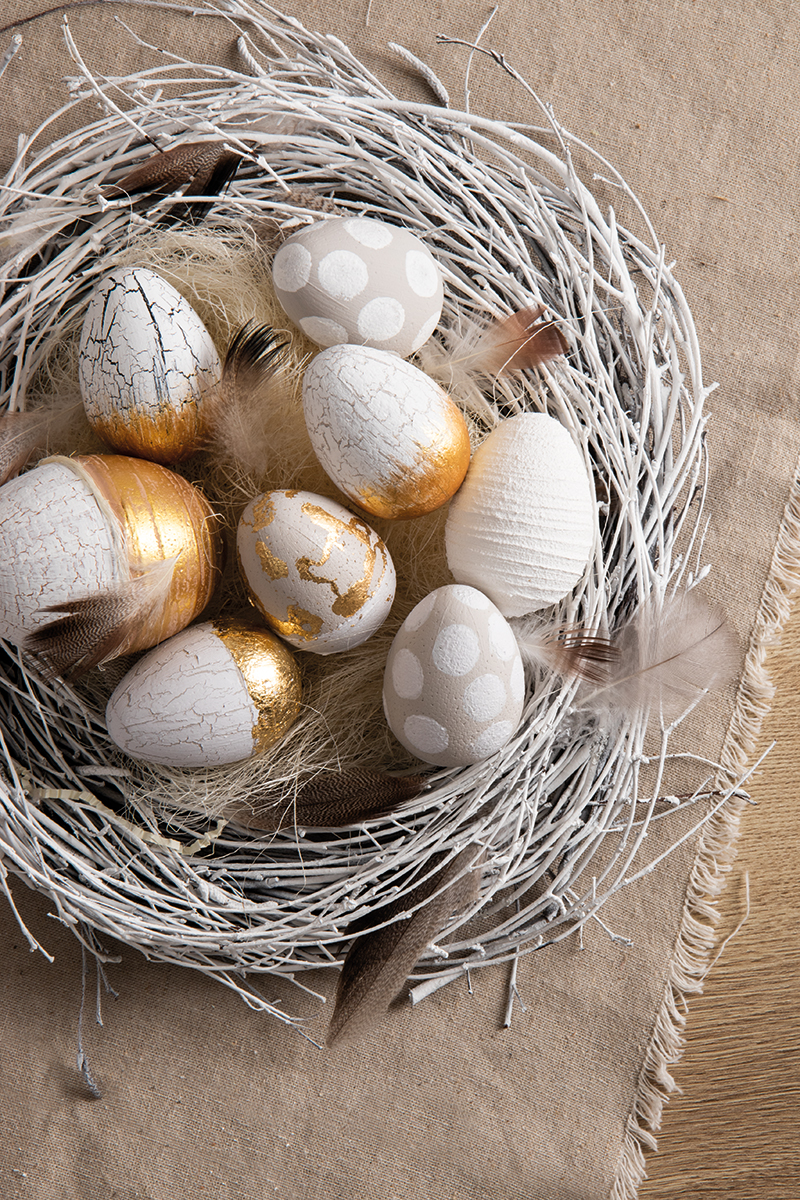


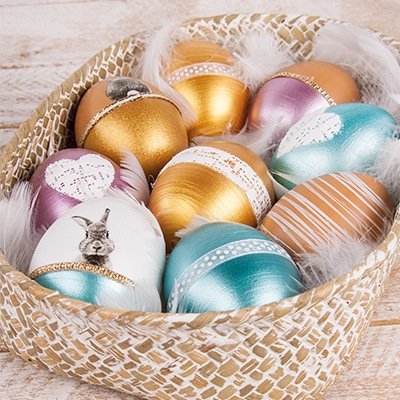
Instructions in 5 steps To make a difference, the Easter nests are not colourful this time: these eggs gleam in subtle white, grey and gold. They become true eye-catchers through very particular decorating techniques such as crackle painting and stamping or by applying the structural paste on.
Besides the articles listed below, you also need: Wooden skewers, paintbrush
And this is how it works: 1 ![]()
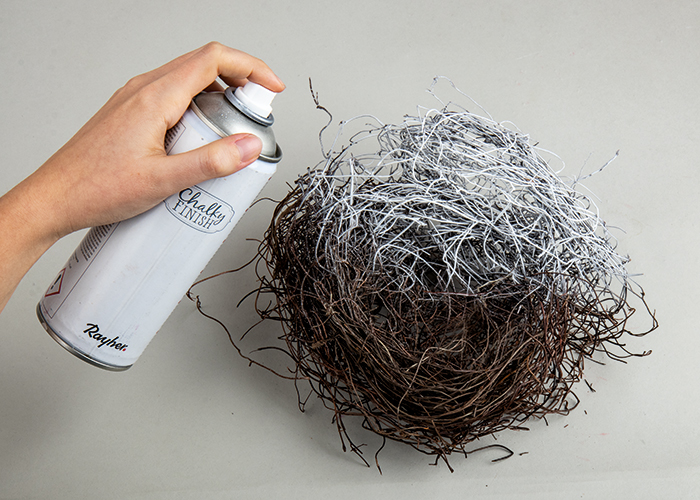
Step 1
First of all, layer the twigs in the shape of a nest with a diameter of about 25 cm. Then, spray the nest by means of the Chalky Finish spray and let it dry.2 ![]()
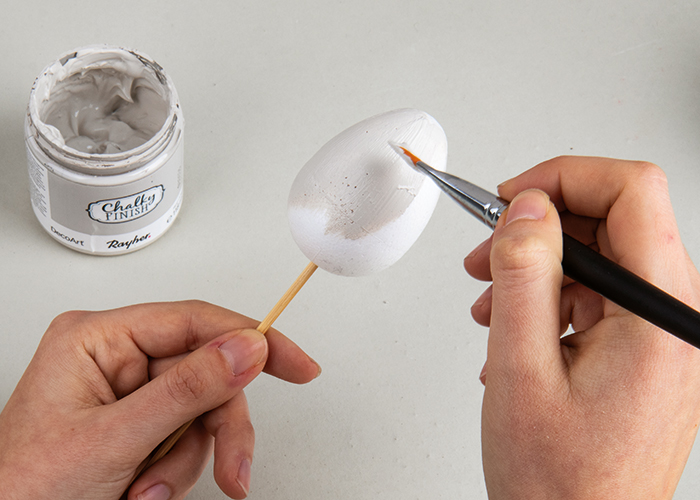
Step 2
Skewer each of the styrofoam eggs on a wooden stick prior to painting. Coat all the eggs with the light topaz Chalky Finish paint and let them dry thoroughly out.3 ![]()
Step 3
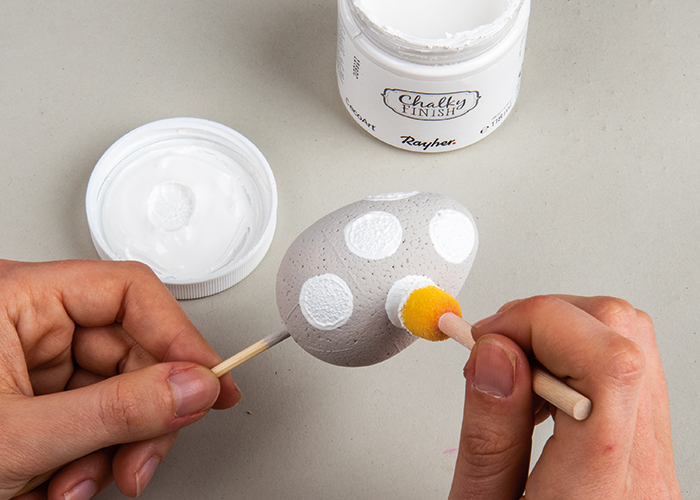
To make a dotted egg, apply the white Chalky Finish paint onto the egg using the sponge stamp. Let this egg dry well once again.4 ![]()
Step 4
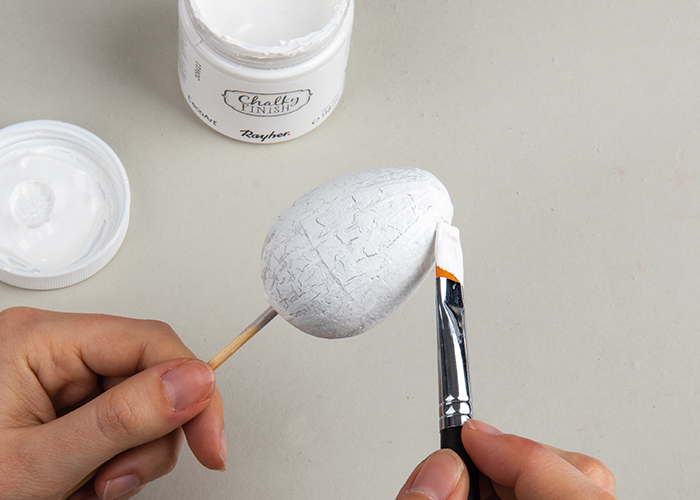
To achieve the crackle effect, brush quickly the crackle varnish onto the paint-coated eggs. Let these eggs dry well too. Then apply the white Chalky Finish paint onto the dried crackle varnish. This new layer of paint also has to dry well. The paint coat will start cracking during the drying process. Now you can apply the cashmere gold Extreem Sheen paint to the bottom third of the eggs. Let all the eggs dry well.5 ![]()
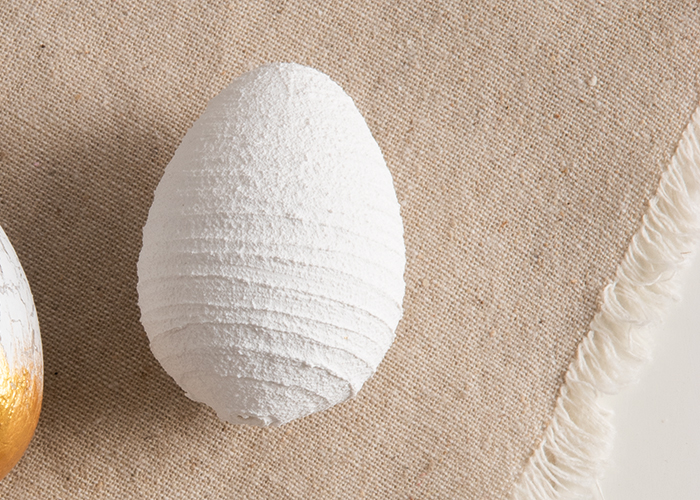
Step 5
To coat the egg with the structural paste, skewer the styrofoam egg on the wooden stick. Cover the egg entirely with the structural paste using the brush. Trace the lines in the still wet paste with the tip of the paintbrush handle by constantly turning the egg.Related craft ideas Looking for similar craft ideas? You can find them here: ![]()
![Difficulty -]()
![]()
![Difficulty -]()
![]()
![Difficulty -]()
![]()
![Difficulty -]()

White Styrofoam-eggs
DIFFICULTY

Eggs with Extreme Sheen
DIFFICULTY
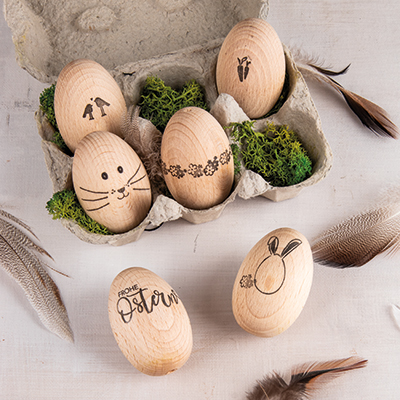
Stamped wooden eggs
DIFFICULTY

Decorative hanging eggs with granite effect spray
DIFFICULTY
