


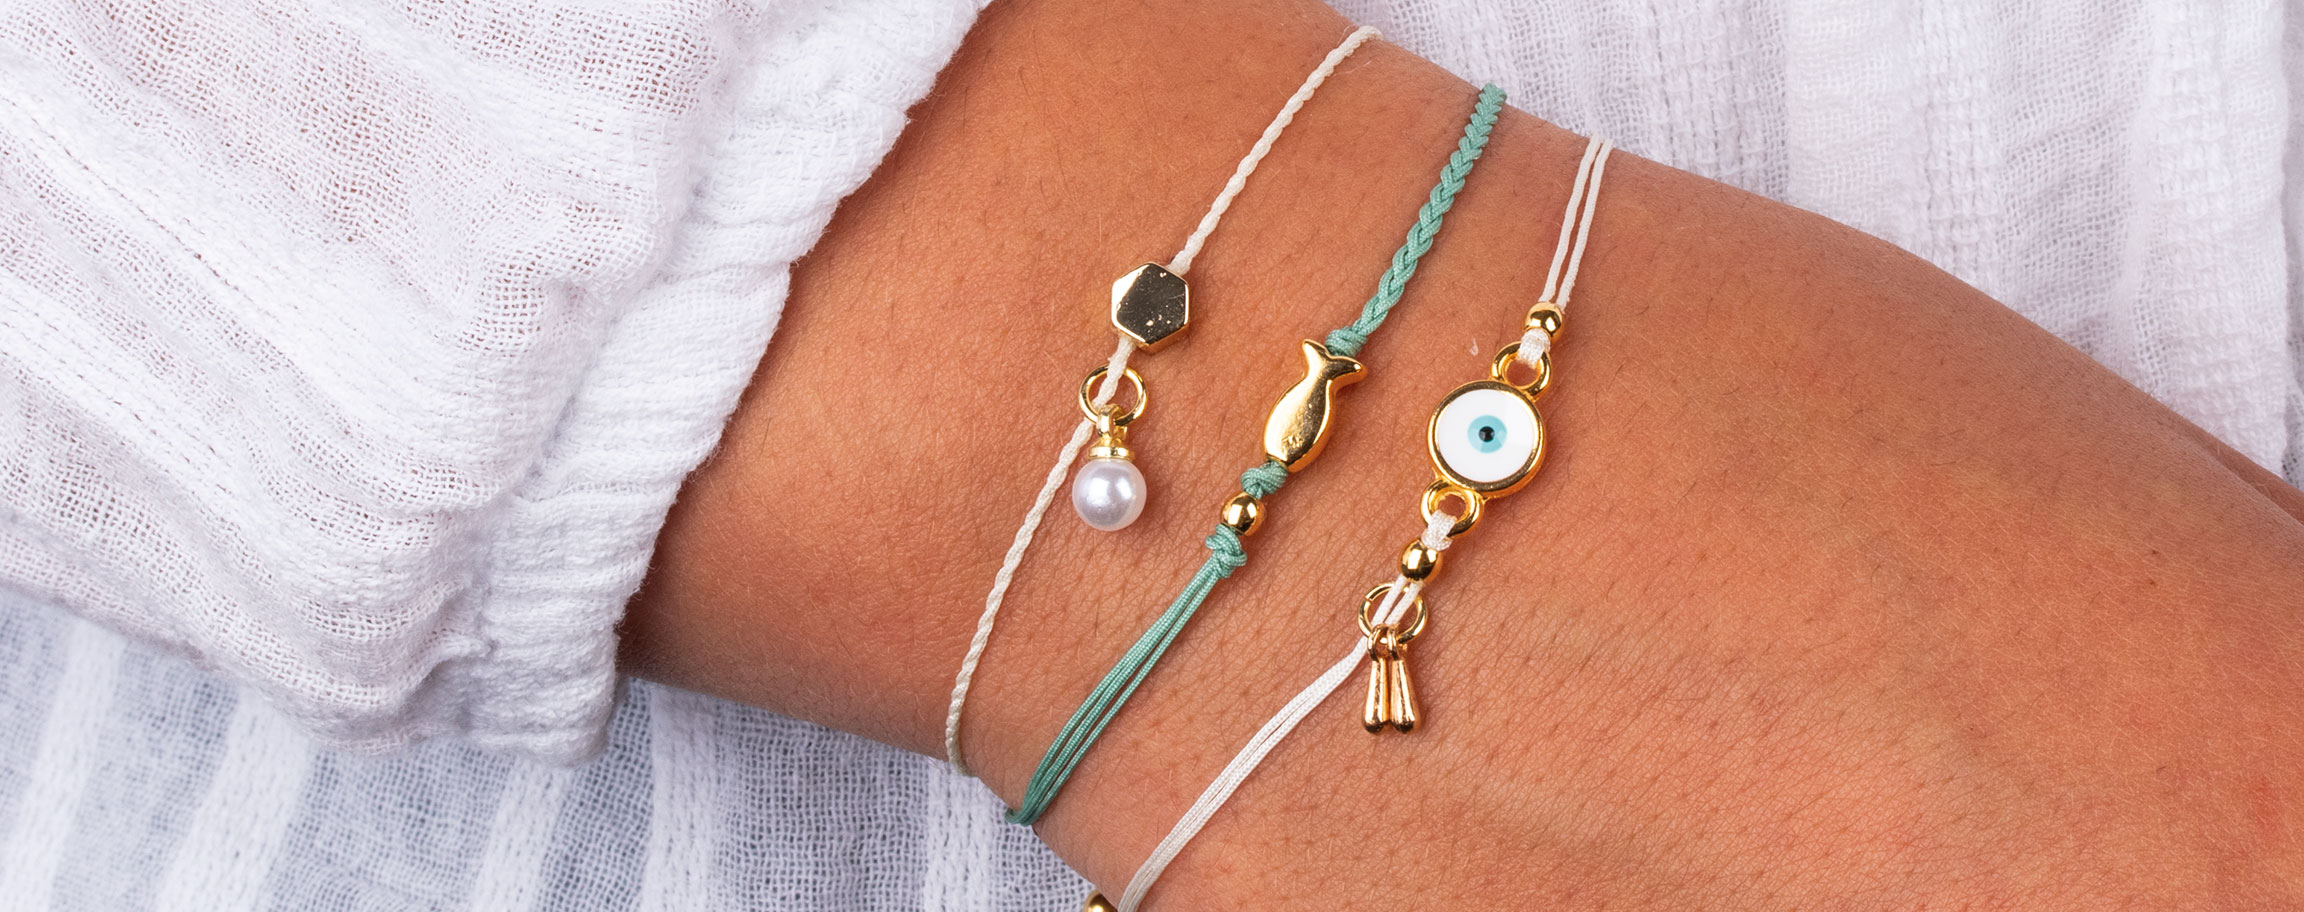


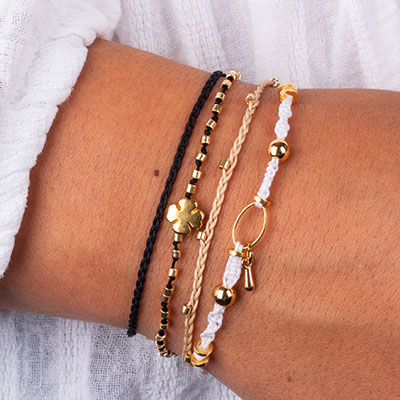
Instructions in 16 steps For yourself or to give as a gift: bound with cords and knotted, then adorned with pretty charms, beads and pendants: friendship bracelets look just as pretty when worn in several layers or on their own.
Besides the articles listed below, you also need: Scissors, pliers, toothpick, ruler, possibly a pin
And this is how it works: 1 ![]()
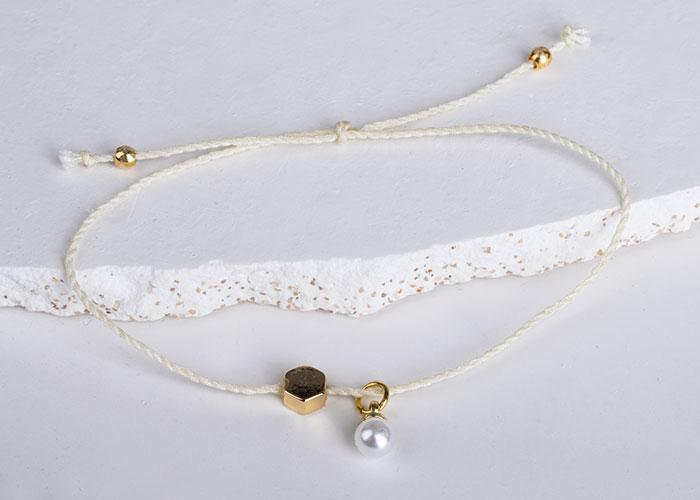
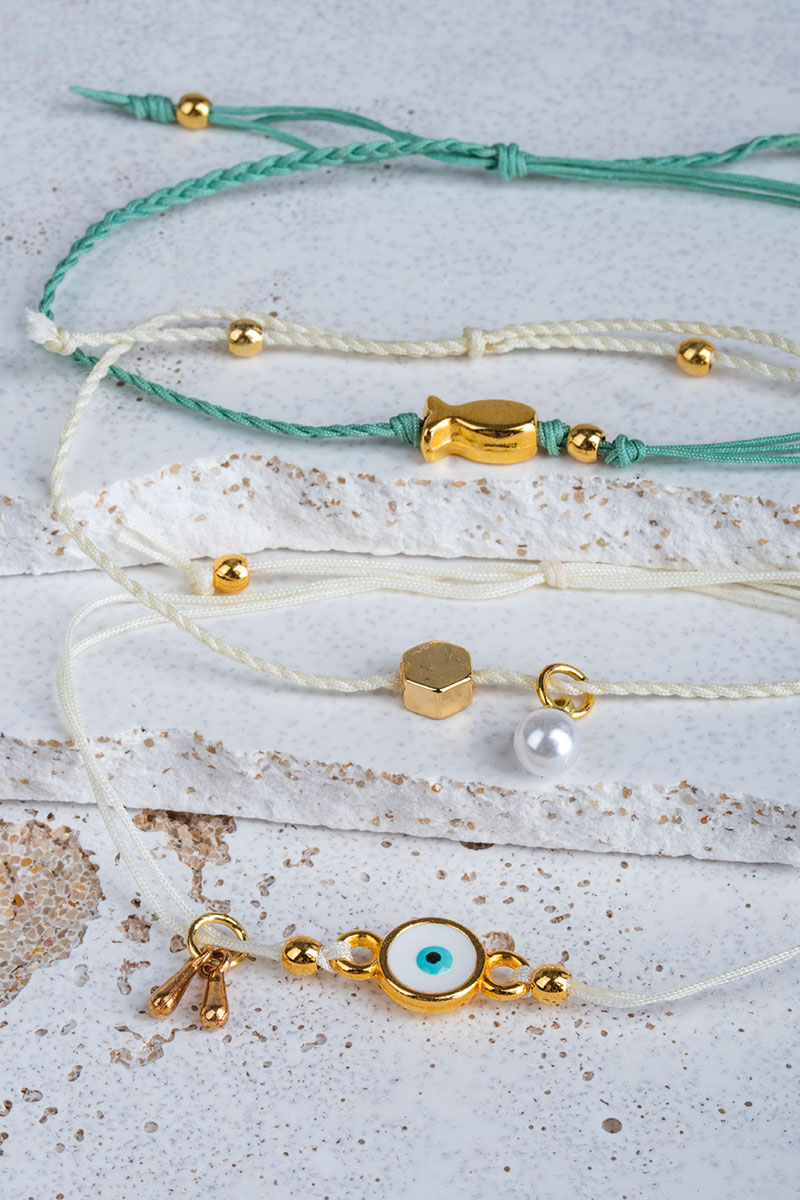
Bracelet 1
Bracelet 12 ![]()
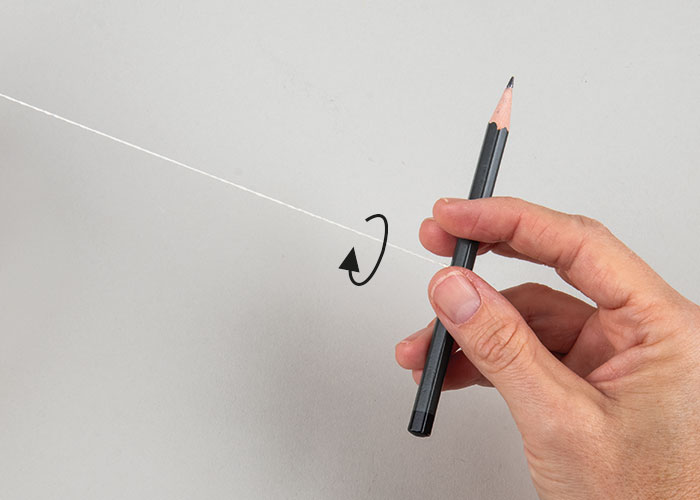
Bracelet 1 - Step 1
Twist the deco cord by holding one end firmly and pulling slightly on the other end until the strand begins to curl upon itself. Then bring the ends together (held under gentle tensile traction) in the middle and twist them until a cord is formed.3 ![]()
Bracelet 1 - Step 2
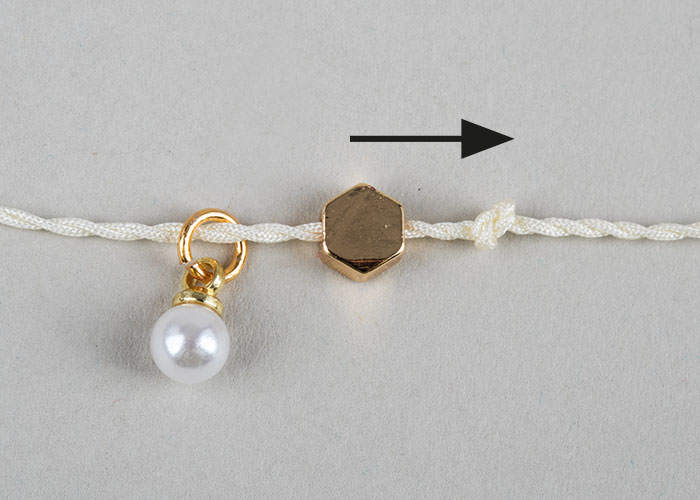
Open the jump ring by means of pliers and hang a pearl on. String the pearl and the hexagon one after the other. Slide the hexagon into the middle and secure it in place with a knot.4 ![]()
Bracelet 1 - Step 3
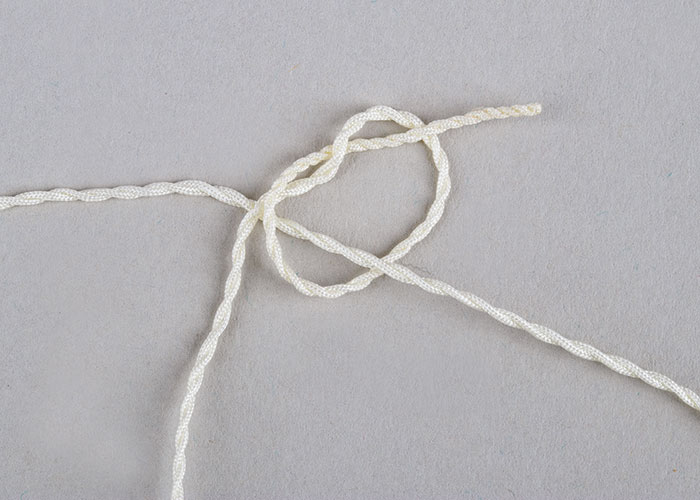
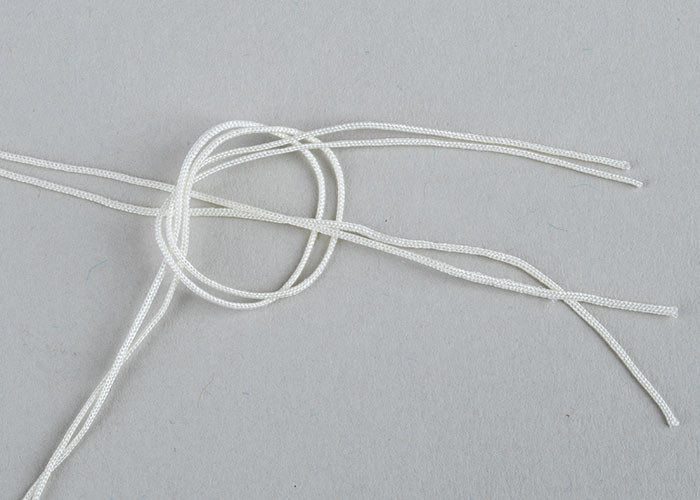
Make a simple sliding knot. Take care that the sliding knot is positioned laterally so that the ends are of the same length at your wrist when pulled together.5 ![]()
Bracelet 1 - Step 4
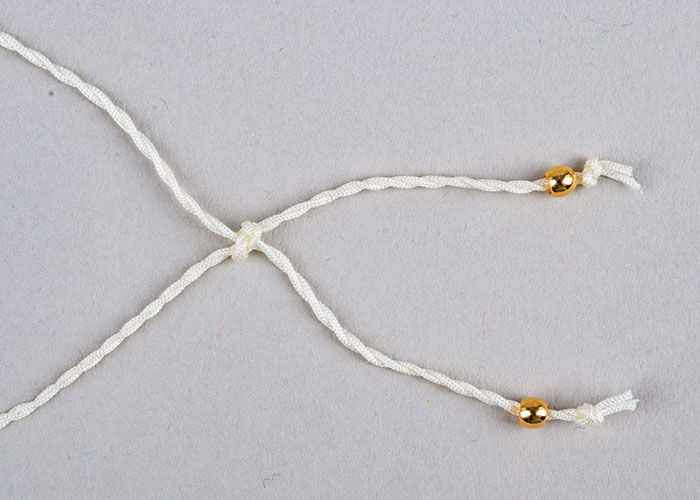
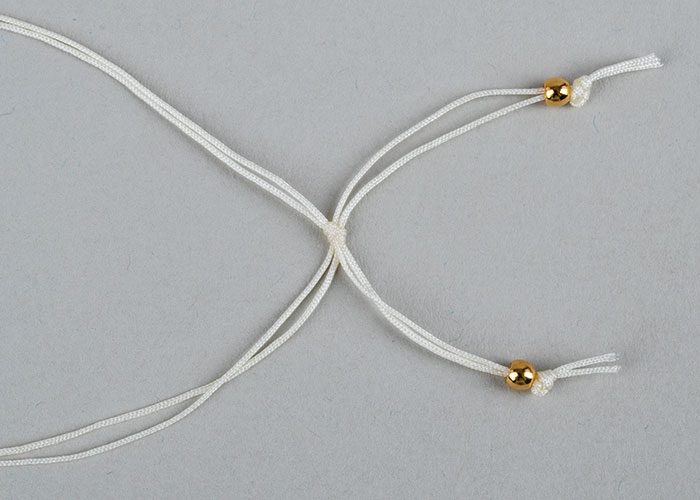
String one spacer bead at each end and tie a knot at the same height. Cut off overhanging strands closely.6 ![]()
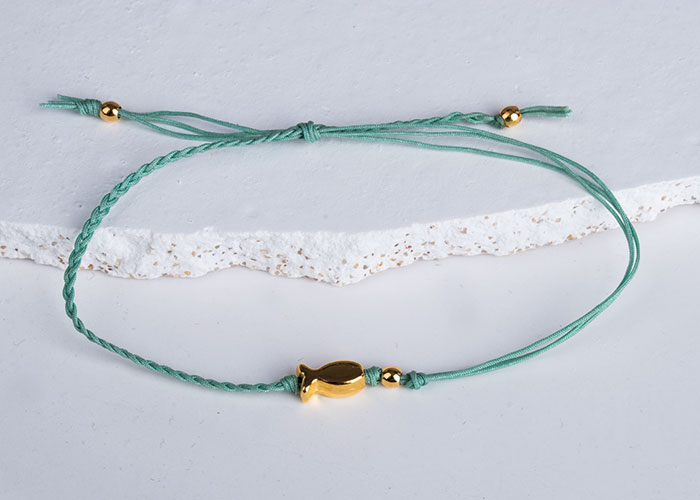
Bracelet 2
Bracelet 27 ![]()
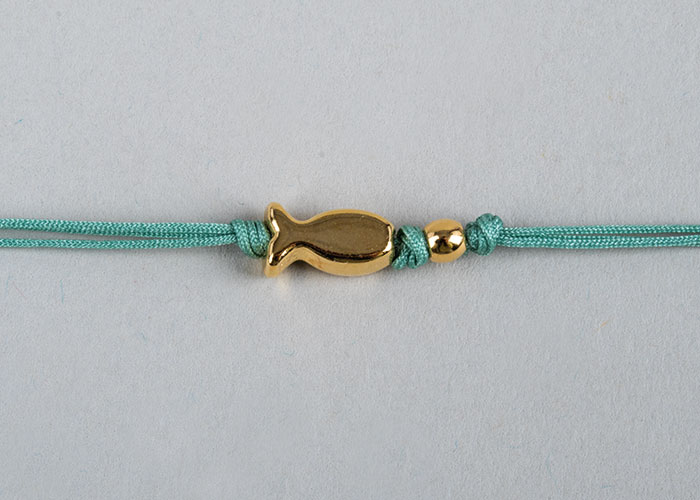
Bracelet 2 - Step 1
Cut the deco cord in 3 strands of same length (40 cm each) and place them side by side. String the fish, slide it into middle and tie a knot at either side. String a spacer bead onto the side of the fish's head and tie another knot.8 ![]()
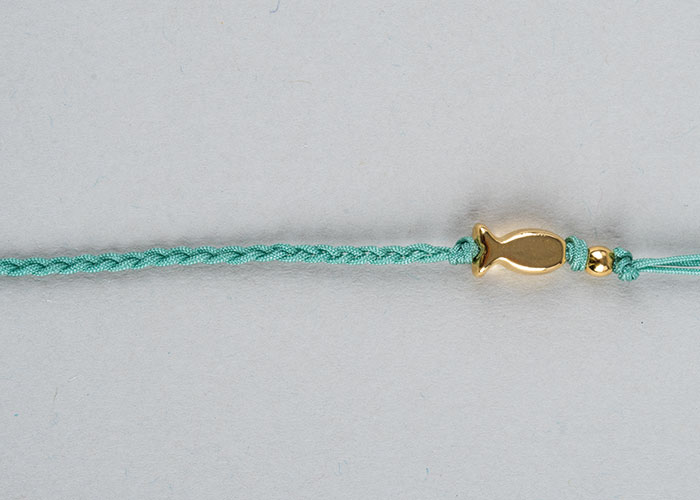
Bracelet 2 - Step 2
Braid the strands on the other side of the fish and tie a knot at the end.9 ![]()
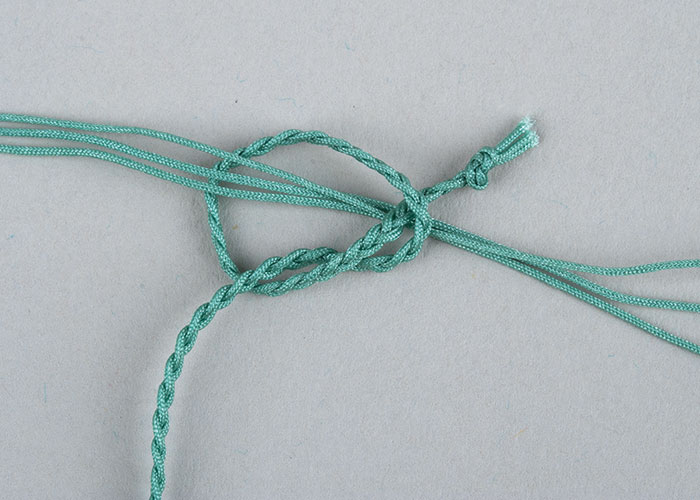
Bracelet 2 - Step 3
Make a simple sliding knot. Take care that the sliding knot is positioned laterally so that the ends are of the same length at your wrist when pulled together.10 ![]()
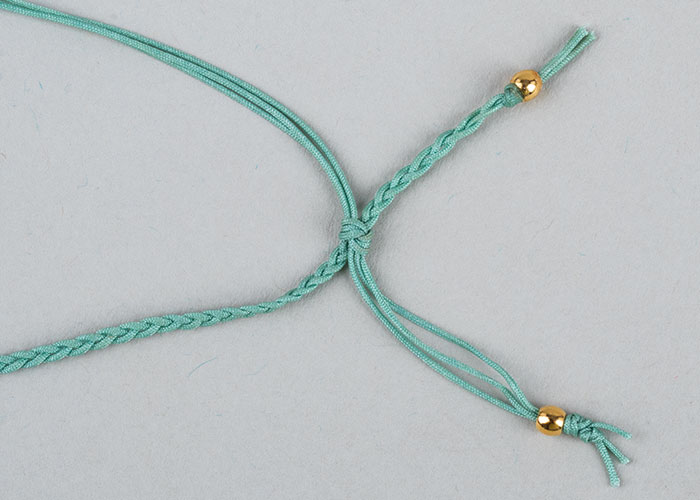
Bracelet 2 - Step 4
String a spacer bead on the unbraided end and tie a knot. Then, string a spacer bead on the braided end and secure it in place with some glue.11 ![]()
Bracelet 3
Bracelet 312 ![]()
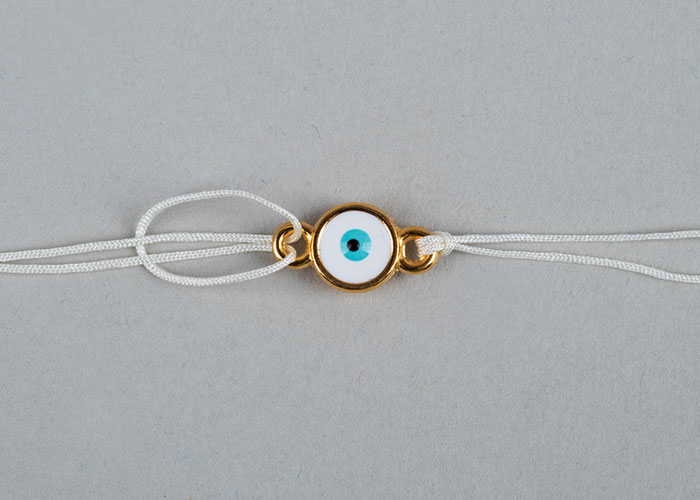
Bracelet 3 - Step 1
Fold two 35 cm long strands in half and attach a folded strand to each side of the decorative element “Evil Eye” by means of lark's head knot.13 ![]()
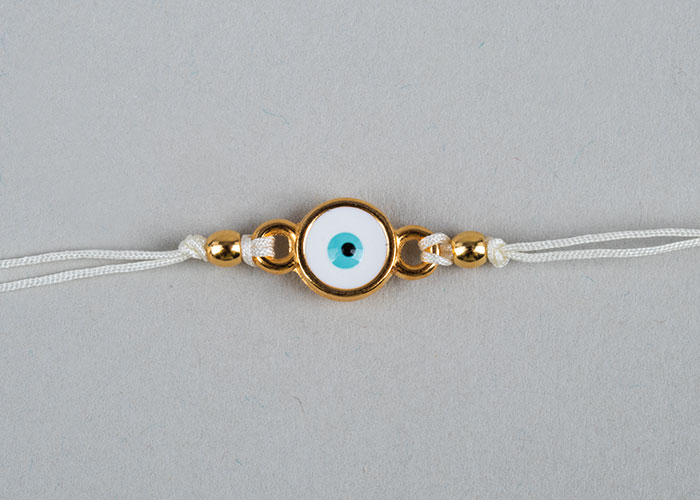
Bracelet 3 - Step 2
String a spacer bead on each side of the decorative element and tie a knot close to the spacer bead.14 ![]()
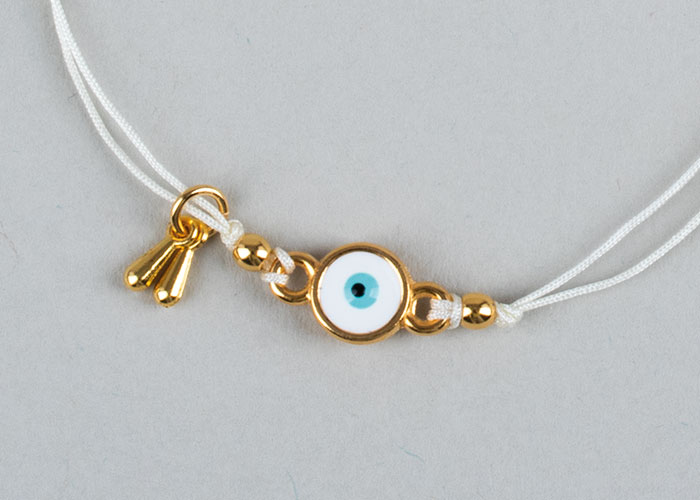
Bracelet 3 - Step 3
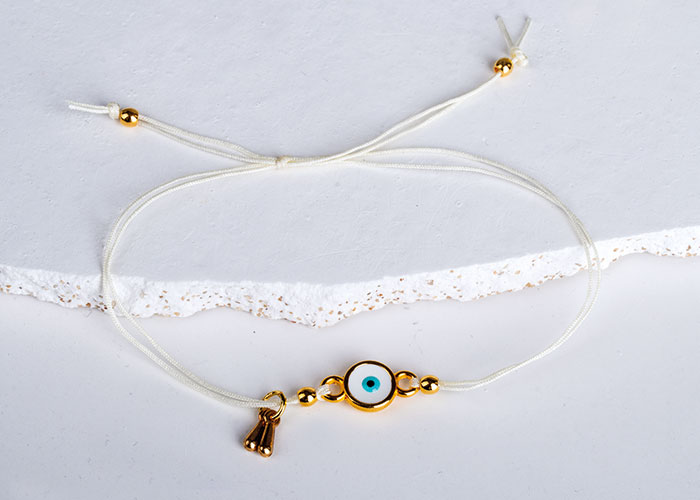
Open the jump ring and hang the two drop-shaped elements on, close the jump ring and string the resulting pendant on one end.15 ![]()
Bracelet 3 - Step 4
Make a simple sliding knot. Take care that the sliding knot is positioned laterally so that the ends are of the same length at your wrist when pulled together. Cut off evenly.16 ![]()
Bracelet 3 - Step 5
String a spacer bead on each end and tie a knot.Related craft ideas Looking for similar craft ideas? You can find them here: ![]()
![Difficulty -]()
![]()
![Difficulty -]()
![]()
![Difficulty -]()
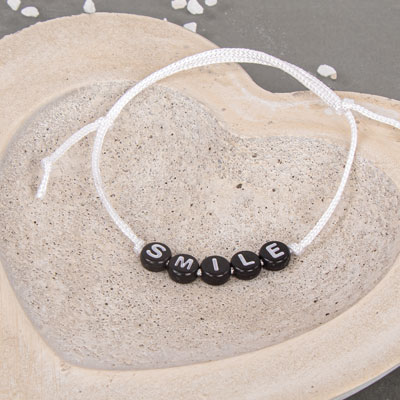
Bracelet „SMILE“
DIFFICULTY


Bracelet „BEST MOM“
DIFFICULTY

Friendship bracelets in black and white
DIFFICULTY