


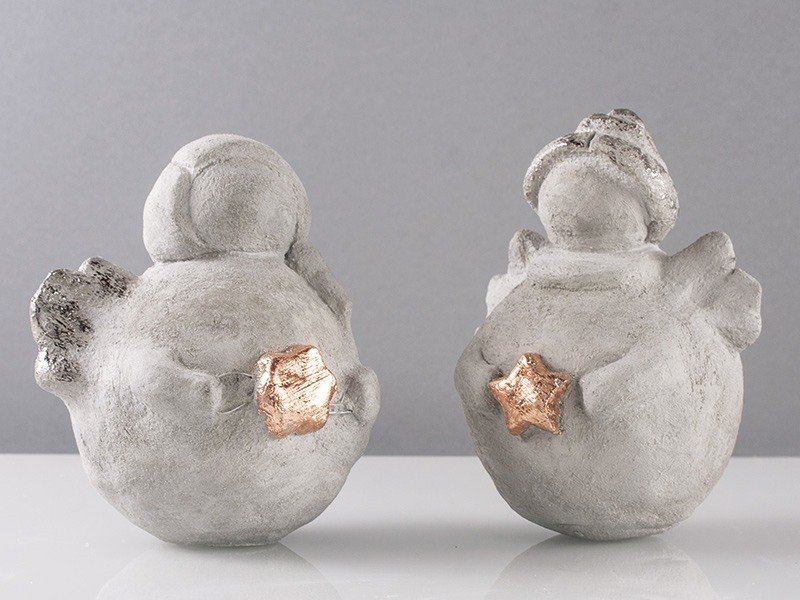


Instructions in 7 steps Two styrofoam balls of different sizes form the body and head. Coat them both with kneading-cement and make your very own angel.
Besides the articles listed below, you also need: Container for kneading of the cement (e.g. bowl with lid), disposable gloves, stable support e.g. the lid of a plastic bucket, brush, small container with water, poss. wire, toothpick/wooden skewer, cookie cutter “Star”, stand for the styrofoam-ball e.g. a tin, paper towel
And this is how it works: 1 ![]()

Step 1
Always wear plastic gloves while working!2 ![]()
Step 2
Mix the cement with water in the ratio 9:1 (9 parts of cement : 1 part of water). This corresponds to about 80 ml. Stir the water slowly, gradually add it while constantly kneading. Knead the crumbly mixture with damp disposable gloves (if necessary, moisten several times) until the desired consistency is achieved.Hint: You can mix also, quickly and easily, the kneading-cement in a sealable container. Here also add the water gradually by stirring it constantly, then close the container and shake it well. That way there is less dust and the parts intermix perfectly. Knead more afterwards the crumbly mixture with wet disposable gloves (if necessary, moisten several times) until the mixture is malleable.
3 ![]()
Step 3
Put the small styrofoam-ball onto a wooden skewer e.g. toothpick about 5cm long. Then take some cement between the palms, press it flat and coat thinly the both styrofoam-balls with cement. Attach both balls together by inserting the wooden skewer of the small ball into the big one.4 ![]()
Step 4
For further processing, lay several sheets of the paper towel onto the tin/mug that you use as a stand and place the bigger coated styrofoam-ball onto it. The paper towel prevents that the border marks of the tin/mug get too deep into the cement by pressure.5 ![]()
Step 5
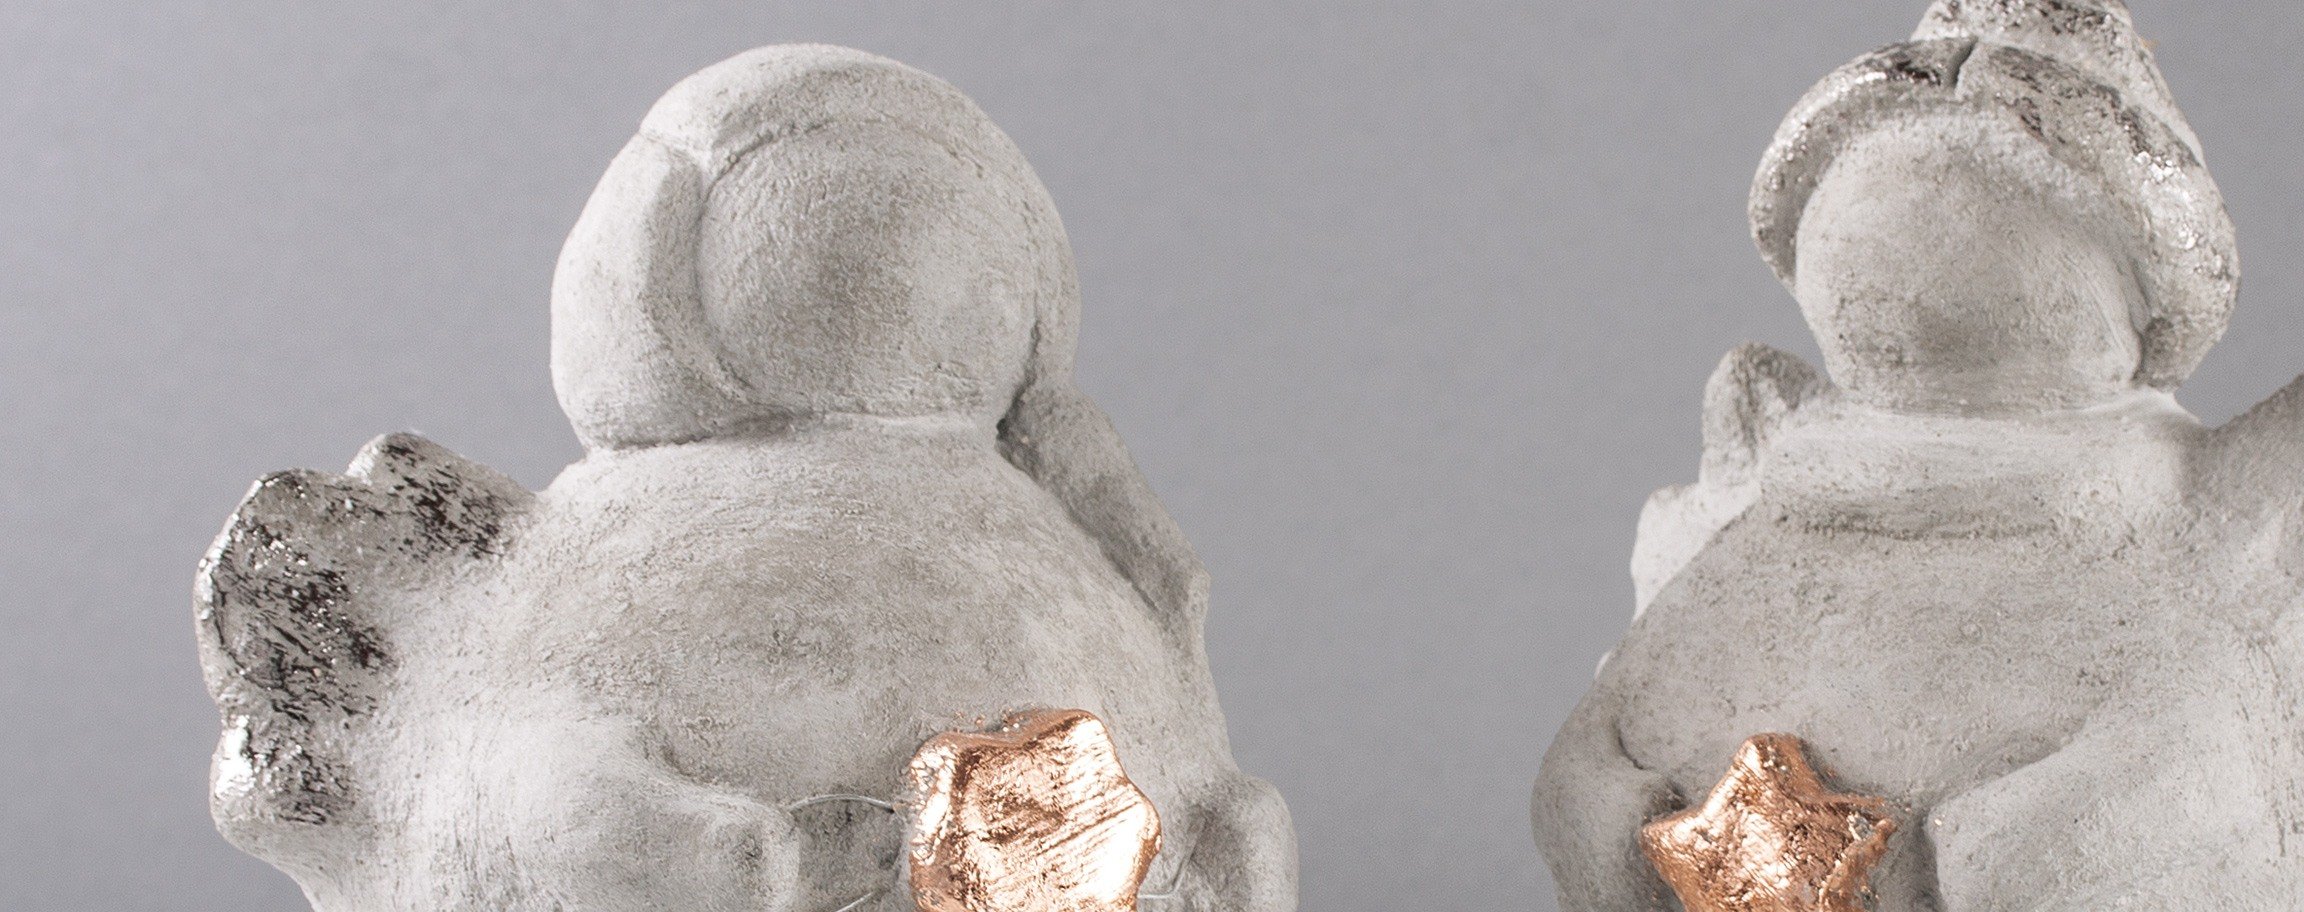
Mould out of the kneading-cement the arms, wings, hair and a small star and put them onto the coated styrofoam-piece (poss. stop up the joints with your thumb). The star can also be made with a small metallic cookie cutter. For a sophisticated look, decorate the star also with a wire.Hint: The cement mixture should be smooth and easily malleable. If the cement is cracky during kneading, just sprinkle it with some water. The connection joints should be always damp, potentially work it out with a lightly moistened brush.
6 ![]()
Step 6
The entire drying period lasts for several days. After about 21 days the object is weatherproof.7 ![]()
Step 7
Optionally, you can decorate further the angel with glossy highlights. Therefor, spread some glue for foil onto the desired surface by using the brush and let it dry clearly (it lasts at least 1 hour). Then decorate it with the mirror-foil according to the package instructions.Related craft ideas Looking for similar craft ideas? You can find them here: ![]()
![Difficulty -]()
![]()
![Difficulty -]()
![]()
![Difficulty -]()
![]()
![Difficulty -]()
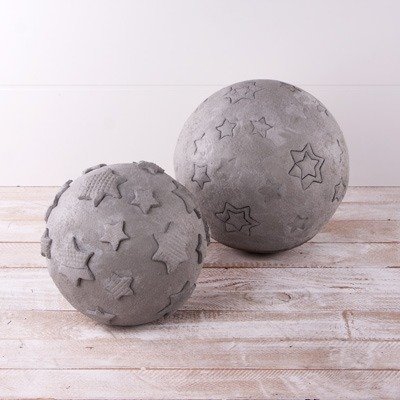
Kneading-cement balls with star motifs
DIFFICULTY


Small pear out of the kneading-cement
DIFFICULTY

Stencilled star out of concrete
DIFFICULTY

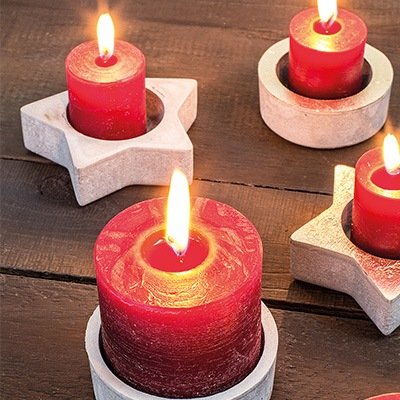
Candle holder out of concrete
DIFFICULTY