


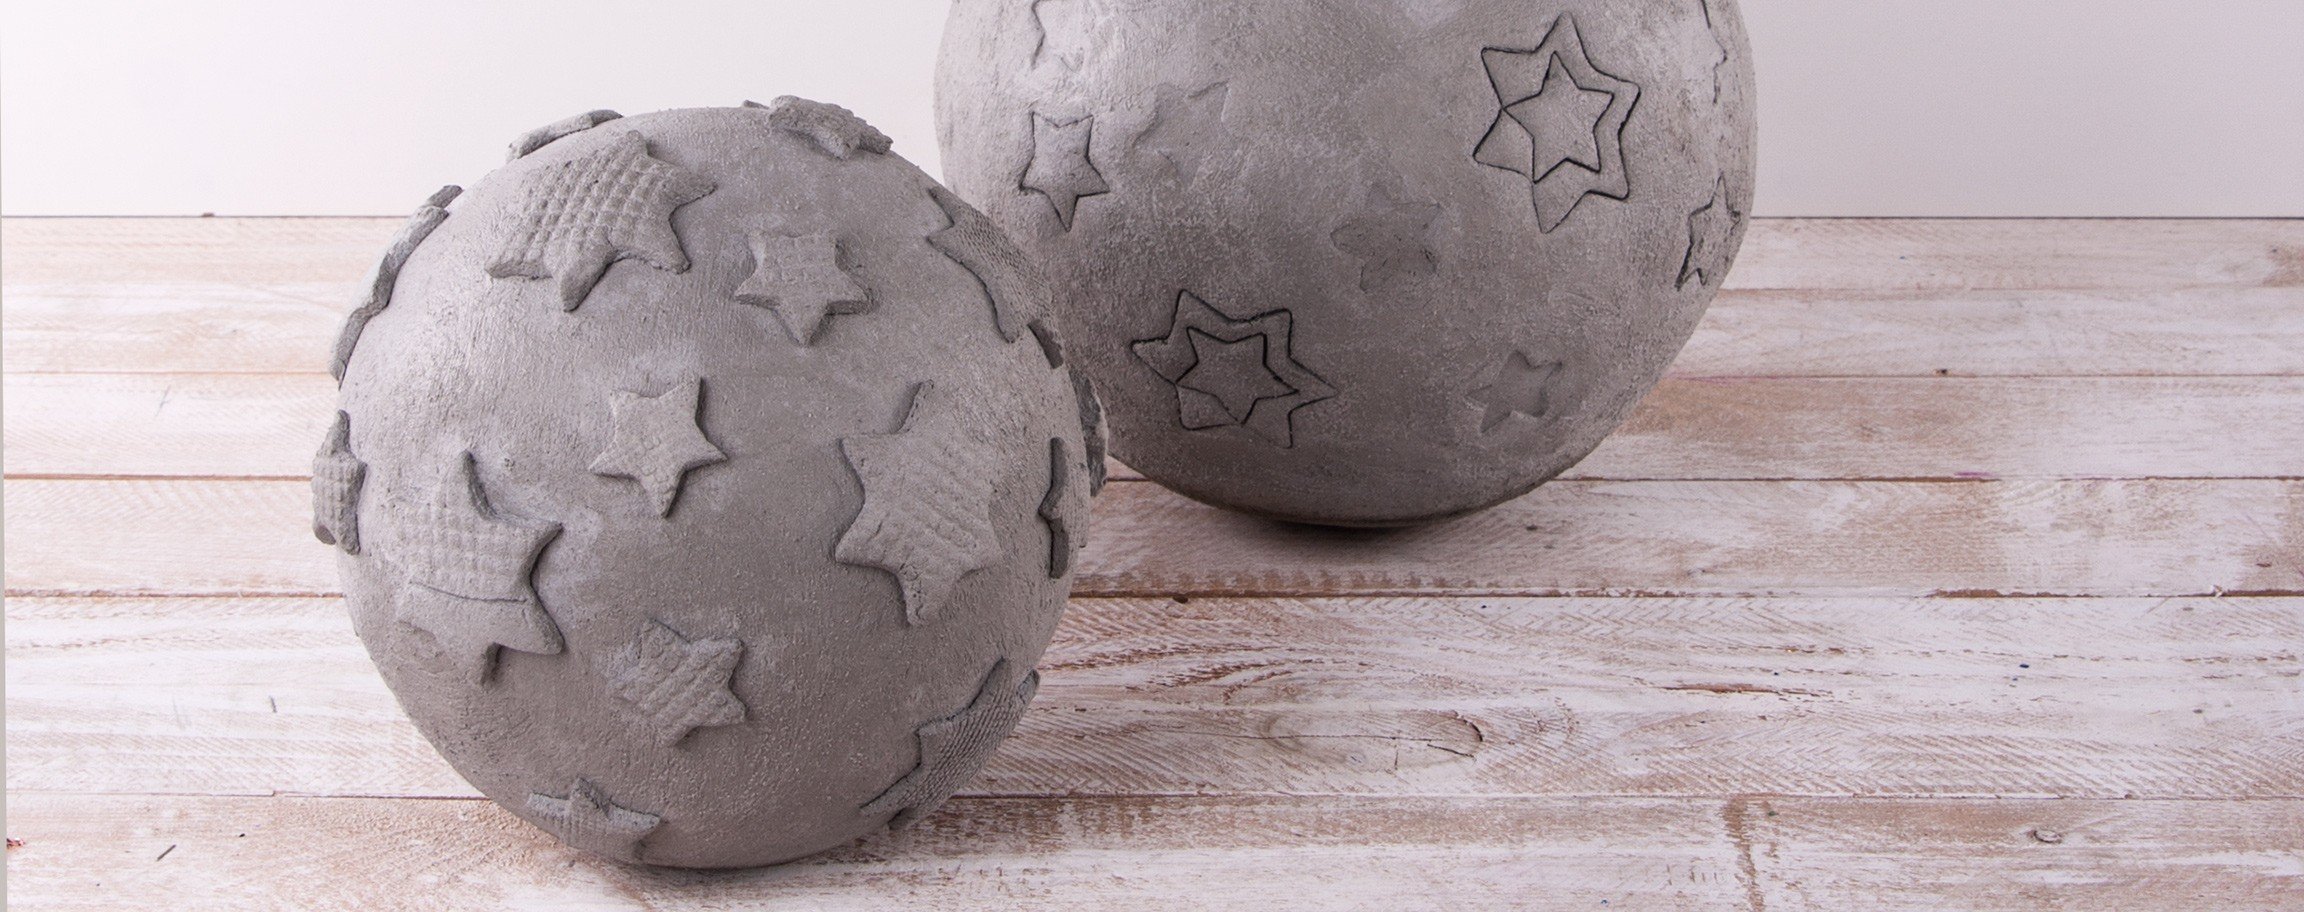
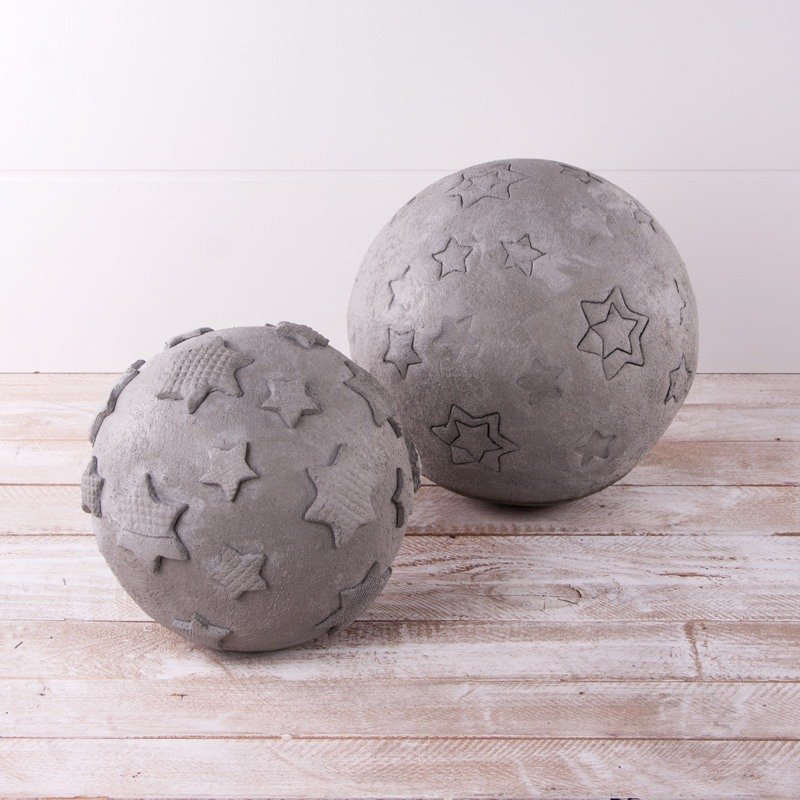


Instructions in 10 steps Press the cookie cutters into one ball out of kneading-cement and decorate the other one with cut-out stars.
Besides the articles listed below, you also need: Disposable plastic gloves, cling film, container for kneading of the cement (e.g. bowl with lid), container with water, brush, stable support e.g. the lid of a plastic bucket, PET spray bottle (item 38 798 000), rolling pin (item 61 069 00), metallic spatula (item 38 031 00)
And this is how it works: 1 ![]()

Step 1
Firstly, prepare your workplace along with all required materials and tools. Always wear the gloves while working!2 ![]()
Step 2
Mix the cement (2kg) with water in the ratio 9:1 (9 parts of cement : 1 part of water). This corresponds to about 220 ml. Stir the water slowly, gradually add it while constantly kneading. Knead the crumbly mixture with damp disposable gloves (if necessary, moisten several times) until the desired consistency is achieved.Hint: You can mix also, quickly and easily, the kneading-cement in a sealable container. Here also add the water gradually by stirring it constantly, then close the container and shake it well. That way there is less dust and the parts intermix perfectly. Knead more afterwards the crumbly mixture with wet disposable gloves (if necessary, moisten several times) until the mixture is malleable.
3 ![]()
Step 3
Take about ¾ of the kneading-cement mixture and lay it between two pieces of the cling film. Roll out the kneading-cement with the rolling pin on the cling film until you achieve about 4 mm thickness.4 ![]()
Step 4
Take off the the upper piece of foil and place centrally the styrofoam-ball onto the rolled-out cement-mixture. By using the lower foil, put the cement-mixture around the styrofoam-ball. Take off the foil. Now you can sculpt the ball with uniform stroking movements by hands until the kneading-cement mixture covers uniformly and smoothly the entire ball. Stroke and rotate the ball with your hands so long until the cement in some way hardens.Hint: The cement mixture should be smooth and easily malleable. If the cement is cracky during kneading, just sprinkle it with some water.
5 ![]()
Step 5
Dab off afterwards the ball with a paper towel (so that the ball loses moisture and therefore remains dimensionally stable) and lay it aside on a base.6 ![]()
Step 6
Take the remaining part of the kneading-cement mixture, lay it again between the two foil pieces and roll it also out with the rolling pin until you achieve about 3-4 mm thickness.7 ![]()
Step 7
Remove the upper foil and cut out the star motif in different sizes by using the cookie cutters.8 ![]()
Step 8
The punched-out motifs can be carefully removed from the foil by using a spatula and then laid down onto the ball and carefully pressed against it. Work swiftly to avoid that the kneading-cement becomes too dry.9 ![]()
Step 9
If however the ball is too dry, you can rework with some silt (the silt = the cement-mixture diluted with additional water from the mixing bowl).10 ![]()
Step 10
The entire drying period lasts for several days. After about 21 days the object is weatherproof.Related craft ideas Looking for similar craft ideas? You can find them here: ![]()
![Difficulty -]()
![]()
![Difficulty -]()
![]()
![Difficulty -]()
![]()
![Difficulty -]()

Fir-tree (36cm) out of kneading-cement
DIFFICULTY

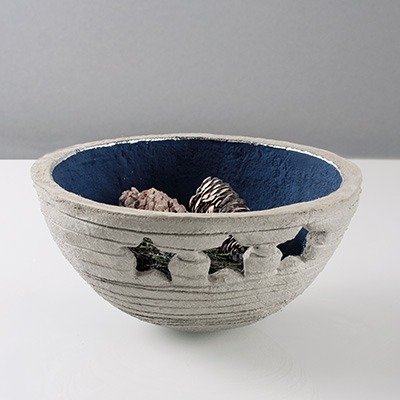
Bowl with star-motifs out of kneading-cement
DIFFICULTY


Kneading-cement ball with flowers
DIFFICULTY
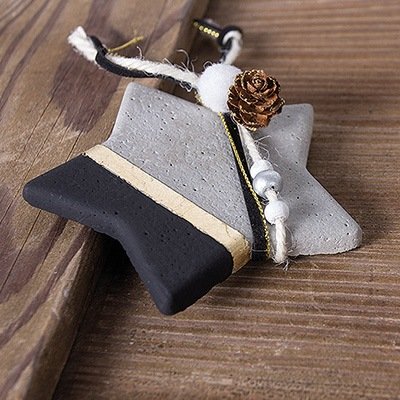
Decorative star out of concrete (black & gold)
DIFFICULTY