


Instructions in 12 steps You can use our modelling tool for making grooves and scale-like ornaments on the mushroom made of kneading-cement.
Besides the articles listed below, you also need: Small container with water, hot glue, natural stick about 80 cm, container for kneading of the cement (e.g. bowl with lid), disposable gloves, cling film
And this is how it works: 1 ![]()

Step 1
Always work without fail with the disposable gloves!2 ![]()
Step 2
Mix the creative kneading-cement (1.1 kg) with water in the ratio 9:1 (9 parts of cement : 1 part of water). This corresponds to about 120 ml. Stir the water slowly, gradually add it while constantly kneading. Knead the crumbly mixture with damp disposable gloves (if necessary, moisten several times) until the desired consistency is achieved.Hint: You can mix also, quickly and easily, the kneading-cement in a sealable container. Here also add the water gradually by stirring it constantly, then close the container and shake it well. That way there is less dust and the parts intermix perfectly.
3 ![]()
Step 3
Place the natural stick onto the cling film and coat it with the kneading-cement. The coated natural stick can be uniformly rolled with the cling film. Let it dry.4 ![]()
Step 4
Now place the styrofoam-cone stably onto a stable surface and cover it with the cling film.5 ![]()
Step 5
Mix the remaining creative kneading-cement (900g) as already described above, in the ratio 9 : 1 with water (9 parts of cement : 1 part of water). This corresponds to about 100 ml.6 ![]()
Step 6
Spread the cement-mixture by hand onto the coated cone and sculpt the lower edges slightly outwards. Potentially, paint over the cement with a slightly moistened brush smoothly upwards.7 ![]()
Step 7
If the cement is too dry for modelling, moisten it lightly with water from a spray bottle.8 ![]()
Step 8
For a great effect, you can draw in lines or other pattern by using the modelling tool. Let it dry at least 1 day.9 ![]()
Step 9
The entire drying period lasts for several days. After about 21 days the object is weatherproof.10 ![]()
Step 10
Drill in the birch disc a hole in the size of the coated cement-stick and secure it for example with a hot glue.11 ![]()
Step 11
Release the styrofoam-cone and the cling film out of the mushroom hat made of the creative-cement and stick them onto the cement-stick by using a hot glue.12 ![]()
Step 12
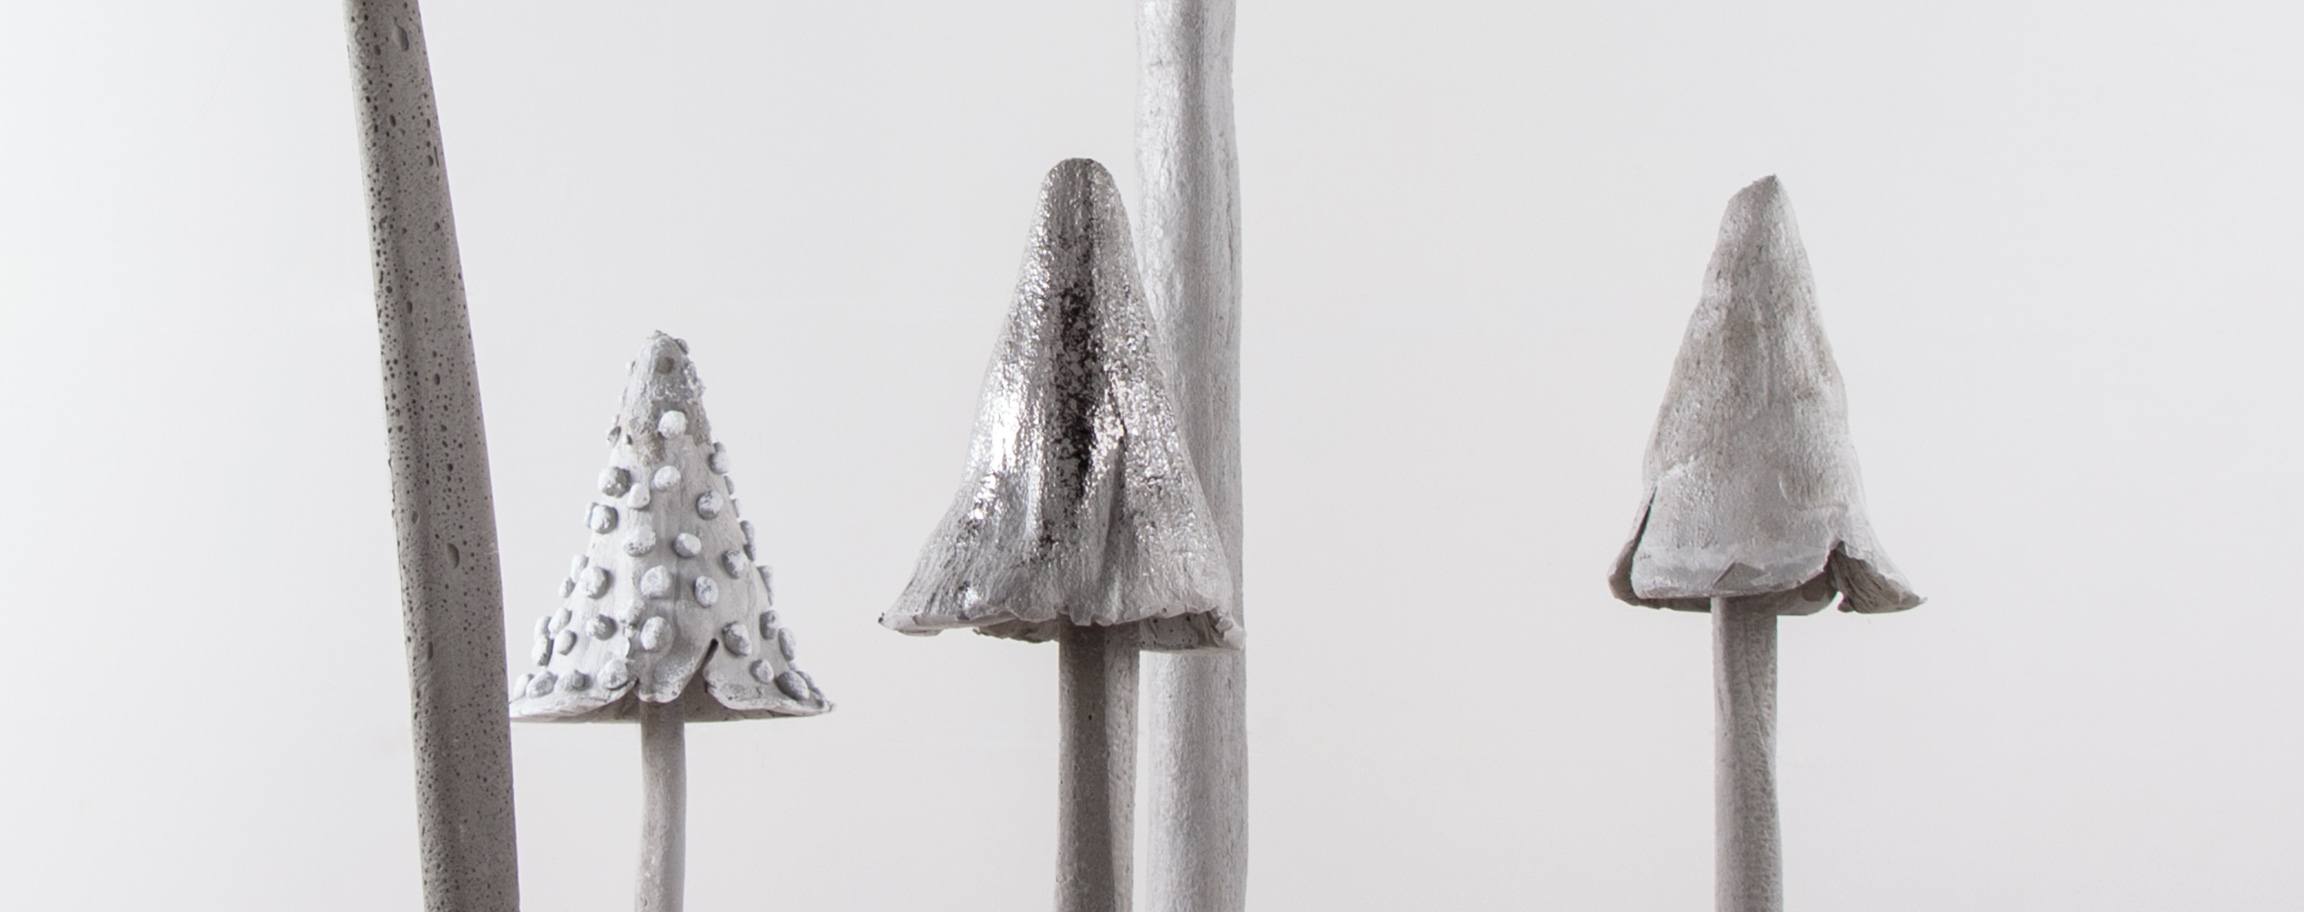
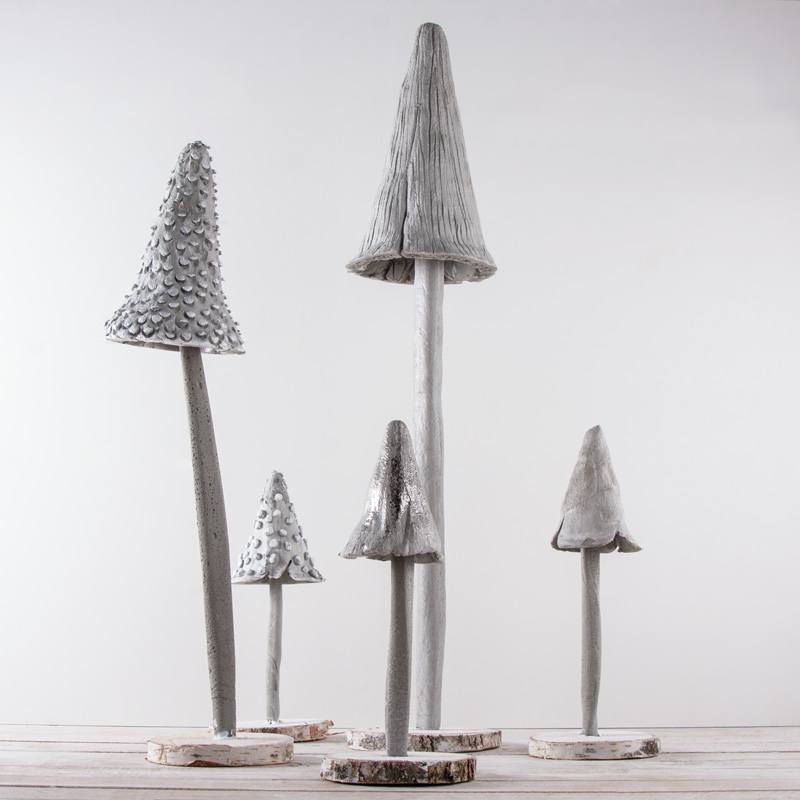
Depending on your desire, you can dab afterwards the cement-mushroom with some white paint or decorate with the mirror-foil.Related craft ideas Looking for similar craft ideas? You can find them here: ![]()
![Difficulty -]()
![]()
![Difficulty -]()
![]()
![Difficulty -]()
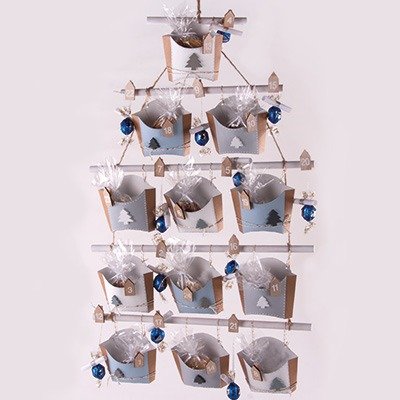
Advent calendar with cardboard-window shutter
DIFFICULTY


Pendant out of cement „House“
DIFFICULTY


Wooden soap dish with red & green soap
DIFFICULTY