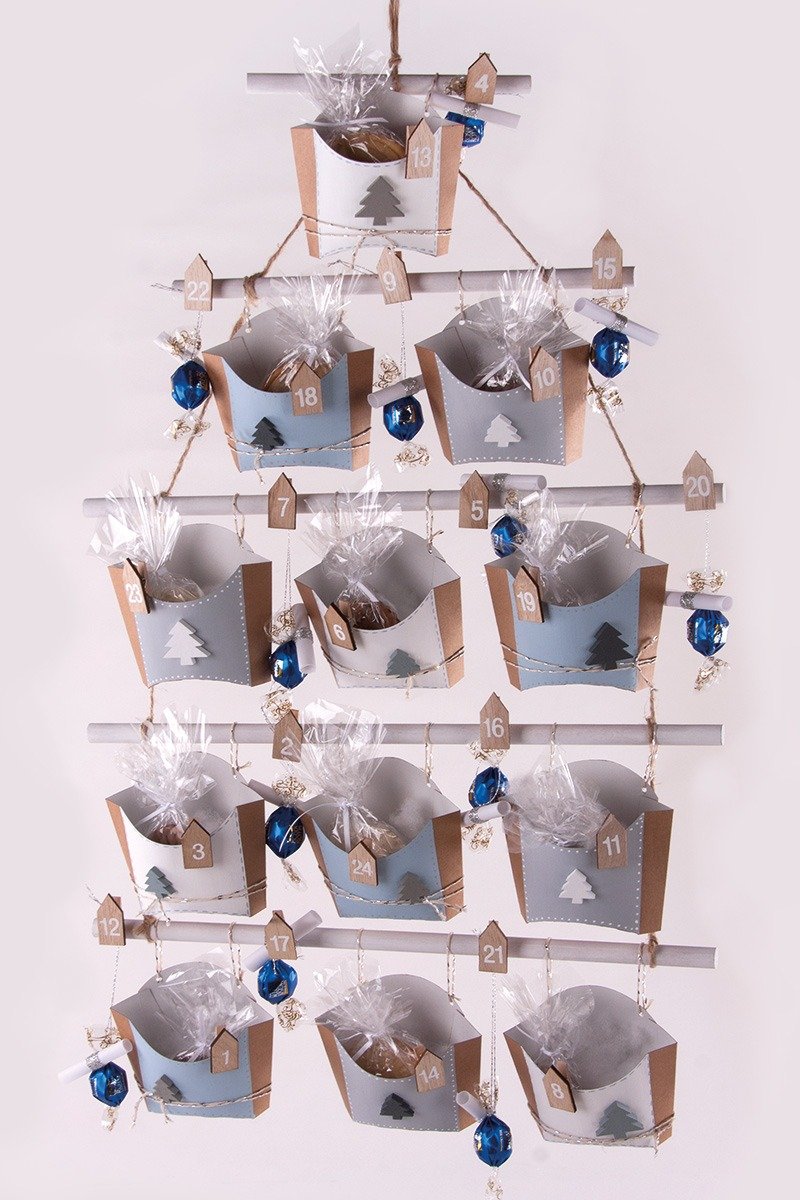
Instructions in 8 steps Paint the cardboard boxes with Chalky Finish paint and decorate them with decorative wooden shapes to scatter. By hanging them and filling them up, you will get an outstanding DIY Advent calendar. And this is how it works:
1 ![]()

Step 1
Paint the wooden round rods with Chalky Finish white and let them dry well.2 ![]()

Step 2
Lay centrally the jute tape (of the wooden pegs with house) and tie an overhand knot, so that a loop of about 3 cm is formed. Then fasten the round rods on the right and left sides of the jute tapes: start at the top with 18 cm, 30 cm and 3 × 40 cm lenght, each at the distance of every 14 cm.3 ![]()

Step 3
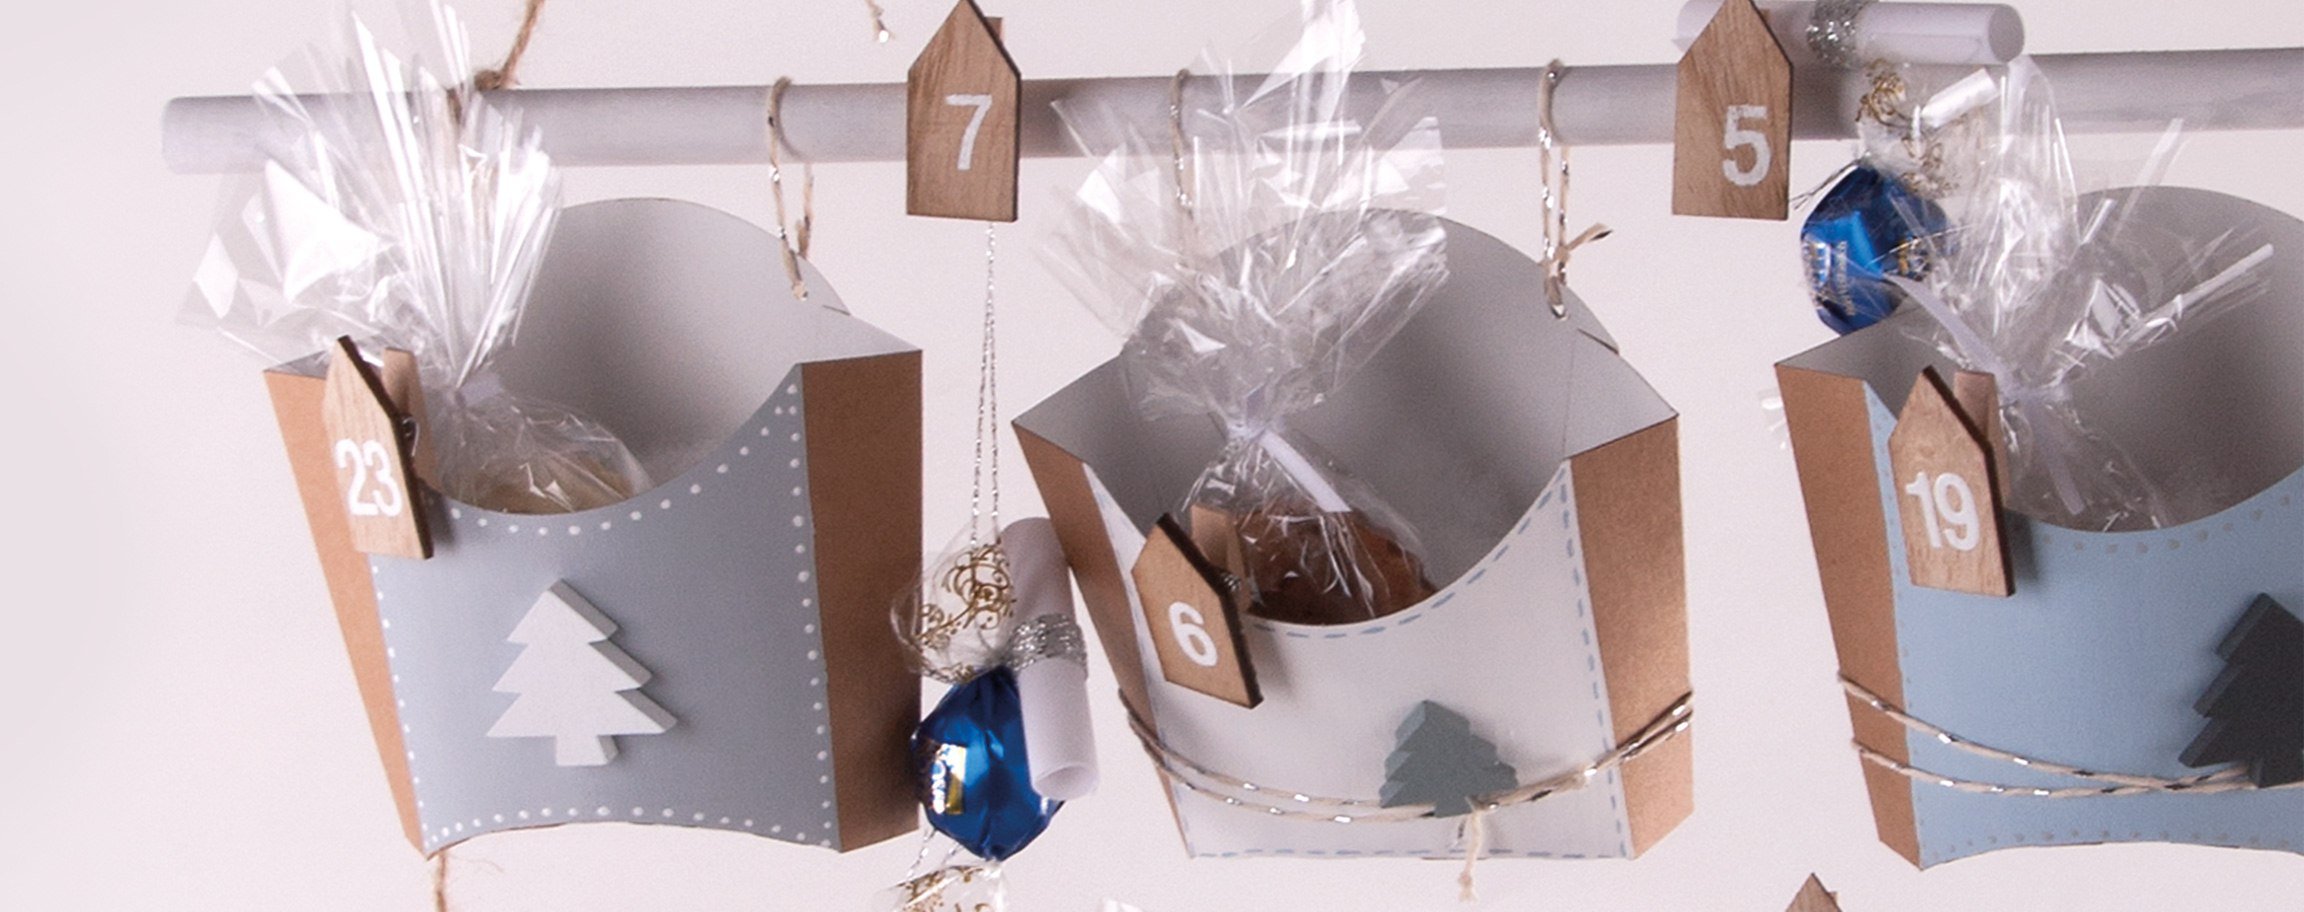
Paint the frontside of the cardboard-window shutter between the folds with Chalky Finish in white, blue-grey or stone-grey. Finish by painting the 4 cardboard-chute in every single shade. As a contrast you can draw spots or dashes with a fine brush in a different colour.4 ![]()

Step 4
Fold then together the cardboard-window shutters according to the markings and decorate them with the cord and the wooden shapes “Fir trees”.5 ![]()

Step 5
Stamp two holes into the right and left backsides of the cardboard-window shutter with the punch pliers. So you can fasten tight the cardboard-window shutter on the wooden round rod with the cord.6 ![]()

Step 6
You can make 12 small rolled vouchers (6 cm wide) with the white transparent paper which you can hang on the wooden round rods with a silver cord and for example candies.7 ![]()

Step 7
Fasten to each cardboard-window shutter and transparent roll one wooden peg with house and number, either with hot glue or with the stapler.8 ![]()

Step 8
Fill the cardboard-window shutters as desired.Hint: secure the Advent calendar with a wooden frame 61 592 00.


