


Instructions in 6 steps The set contains everything you need for your a DIY Advent calendar: sachets, boxes, paints, paintbrushes, cord and numbers.
Besides the articles listed below, you also need: Masking tape
And this is how it works: 1 ![]()

Step 1
Paint the outer part of the 12 matchboxes with the supplied colour shades. You can paint the boxes flatly or stick them by means of the masking tape and create afterwards strips.2 ![]()
Step 2
You can paint in addition the dots and the stars.3 ![]()
Step 3
Refill the small bags out of jute and the boxes with small surprises and close the boxes with the red & white cord.4 ![]()
Step 4
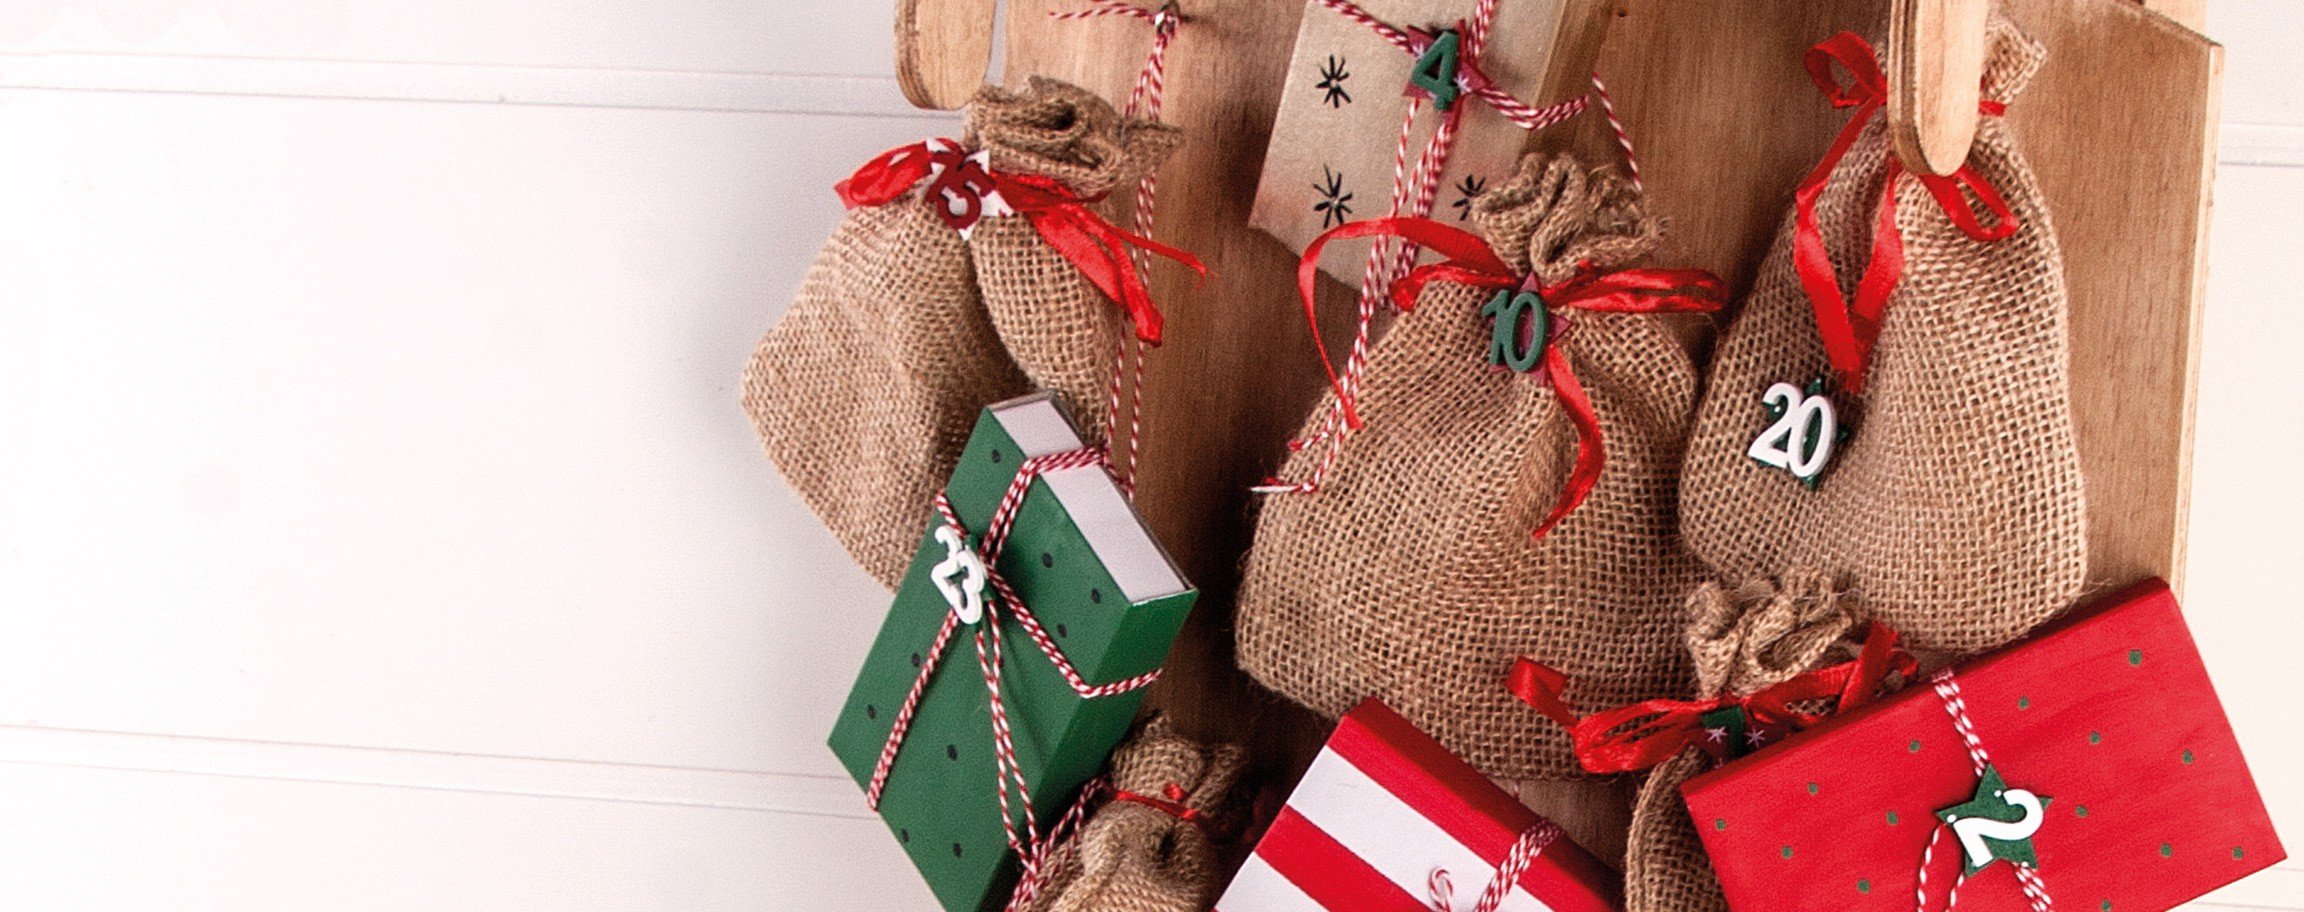
Stick the advent calendar’s numbers onto 24 small packages. You can stick them onto small bags out of jute by means of some hot glue.5 ![]()
Step 5
Dilute the Chalky Finish cream wax with some water and wipe it over the wooden sledge by using the painting sponge and let it dry thoroughly.6 ![]()
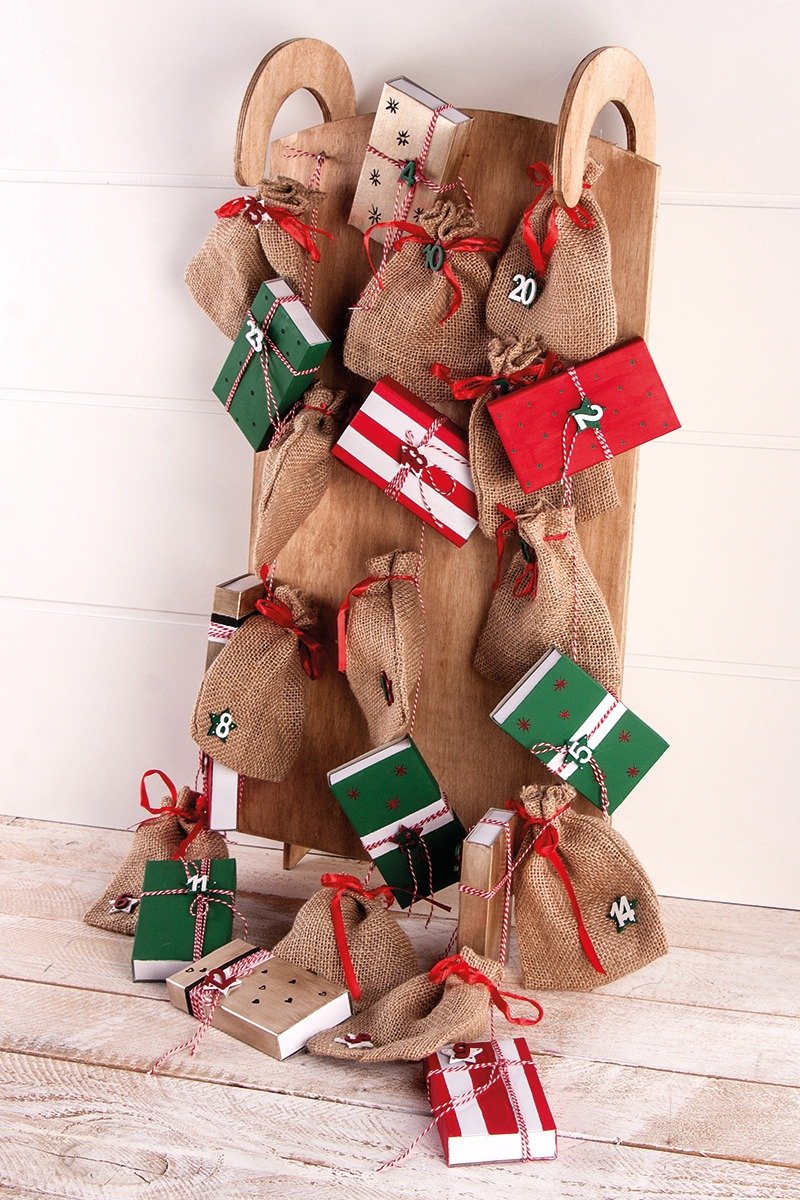
Step 6
Fasten securely the ring bolts on the wooden sledge and hang the designed matchboxes and the small bags out of jute on them.Related craft ideas Looking for similar craft ideas? You can find them here: ![]()
![Difficulty -]()
![]()
![Difficulty -]()
![]()
![Difficulty -]()
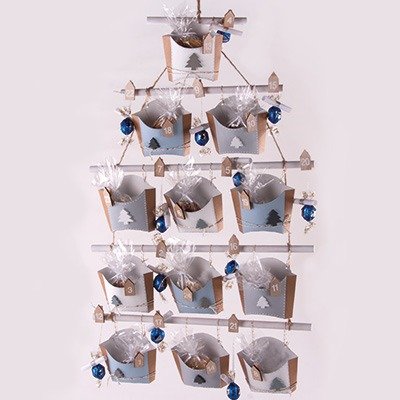
Advent calendar with cardboard-window shutter
DIFFICULTY


Pendant out of cement „House“
DIFFICULTY


Wooden soap dish with red & green soap
DIFFICULTY