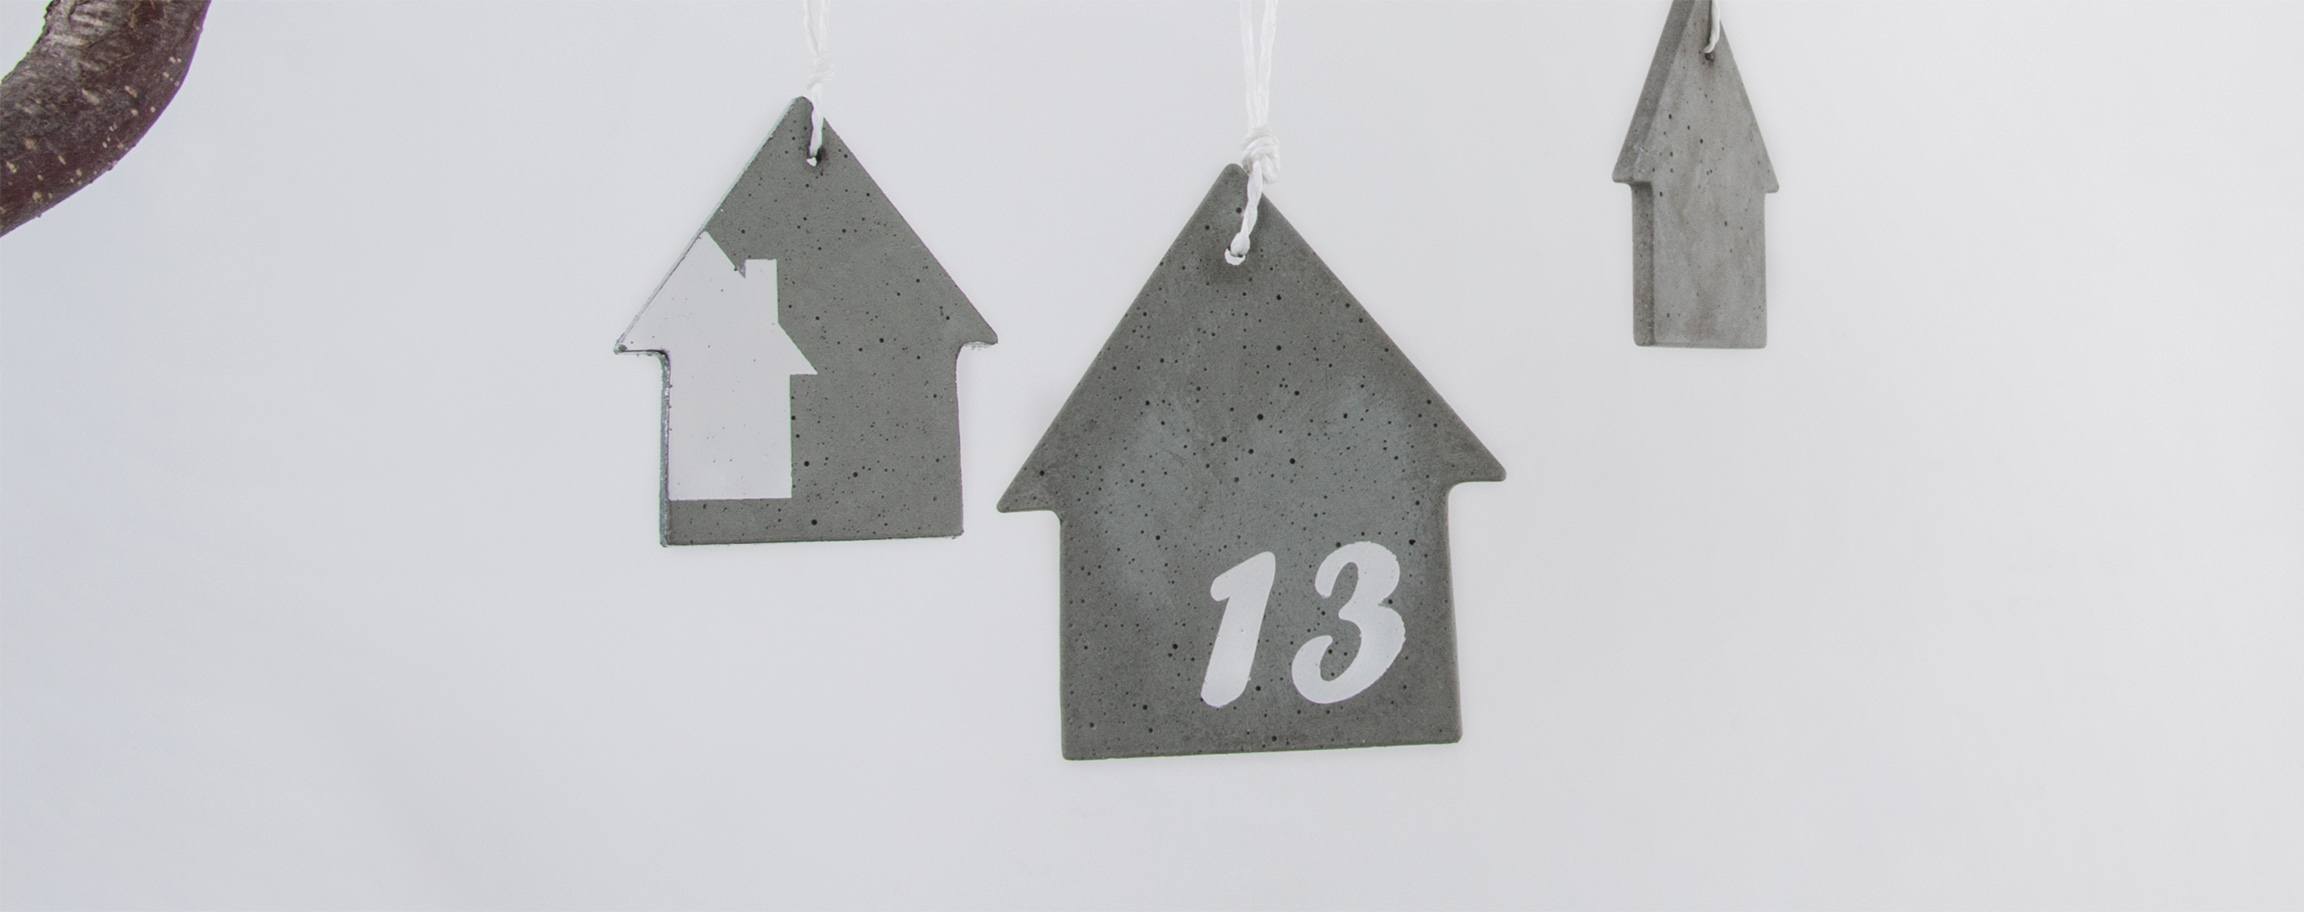
Instructions in 11 steps Insert a toothpick into the cast motif for the future hole of your concrete house-shaped pendants. Stencils ensure precise application of the paint.
Besides the articles listed below, you also need: Cooking oil, sandpaper, brush, wooden spatula, wooden skewer, sellotape, a vessel to stir the cement, support out of Crepla or cardboard
And this is how it works: 1 ![]()

Step 1
To start the preparation, put the casting mould on a solid and even surface, so that it doesn’t wiggle and coat its inside with cooking oil.2 ![]()

Step 2
In order to remove the larger pebbles from the cement, you should sieve the cement powder (about 35 g) before mixing with water, through an ordinary household sieve.3 ![]()

Step 3
Pour about 4 ml of water (once the cement is sieved, the mixing ratio is changing according to the instructions on the package) in a plastic bucket and then gradually add approx. 25 g of the creative-cement powder. Stir this mixture with a wooden spatula until an uniform and castable compound is obtained.4 ![]()

Step 4
Fill the prepared casting mould with the casting compound. Allow the compound to rest for about 1-2 minutes. Then, tap repeatedly and slightly against the mould, so that the air bubbles can escape upwards.5 ![]()

Step 5
Stretch a wide strip of sellotape on the upper part of the casting mould (above the gable of the house). Prick a hole through it with the pointed tip of the wooden skewer (at the height where should be later placed the hanging hole). Oil the blunt side of the wooden skewer and insert it through the already pricked hole in the sellotape, into the cement. So the hole is made for the hanging up possibility.6 ![]()

Step 6
Let it dry out overnight.7 ![]()

Step 7
The next day, you can remove the object from the mould, in which you firstly take the sellotape and the wooden skewer out by turning it. Afterwards, turn the casting mould over and lay it on a support as for e.g. Crepla or cardboard. Continue by pressing with the palm of your hand against the casting mould, so that the air penetrates between the casting object and mould. Tap the casting mould gently on your support, so that the cement-object becomes entirely detached from the mould.8 ![]()

Step 8
Allow it to harden. The curing time varies depending on the size and the temperature (at best, one to several days).9 ![]()

Step 9
Small burrs and irregularities you can grind with sandpaper. You can rework the hanging hole with the bead reamer according to your needs.10 ![]()

Step 10
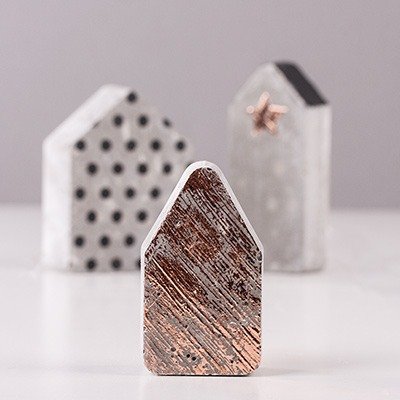
To achieve special effects, you can decorate further the small house out of cement with a stencilled motif. To do this, lay the chosen stencil onto the cast object and apply the Chalky Finish paint carefully with a brush. Let it dry out.11 ![]()


