


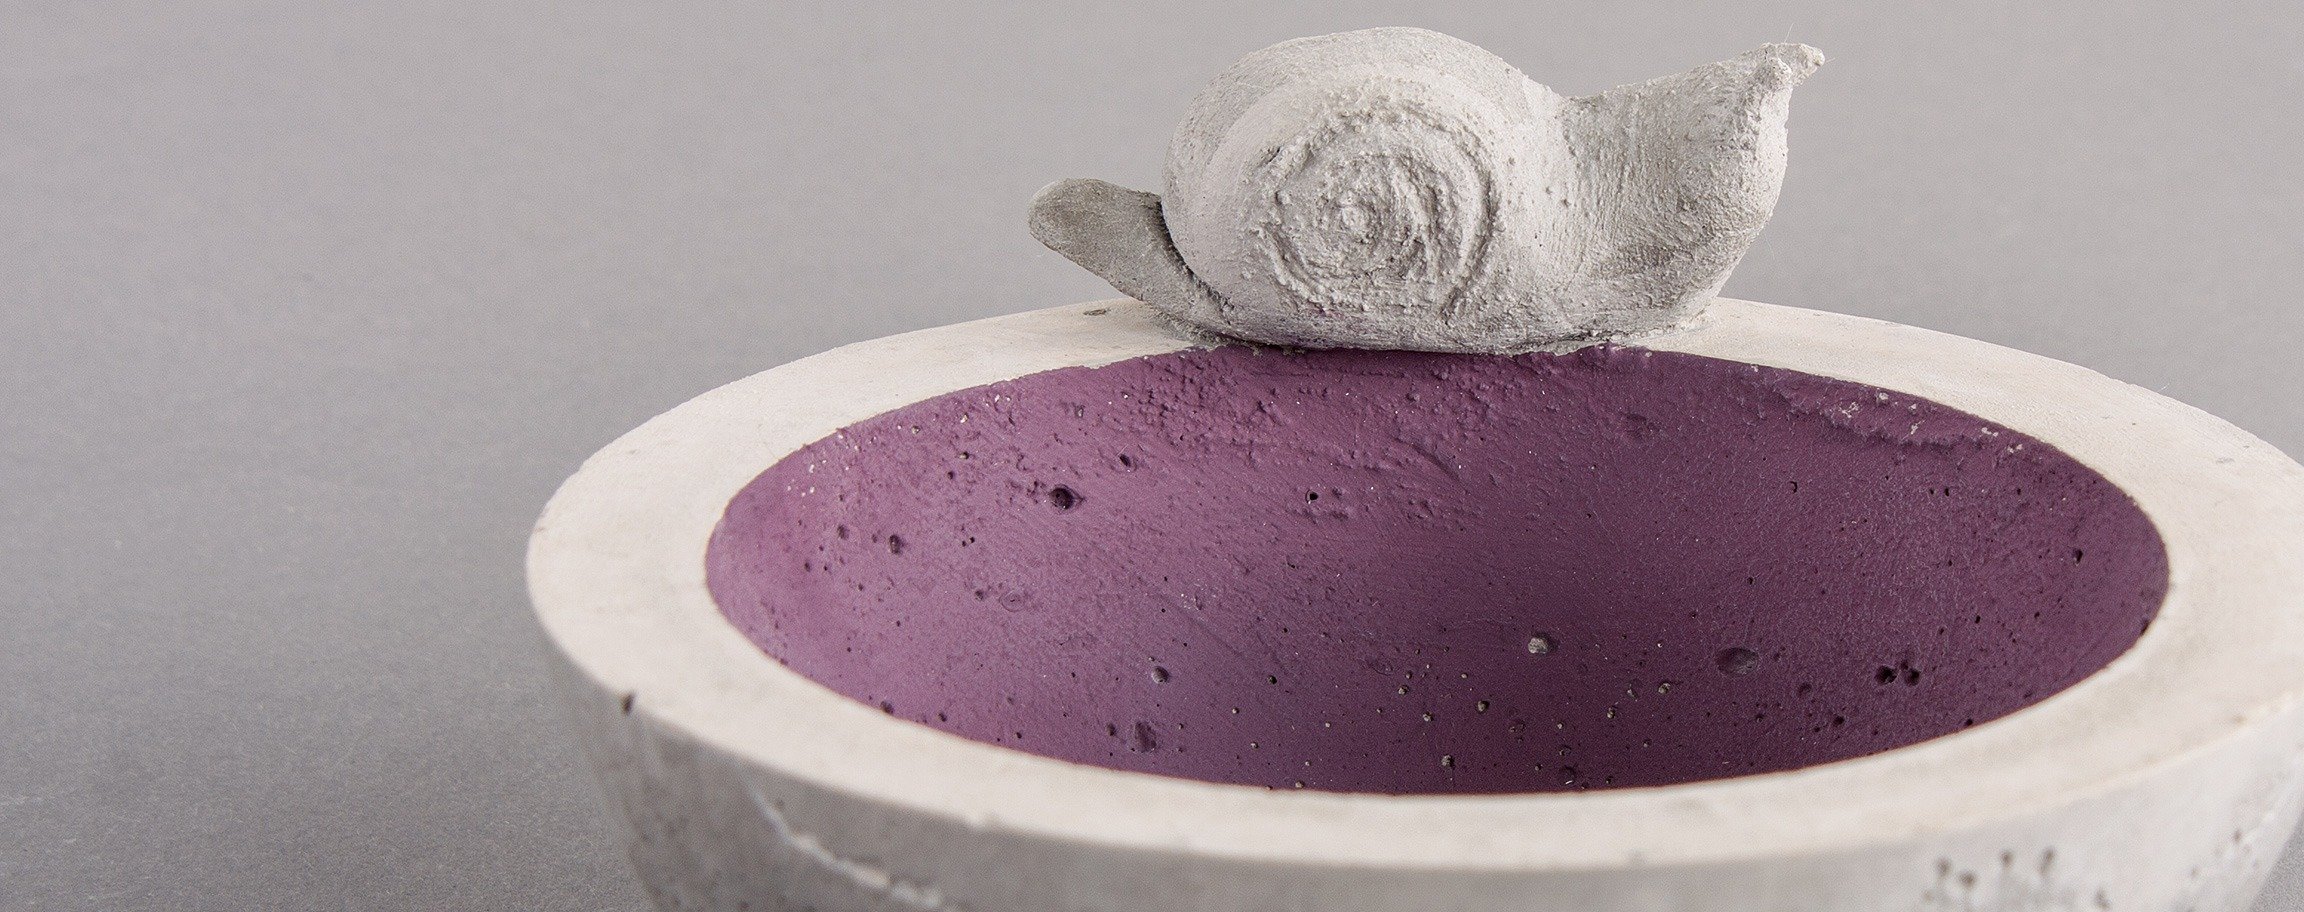
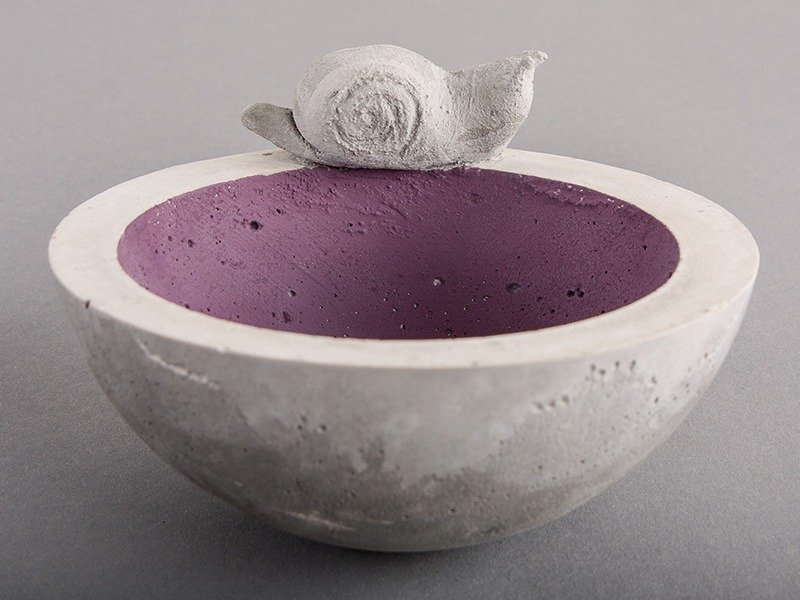
Cement-bowl with a snail out of the kneading-cement
Difficulty

Duration
60 minShare Idea ![]()
![]()
![]()
![]()


Instructions in 13 steps Cast the bowl with mixed concrete powder. Make the snail out of kneading-cement.
Besides the articles listed below, you also need: Container for kneading of the kneading-cement (e.g. bowl with poss. lid), container for mixing of cement (e.g. plastic bowl or a small bucket), disposable gloves, stable support e.g. the lid of a plastic bucket, 38 798 000 PET spray bottle, brush, small container with water, craft wooden stick (e.g. skewer), cooking oil, pebbles to weigh down the mould, empty can or a pot as a stand for the large semi-sphere, working surface out of foam rubber or cardboard, sandpaper
And this is how it works: 1 ![]()

Step 1: Cement-bowl
As preparation, put the large plastic semi-sphere on a stable surface (e.g. can, pot or the like), so that it doesn’t wobble and coat its inner side with a cooking oil. Coat well also the outer side of the small plastic semi-sphere with a cooking oil.2 ![]()
Step 2
Fill the plastic bucket with about 100ml of water and then gradually add about 1 kg of the creative-cement powder. Stir this mixture by using a wooden stick until a smooth and mouldable mixture is obtained.3 ![]()
Step 3
Fill the already prepared large plastic semi-sphere with the casting compound. Let the mixture rest for about 1-2 minutes. Then press immediately the oiled smaller plastic semi-sphere centrally into the poured cement-mixture until the desired depth is reached. Then immediately press the oiled smaller plastic hemisphere centered in the poured concrete mass. By carefully pushing back and forth, you can safely align the position. Finally, weigh down the inner casting mould to the desired depth by using the pebbles or small stones.4 ![]()
Step 4
Let it dry over night.5 ![]()
Step 5
The next day, you can demould one part of the object. Firstly, remove carefully the smaller plastic semi-sphere while bending it lightly on all sides and pulling it slightly upwards. Once completely detached from the mould, let it dry again for few hours.6 ![]()
Step 6
Then demould the cement-bowl in which you turn around the semi-sphere and bend slightly the upper edge outward, so that the air can penetrate between the casting object and mould. Tap carefully the plastic semi-sphere onto your working surface (cardboard/foam rubber), so that the cement-bowl detach.7 ![]()
Step 7
Small ridges or bumps, you can quickly and easily grind with sandpaper. If desired, you can paint the inner side of the cast bowl with the Chalky paint.8 ![]()
Step 8: Snail out of the kneading-cement
Choose a location on the edge of the bowl where you gonna place the snail or another motif of your choice and get through the upper surface with a sandpaper. While working with the kneading-cement, we recommend you to wear the plastic gloves!9 ![]()
Step 9
Mix the creative-cement (240g) with water in the ratio 9:1 (9 parts of cement : 1 part of water). This corresponds to about 26 ml. Stir the water slowly, gradually add it while constantly kneading. Knead the crumbly mixture with damp disposable gloves (if necessary, moisten several times) until the desired consistency is achieved.Hint: You can mix also, quickly and easily, the kneading-cement in a sealable container. Here also add the water gradually by stirring it constantly, then close the container and shake it well. That way there is less dust and the parts intermix perfectly.
10 ![]()
Step 10
Sculpt by hand a snail or another motif of your choice.Hint: The cement mixture should be smooth and easily malleable. If the cement is cracky during kneading, just sprinkle it with some water.
11 ![]()
Step 11
For the structures, you can also decorate the object with a small wooden stick or a modelling tool.12 ![]()
Step 12
The connection joints of the snail/bowl should be damp, work out possibly with a lightly moistened brush. Now the snail can be placed on the roughened location of the cement-bowl. For a nice transition path, you can stop up eventually the connection joints with your thumb. Let it dry.13 ![]()
Step 13
The entire drying period lasts for several days. After about 21 days the object is weatherproof.Related craft ideas Looking for similar craft ideas? You can find them here: ![]()
![Difficulty -]()
![]()
![Difficulty -]()
![]()
![Difficulty -]()
![]()
![Difficulty -]()

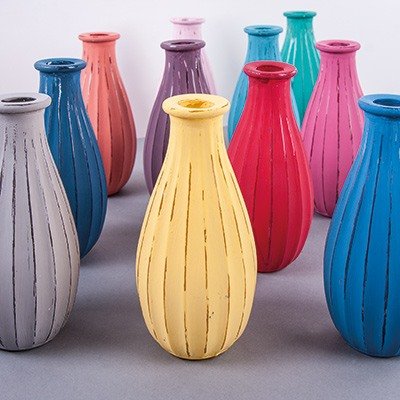
Vase out of kneading-cement
DIFFICULTY

Colourful glass vases
DIFFICULTY

Cement bowl ø 9,5 cm with metal highlights
DIFFICULTY

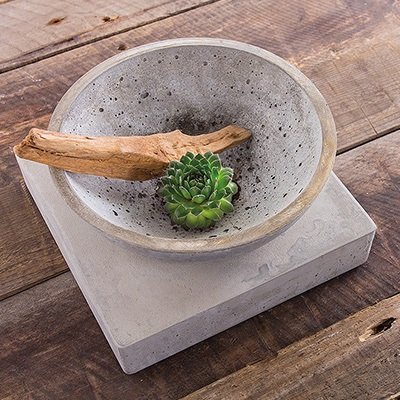
Bowl out of concrete on a plinth
DIFFICULTY