


Instructions in 7 steps An oblong balloon is perfect for the shape of this special vase made of kneading-cement.
Besides the articles listed below, you also need: Long balloon, container for kneading of the kneading-cement (e.g. bowl with lid), disposable gloves, stable support e.g. the lid of a plastic bucket, PET spray bottle (item 38 798 000), cling film, brush, mall container with water, container as a stand for drying (e.g. ceramic pot)
And this is how it works: 1 ![]()

Step 1
Blow up the balloon and prepare a piece of the cling film in the appropriate size. For the remaining steps, always wear plastic gloves!2 ![]()
Step 2
Mix the creative kneading-cement (1.2 kg) with water in the ratio 9:1 (9 parts of cement : 1 part of water). This corresponds to about 130 ml. Stir the water slowly, gradually add it while constantly kneading. Knead the crumbly mixture with damp disposable gloves (if necessary, moisten several times) until the desired consistency is achieved.Hint: You can mix also, quickly and easily, the kneading-cement in a sealable container. Here also add the water gradually by stirring it constantly, then close the container and shake it well. That way there is less dust and the parts intermix perfectly.
3 ![]()
Step 3
Take some cement between the palms, press it flat and coat that way about 2/3 of the balloon. You can get great effects, when you do not quite straight the closing, but somewhat leave it uneven, “pointed”.4 ![]()
Step 4
Place the coated balloon on the cling film and roll it up. The cement-mixture can now be modelled with uniform strokes by hands until the surface is even and smooth. If the cement is too dry for modelling, moisten it lightly with water from a spray bottle.5 ![]()
Step 5
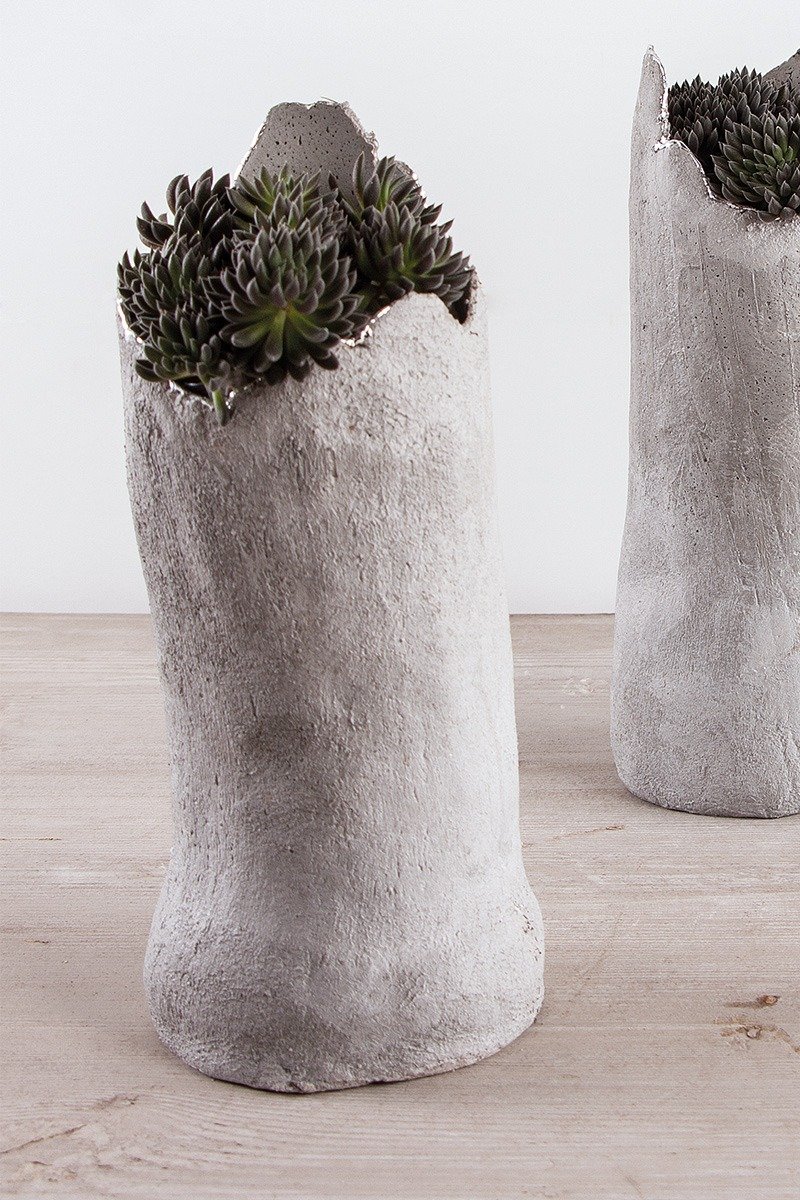
For the drying, place for example a ceramic pot and fix it well, so that the cement-vase is laid out below. That way you vase gets automatically a straight, secured socle.6 ![]()
Step 6
Let it dry at least for 1 day. Remove the balloon. The entire drying period lasts for several days. After about 21 days the object is weatherproof.7 ![]()
Step 7
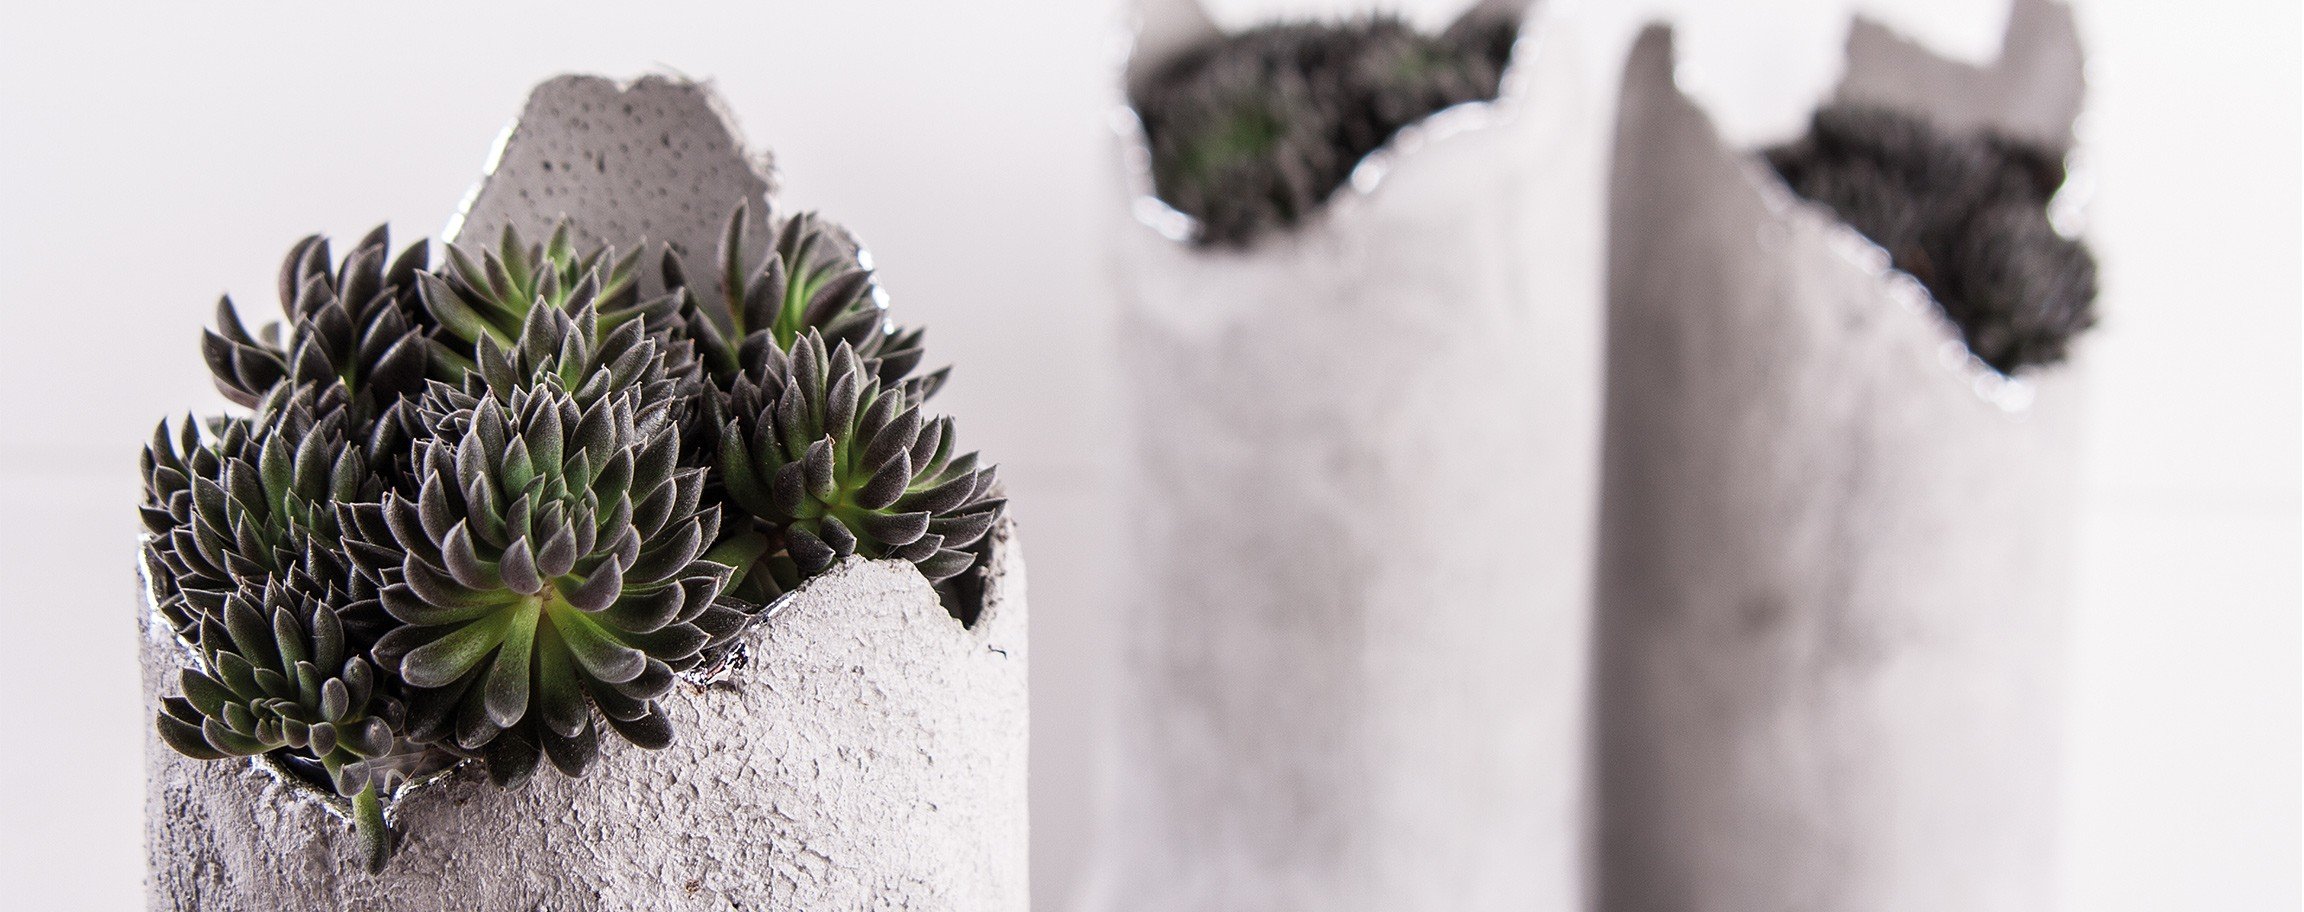
Conjure up the glossy effects by decorating, for example, the border of the vase with a sophisticated mirror-foil. Therefor, spread the glue for foil onto the border of the vase by using a brush and let it dry clearly (it lasts at least 1 hour). Then decorate it with the mirror-foil according to the package instructions.Related craft ideas Looking for similar craft ideas? You can find them here: ![]()
![Difficulty -]()
![]()
![Difficulty -]()
![]()
![Difficulty -]()
![]()
![Difficulty -]()

Lamp out of the kneading-cement
DIFFICULTY


Pot with star-motif out of kneading-cement
DIFFICULTY

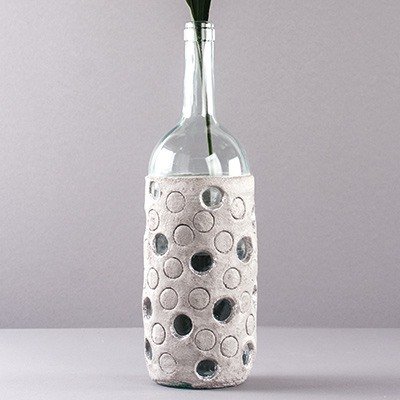
Bottle-vase with circle pattern
DIFFICULTY

“Crown” – 11 cm out of the kneading-cement
DIFFICULTY