


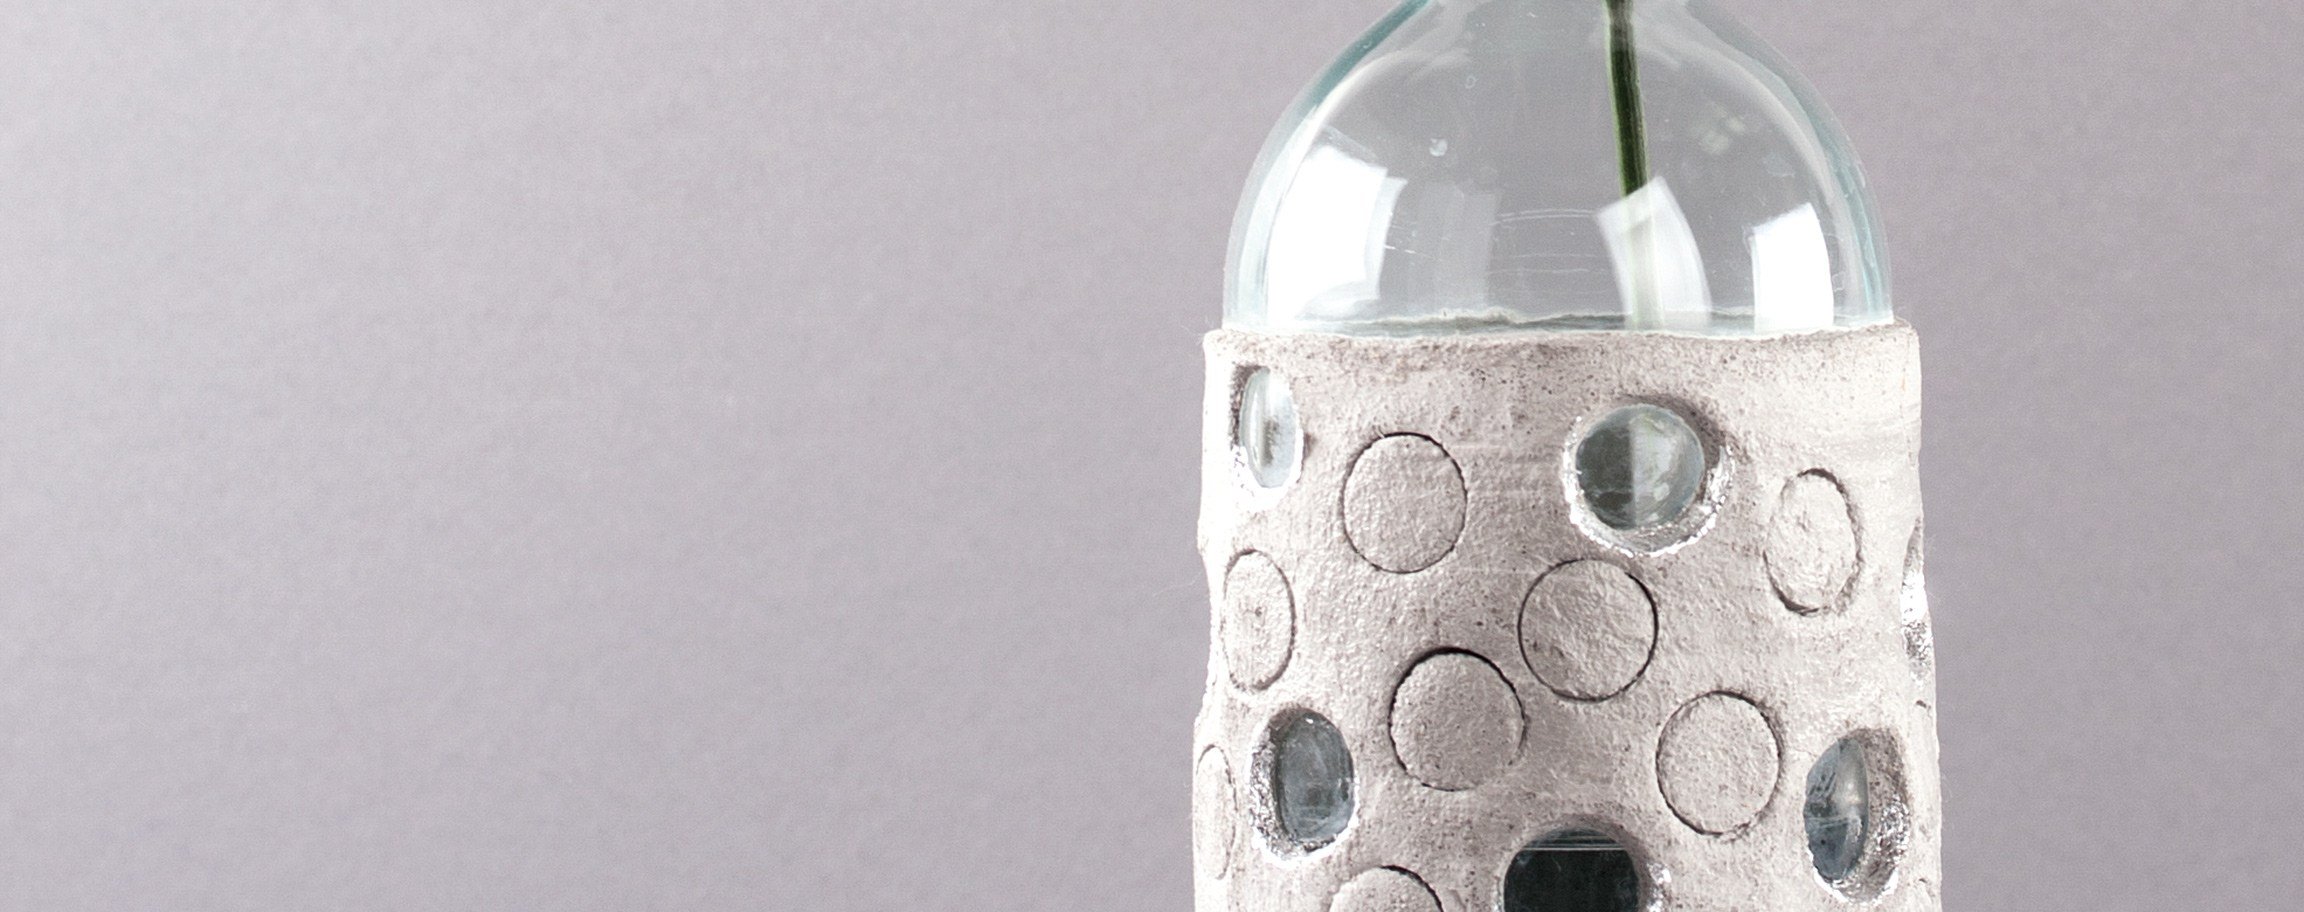
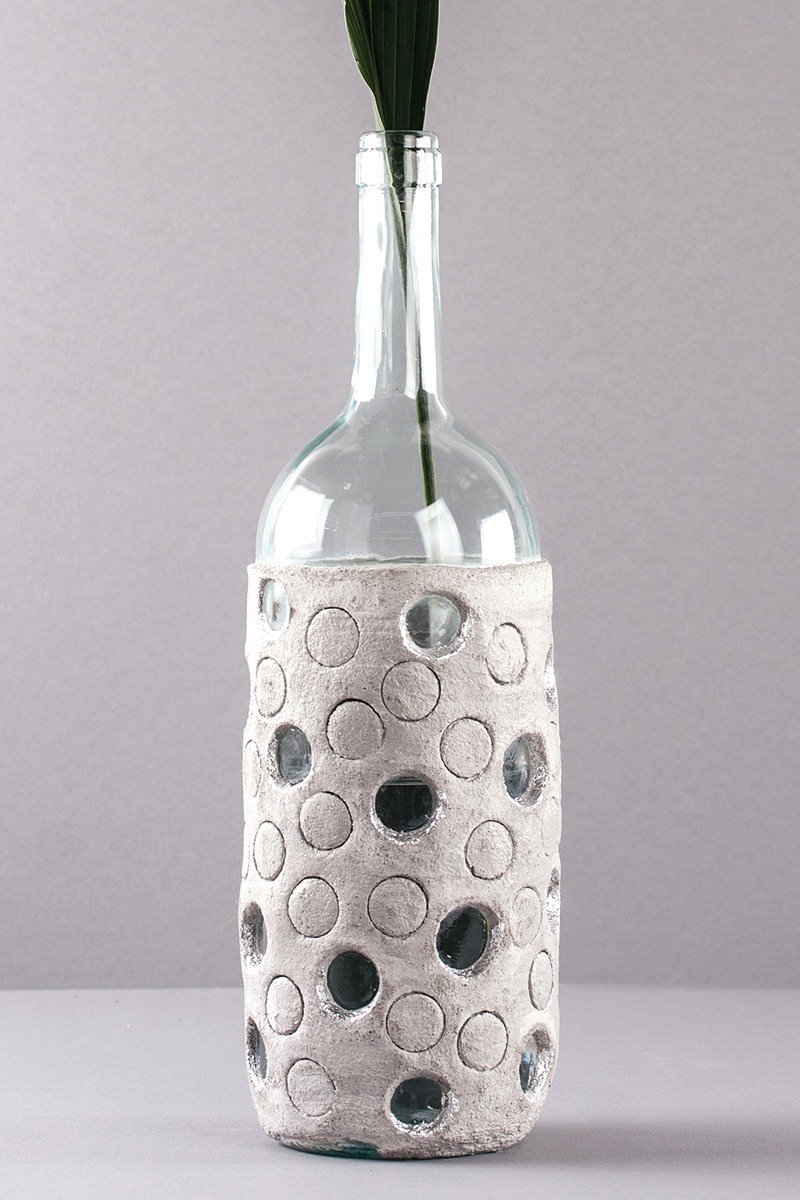


Instructions in 13 steps Use round metal cookie cutters to cut the circles out of the kneading-cement sheathing. Mirror effect foil makes the circles shine and glow.
Besides the articles listed below, you also need: Glass bottle 1.5 l, container for kneading of the cement (e.g. bowl with lid), disposable gloves, stable support (e.g. the lid of a plastic bucket), brush, container for silt, small container with some water, turntable (item 89 259 00), spatula (item 38 032 00), PET spray bottle (item 38 798 000)
And this is how it works: 1 ![]()

Step 1
The glass bottle must be clean and free of grease.2 ![]()
Step 2
Bring the distance band at the desired height (depending on how high the cement- ornament is desired) around the bottle.3 ![]()
Step 3
Place the glass bottle on a stable base (e.g.plastic lid) of the turntable.4 ![]()
Step 4
Always wear plastic gloves while working!5 ![]()
Step 5
Stir some liquid silt (a small amount of the kneading-cement mixed with a lot of water) and spread it onto the glass bottle by using the brush. Thanks to the applied silt, the kneading-cement holds better on the slippery bottle. Let it dry.6 ![]()
Step 6
Mix the remaining cement with water in the ratio 9:1 (9 parts of cement : 1 part of water). This corresponds to about 45 ml. Stir the water slowly, gradually add it while constantly kneading. Knead the crumbly mixture with damp disposable gloves (if necessary, moisten several times) until the desired consistency is achieved.Hint: You can mix also, quickly and easily, the kneading-cement in a sealable container. Here also add the water gradually by stirring it constantly, then close the container and shake it well. That way there is less dust and the parts intermix perfectly. Knead more afterwards the crumbly mixture with wet disposable gloves (if necessary, moisten several times) until the mixture is malleable.
7 ![]()
Step 7
Spread out the kneading-cement onto the prepared bottle by hands until it is coated all around. Potentially spread upwards the cement evenly with a slightly moistened brush.8 ![]()
Step 8
In the second step, you can decorate further the bottle with a round cookie cutter by cutting-out a whole circle. To lift off easily the punched-out circles from the bottle, use the spatula.9 ![]()
Step 9
Clean the punched-out “window” with a brush, water and paper towel until the glass is clear.10 ![]()
Step 10
Now you can take off the adhesive distance tape.11 ![]()
Step 11
Let it dry at least for 1 day.12 ![]()
Step 12
You can achieve a great, glossy effect by decorating further the edges of the punched-out circle with a glue for foil and the mirror-foil.13 ![]()
Step 13
The entire drying period lasts for several days. After about 21 days the object is weatherproof.Related craft ideas Looking for similar craft ideas? You can find them here: ![]()
![Difficulty -]()
![]()
![Difficulty -]()
![]()
![Difficulty -]()
![]()
![Difficulty -]()
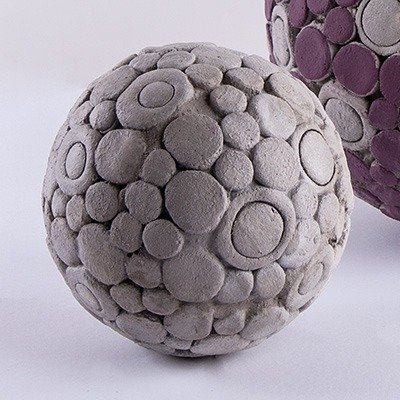
Small kneading-cement ball with circles
DIFFICULTY


Vase out of kneading-cement
DIFFICULTY
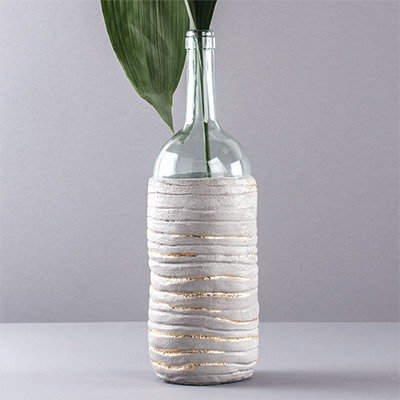
Bottle-vase with line pattern
DIFFICULTY

Flip-top bottle with a wire flamingo
DIFFICULTY
