


Instructions in 10 steps Cover the entire lamp base with kneading-cement. For the pattern, use modelling tools.
Besides the articles listed below, you also need: Container for kneading of the cement (e.g. bowl with poss. lid) Disposable gloves, stable support e.g. the lid of a plastic bucket, PET spray bottle (item 38 798 000), brush, small container with water, modelling tool (item 34 026 00)
And this is how it works: 1 ![]()

Step 1
The lampstand must always be clean and free of grease. Always wear the plastic gloves while working out!2 ![]()
Step 2
Stir some liquid silt (a small amount of the kneading-cement mixed with a lot of water) and spread it onto the pot by using the brush. Thanks to the applied silt, the kneading-cement holds better on the slippery plastic surface. Let it dry.3 ![]()
Step 3
Mix the remaining cement with water in the ratio 9:1 (9 parts of cement : 1 part of water). This corresponds to about 160 ml. Stir the water slowly, gradually add it while constantly kneading. Knead the crumbly mixture with damp disposable gloves (if necessary, moisten several times) until the desired consistency is achieved.Hint: You can mix also, quickly and easily, the kneading-cement in a sealable container. Here also add the water gradually by stirring it constantly, then close the container and shake it well. That way there is less dust and the parts intermix perfectly.
4 ![]()
Step 4
Spread out the kneading-cement onto the lampstand by hands until it is coated all around. The cable must remain freely movable! The cement mixture should be smooth and easily malleable. If the cement is cracky during kneading, just sprinkle it with some water.5 ![]()
Step 5
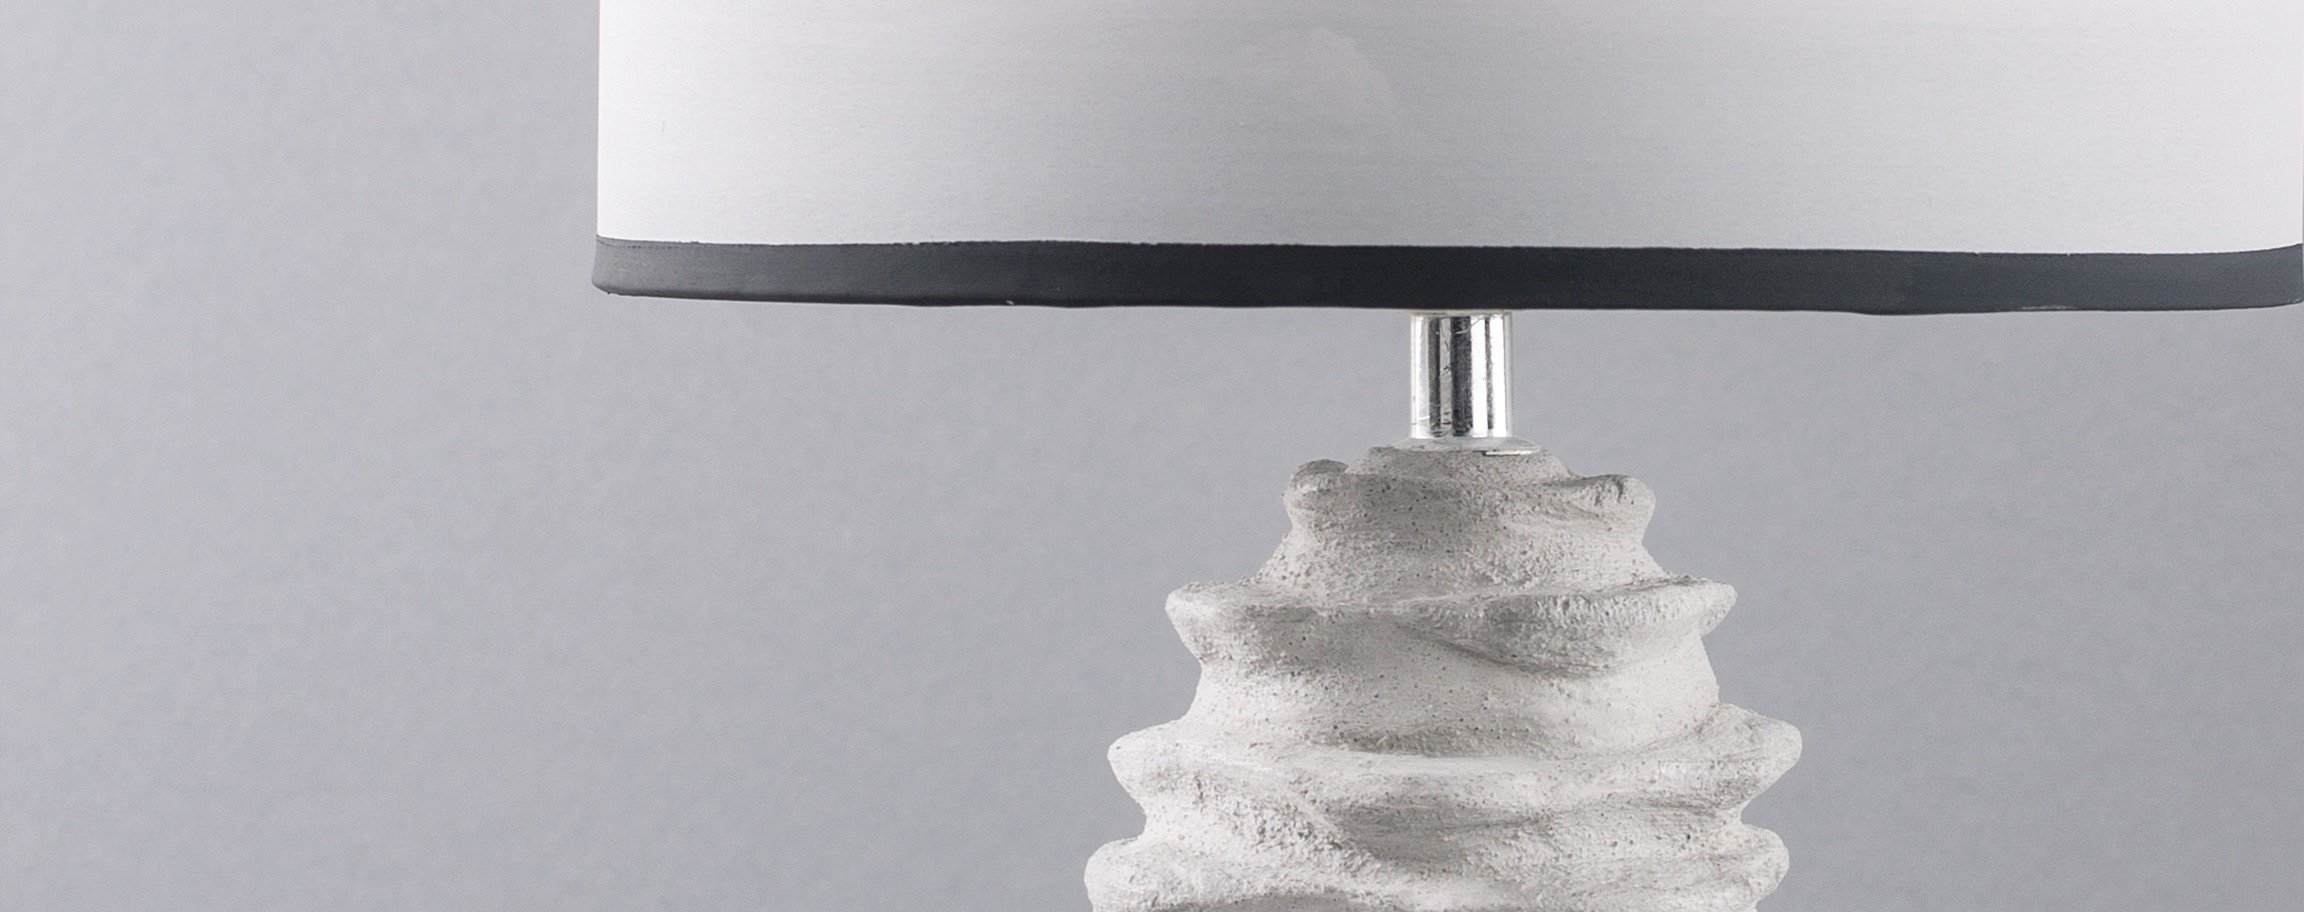
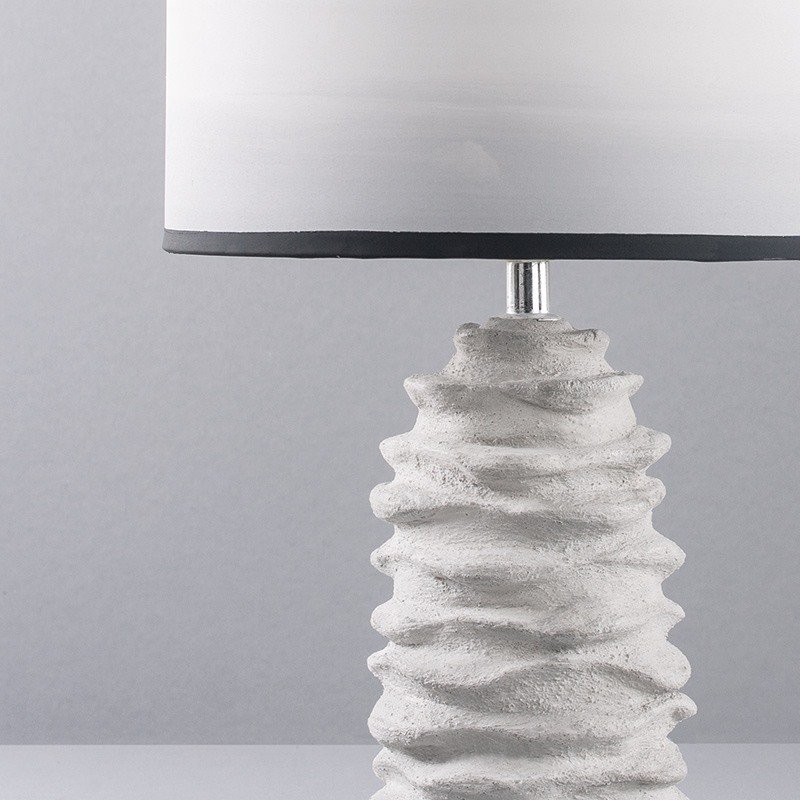
For a great effect, you can decorate the coated lampstand with refined waves of variable size and spacing by using the modelling tool.6 ![]()
Step 6
Let it dry at least for 1 day.7 ![]()
Step 7
The entire drying period lasts for several days. After about 21 days the object is weatherproof.8 ![]()
Step 8
For the lampstand, take a damp sponge for painting, dab it with a stone-grey fabric paint and spread it all around the shade. The more diluted the colour, the lighter and more tender the result. To arise a nice colour-gradient, start at the upper part of the shade with particularly highly diluted paint and let the colour downwards always be richer (diluted with less water).9 ![]()
Step 9
At the end, draw one more black stripe at the lower edge all around the lampstand by using a brush. Let it dry.10 ![]()
Step 10
Now the lamp can be fully mounted.Related craft ideas Looking for similar craft ideas? You can find them here: ![]()
![Difficulty -]()
![]()
![Difficulty -]()
![]()
![Difficulty -]()
![]()
![Difficulty -]()
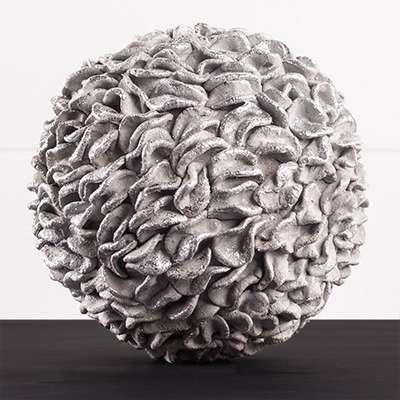
Small kneading-cement ball in folded optics
DIFFICULTY

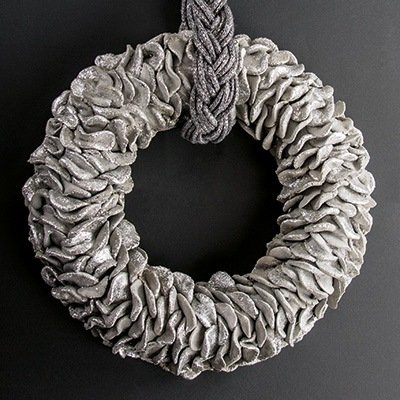
Wreath out of the kneading-cement
DIFFICULTY

Deco-bowls out of the kneading-cement in folded optics
DIFFICULTY
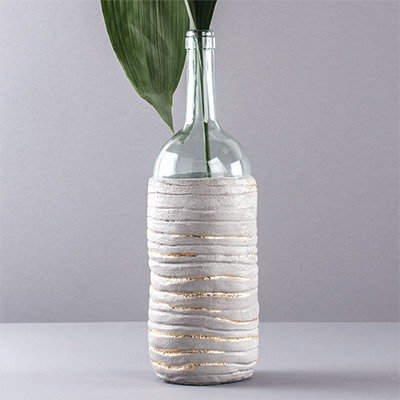
Bottle-vase with line pattern
DIFFICULTY
