


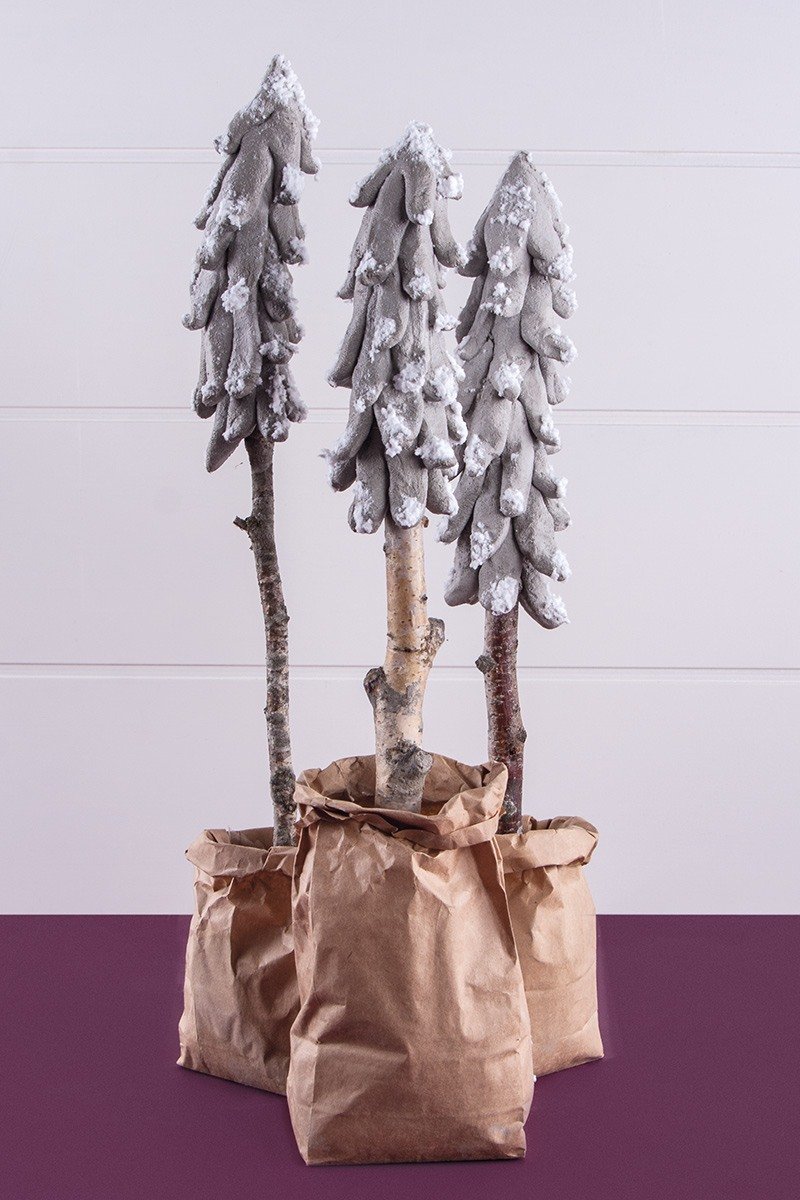


Instructions in 11 steps The paper bag is also filled with concrete - for the perfect stand of your fir decoration.
Besides the articles listed below, you also need: Natural stick, container for kneading of the kneading-cement (e.g. bowl with poss. lid), container for mixing of cement (e.g. plastic bowl or a small bucket), disposable gloves, small plastic bag to insert into the paper bag, stable support e.g. the lid of a plastic bucket, 38 798 000 PET spray bottle, brush, small container with water, craft wooden stick
And this is how it works: 1 ![]()

Step 1
As preparation, put the paper bag on a stable surface, so that it doesn’t wobble and put the small plastic bag into the paper bag with the opening upwards.2 ![]()
Step 2
Fill the plastic bucket with about 50ml of water and then gradually add about 500g of the creative-cement powder. Stir this mixture by using a wooden stick until a smooth and mouldable mixture is obtained.3 ![]()
Step 3
Fill the already prepared small plastic bag with the casting compound, so that it is with about 2/3 filled. At the end, place the natural stick centrally onto the moulded cement and fix so that it is standing straight.4 ![]()
Step 4
Let it harden. The curing time depends on the size and the temperature (best 1 up to several days).5 ![]()
Step 5
For the subsequent work with the kneading-cement, we recommend you to wear always the plastic gloves while working with it!6 ![]()
Step 6
Mix the creative-cement (400g) with water in the ratio 9:1 (9 parts of cement : 1 part of water). This corresponds to about 44 ml. Stir the water slowly, gradually add it while constantly kneading. Knead the crumbly mixture with damp disposable gloves (if necessary, moisten several times) until the desired consistency is achieved.Hint: You can mix also, quickly and easily, the kneading-cement in a sealable container. Here also add the water gradually by stirring it constantly, then close the container and shake it well. That way there is less dust and the parts intermix perfectl
7 ![]()
Step 7
Now start by moulding the branches with the kneading-cement. Therefor, roll a small amount of the kneading-cement between the palms and tap it until flat. The shaped fir branch should run on one side slightly narrower and at the other side a little bit wider.8 ![]()
Step 8
The fir twigs gonna be placed on the wooden stick by being added with the narrow side from the bottom up and in each row. You can still rework the twigs with a slightly moistened brush and then mould them.Hint: The cement mixture should be smooth and easily malleable. If the cement is cracky during kneading, just sprinkle it with some water. The joints should be always damp, work out possibly with a slightly moistened brush.
9 ![]()
Step 9
For a natural fir-tree shape, the twigs should be slightly loose at the bottom and the treetops from behind further smaller. Let it dry.10 ![]()
Step 10
The entire drying period lasts for several days. After about 21 days the object is weatherproof.11 ![]()
Step 11
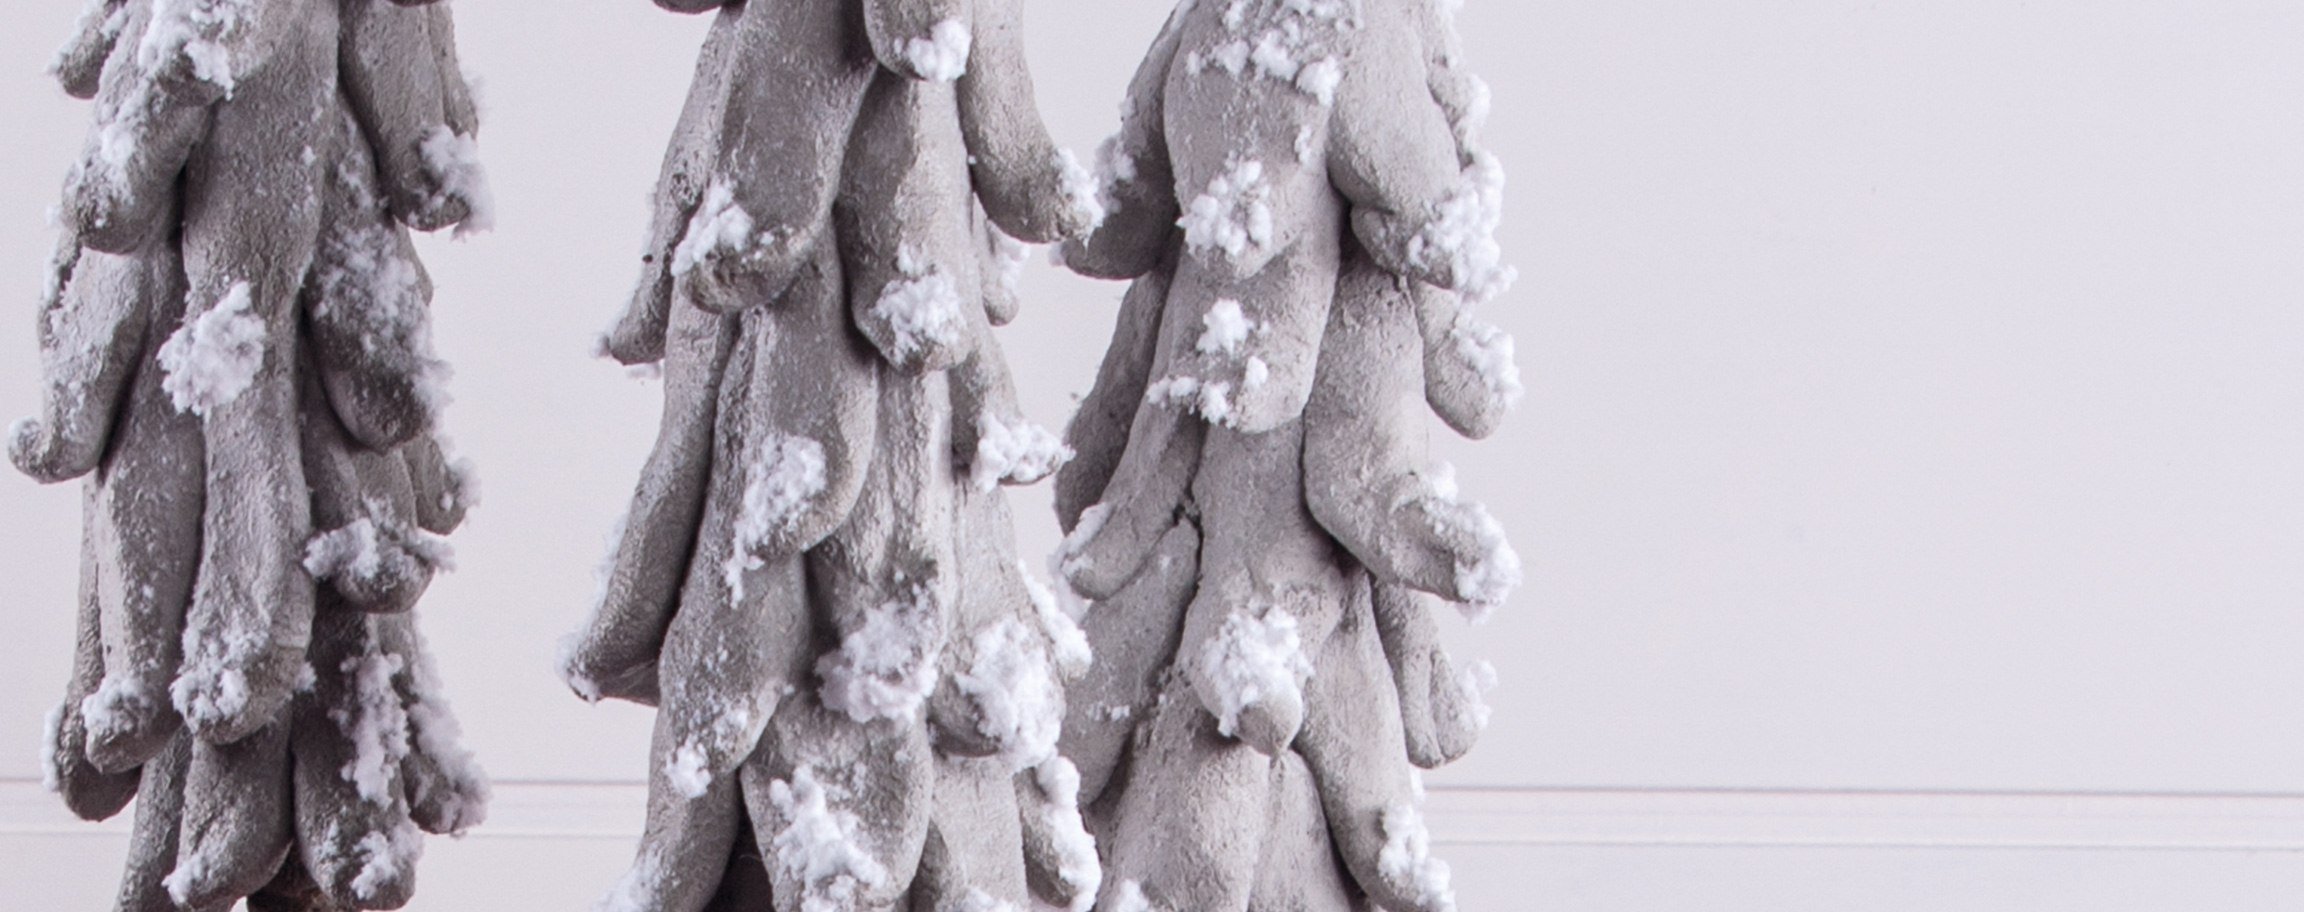
To obtain a sophisticated look, you can optionally decorate the tips of the branches with the sticky fake snow.Related craft ideas Looking for similar craft ideas? You can find them here: ![]()
![Difficulty -]()
![]()
![Difficulty -]()
![]()
![Difficulty -]()
![]()
![Difficulty -]()

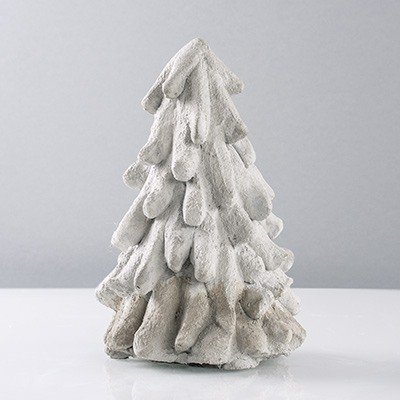
Fir-tree (36cm) out of kneading-cement
DIFFICULTY

Fir-tree (about 22cm) out of the kneading-cement
DIFFICULTY

Small mushroom out of the kneading-cement
DIFFICULTY


Angel out of the kneading-cement
DIFFICULTY
