


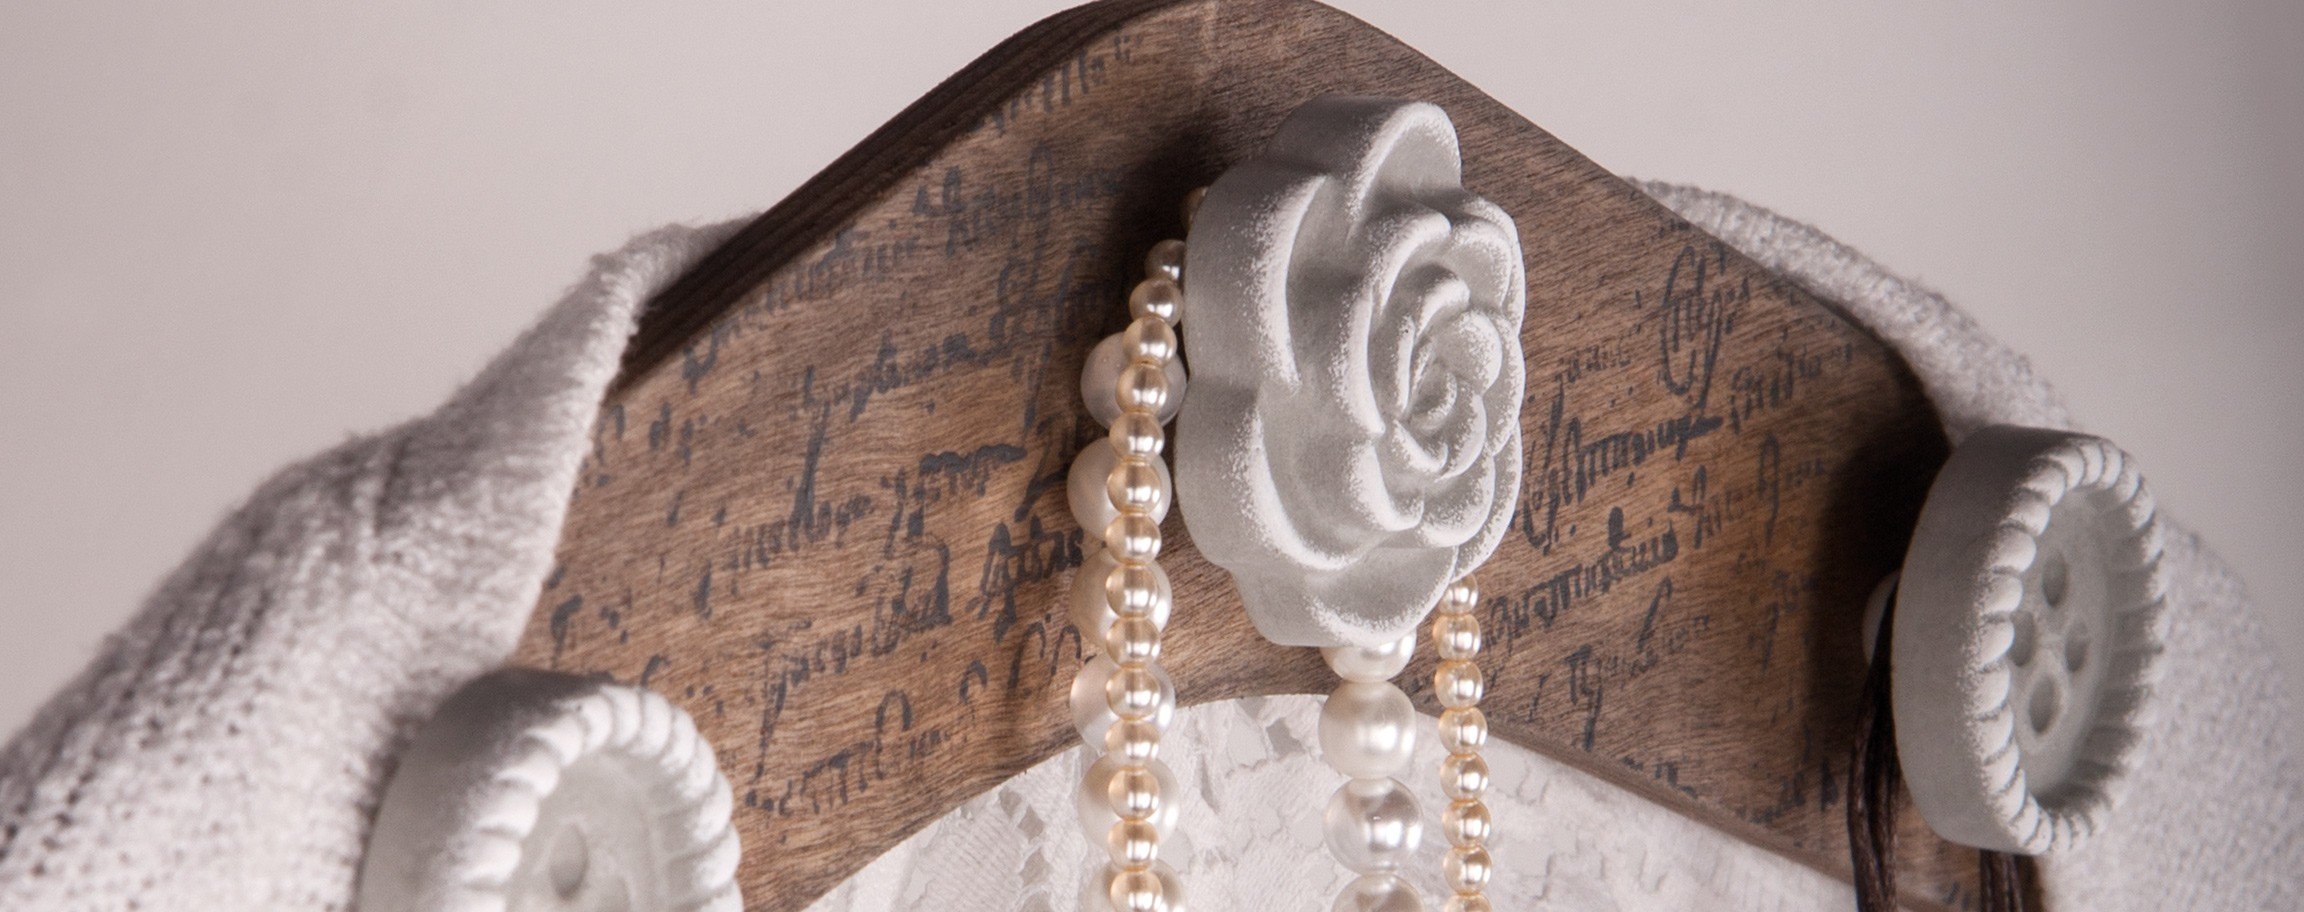
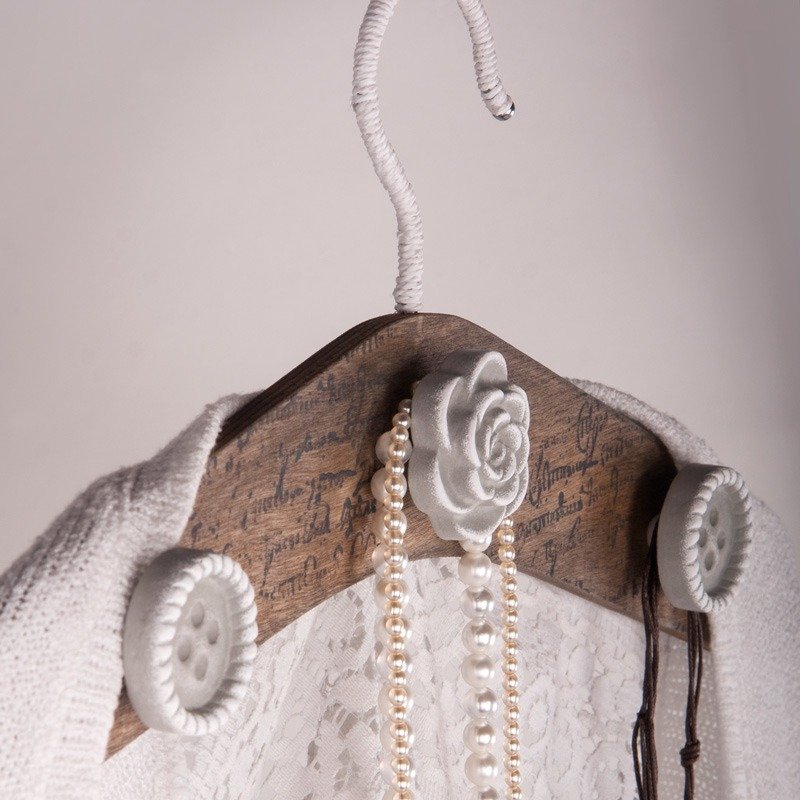


Instructions in 9 steps The knob out of concrete must be moulded together with the screw. Create the “old wood” look of the hanger with Chalky cream wax and Chalky Finish paint in anthracite colour. And this is how it works:
1 ![]()
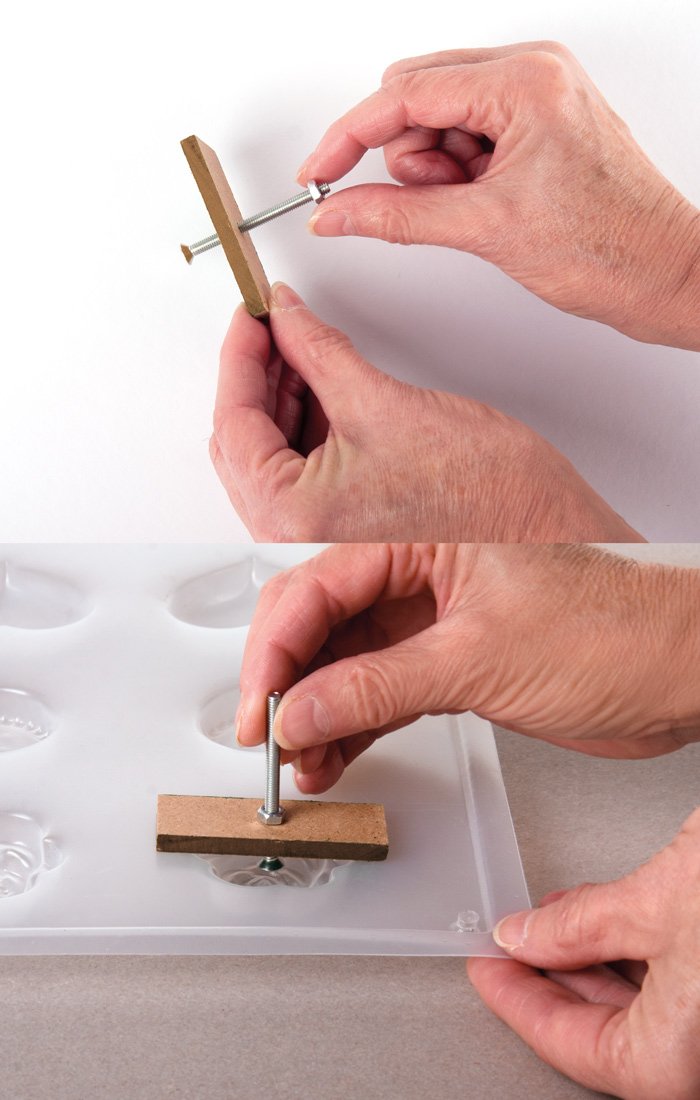
Step 1: decorative knobs
Stick the screw into the spacer (it keeps the screw upright). Now screw the nut onto the screw. In the process, select the screw length that ensures the screw head is covered with cement during casting. For this, position the screw with the spacer centrally on the motif that is to be cast and fixate the right depth.2 ![]()
Step 2: decorative knobs
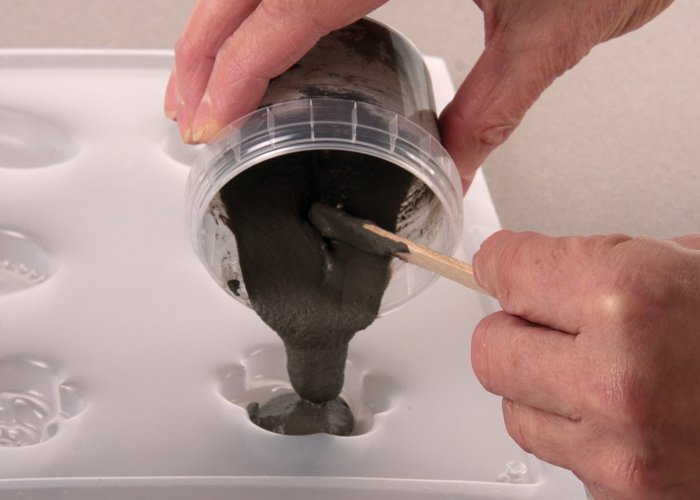
Pour a little bit of cooking oil into the casting mould. Then you can pour in the jewellery cement (mix ratio: 1 part water: 5 parts jewellery cement) over one point.3 ![]()

Step 3: decorative knobs
Now place the screw with spacer centrally in the cast motif.4 ![]()
Step 4: decorative knobs
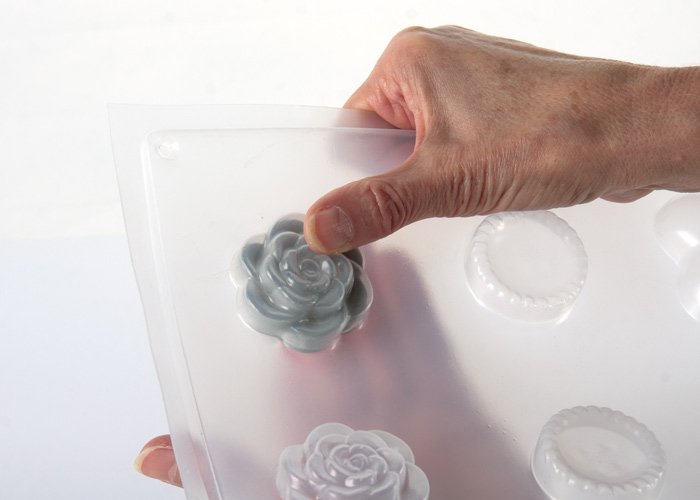
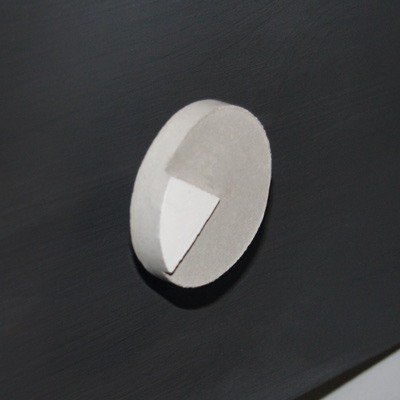
After the mould has dried (approx. 24 hours), demould the decorative knob: First gently press the back of the casting mould in the centre of the motif, then carefully tap it out, and remove the spacer with nut.5 ![]()

Step 5: decorative knobs
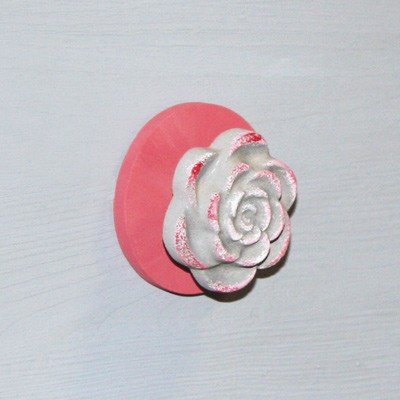
Sand off the decorative knob a little. For the knob design, use the sponge to apply the DecoArt Chalky colour and gently tap it onto the elevated points of the rose and the knobs.6 ![]()

Step 1: Decorative Hanger
First screw the metal hook into the pre-drilled hole (if this is difficult to do, pre-drill the hole with the gimlet, Item 89 529 00).7 ![]()
Step 2: Decorative Hanger
For the antique wood technique, dip the paint pad into the Chalky cream wax brown and apply it across the complete wooden hanger. Use a fresh sponge to apply a little bit of Chalky colour anthracite and only make partial smudges in the moist wax.8 ![]()
Step 3: Decorative Hanger
Use the first sponge to smudge the transitions. Allow to dry for a short time.9 ![]()
Step 4: Decorative Hanger
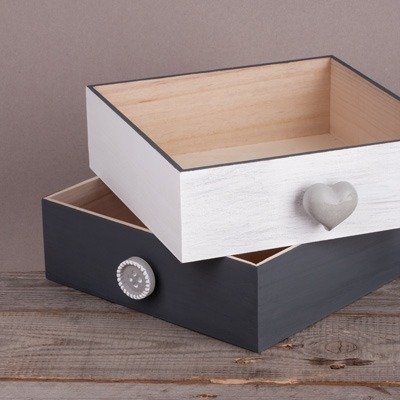
Now you can wrap the white paper cord around the hook – and glue the ends on with hot glue. Stamp on the vintage writing at irregular intervals, using the silicone stamp. Apply the anthracite colour to the stamp with the sponge and stamp on. Once it has dried, you can stick the decorative knobs with bead (as a spacer) through the drilled holes and fixate with a nut. Finally, shorten the screw using a suitable tool (cantilever action end cutting pliers). Use sandpaper or an iron file to smooth down sharp edges.Related craft ideas Looking for similar craft ideas? You can find them here: ![]()
![Difficulty -]()
![]()
![Difficulty -]()
![]()
![Difficulty -]()
![]()
![Difficulty -]()
Cement knob drawer
DIFFICULTY

Deco-cement knob "Circle"
DIFFICULTY

Deco knob Rose
DIFFICULTY
Cement-magnets
DIFFICULTY