


Instructions in 7 steps Similar to the napkin folding technique, affix the paper onto the outer area of the wooden house by means of decoupage glue. The Chalky Finish paint is in charge for the adequate contrast. And this is how it works:
Apply an even coat of the decoupage-glue & gloss varnish on the white surfaces of the house, then put on and smooth out accurately the deco-papier mâché. Let the paper dry shortly before you spread one more rich coat of the varnish on the paper surface. Let it dry well.
1 ![]()

Step 1
First, crop the deco- papier mâché exactly to the corresponding surfaces of both houses.2 ![]()
Step 2
Paint the roof and the gable of the small house on the outside with Chalky Finish stone-grey. The outer side panels and the remaining back side should be painted in white as a base for the decoupage-technique. Dab evenly the narrow front surface with the Chalky Finish night-blue using the sponge stamp. Let the paint dry well.3 ![]()
Step 3
On the big house, paint the outer and back sides with the night-blue colour. Paint the roof and the gable with Chalky Finish white and dab the narrow front surface with the sponge stamp. Let it dry well.4 ![]()
Step 4
Design the houses one by one:Apply an even coat of the decoupage-glue & gloss varnish on the white surfaces of the house, then put on and smooth out accurately the deco-papier mâché. Let the paper dry shortly before you spread one more rich coat of the varnish on the paper surface. Let it dry well.
5 ![]()
Step 5
In order to bend the wire form, make use of the cork disc and the bead’s pinhead. Copy the fir tree and the star, stick the cutting (with adhesive tape) on the cork disc.6 ![]()
Step 6
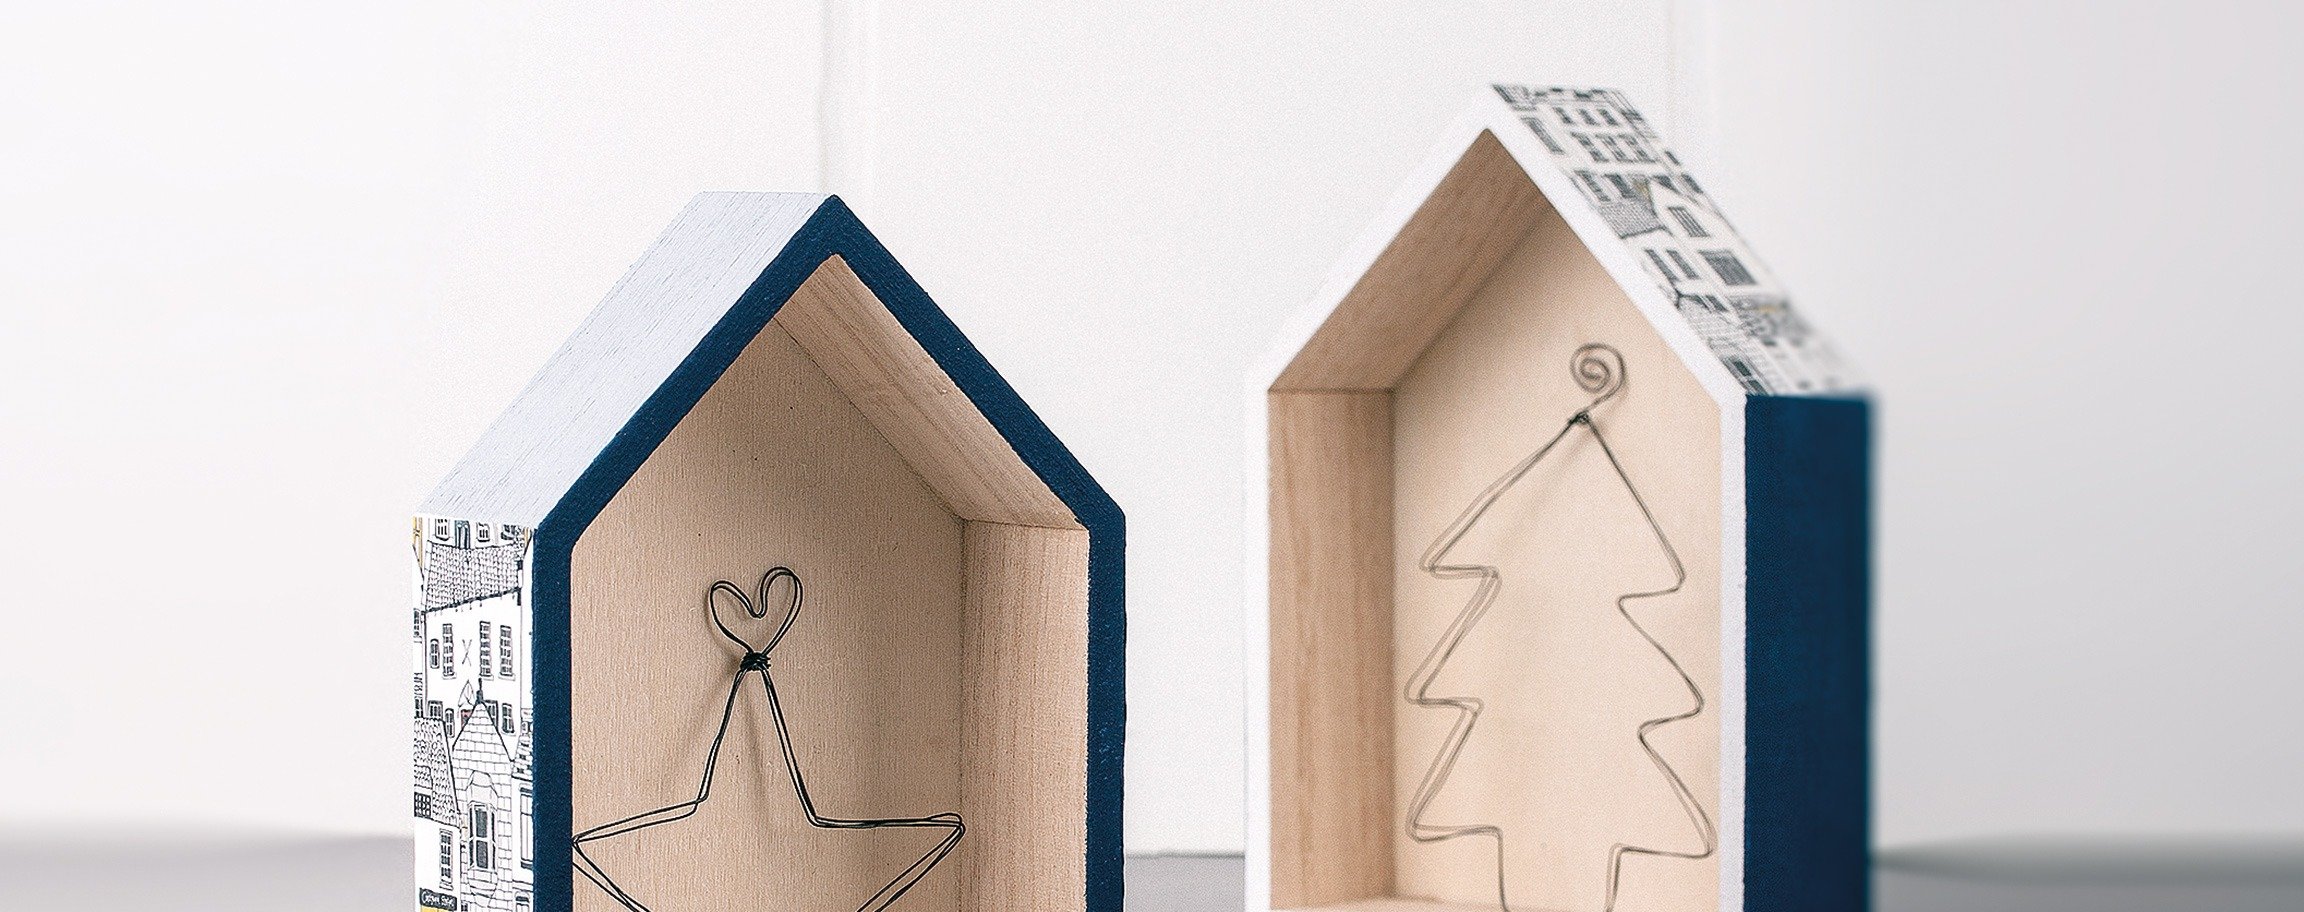
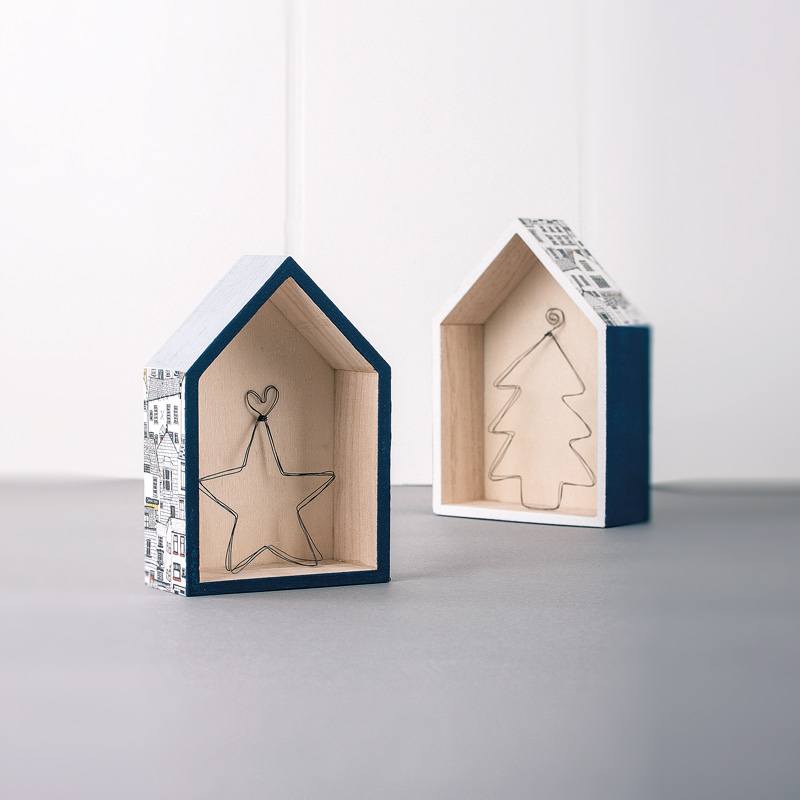
Insert the pins as a contour at the corner points in the cork disc. Start at the top point of the motif with the wire, leave approx. 5 cm of the wire. Wrap once around the pin, now wrap in sequence the wire around the needles. Along the outside of the tree or the star-pointers and the inwards of the internal points bend the wire. Try to do it thoroughly and hold the needle firmly once you kick-off the wire. Continue to work until you have circled three times the motif. At the end, coil the wire at the starting point 1 – 2 times together. Then remove the pins and move slightly the motif into place.7 ![]()
Step 7
Form a coil or a heart with the two remaining wires using the round pliers. Wrap round somehow the wire at its starting point and nip off with pliers.Related craft ideas Looking for similar craft ideas? You can find them here: ![]()
![Difficulty -]()
![]()
![Difficulty -]()
![]()
![Difficulty -]()
![]()
![Difficulty -]()
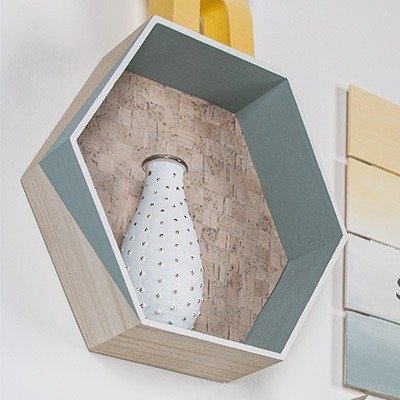
Wooden tray „Mosaic“ with cork
DIFFICULTY

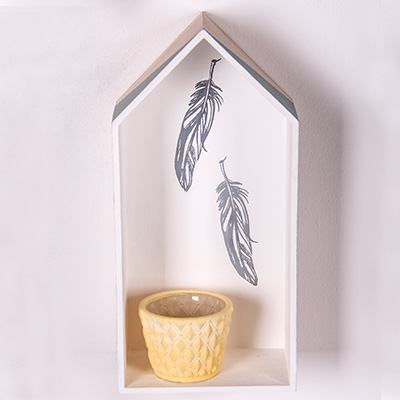
Wooden house with feathers
DIFFICULTY


Cement house „Home“
DIFFICULTY

Illuminated wooden frame
DIFFICULTY
