


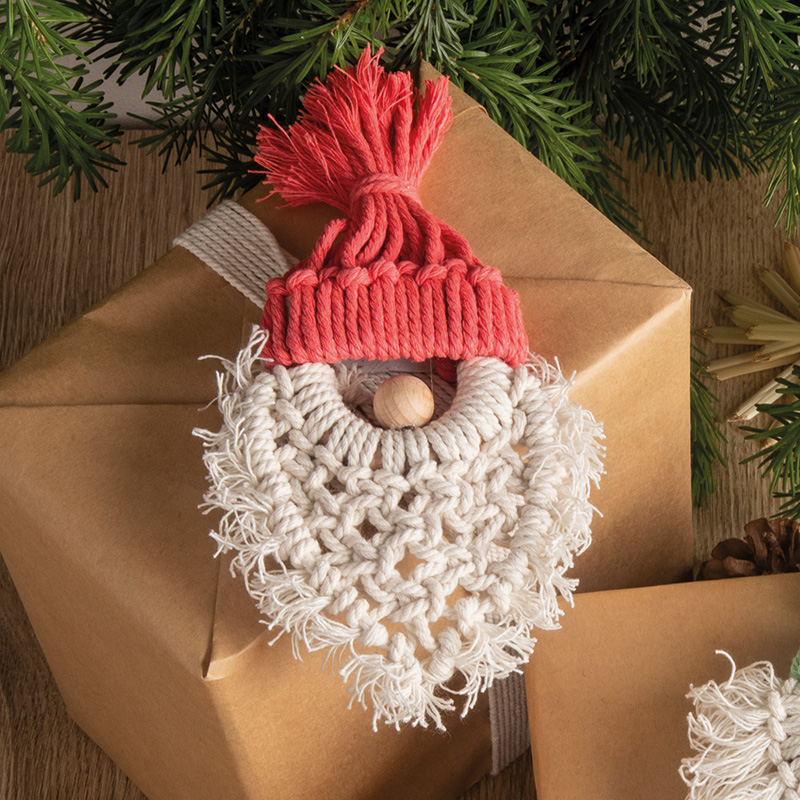


Instructions in 10 steps A variety of macramé knots turns gradually into Christmas decorative items.
Besides the articles listed below, you also need: Hot melt glue gun, scissors, cardboard tube of a kitchen paper towel or toilet paper roll, needle
And this is how it works: 1 ![]()

Preparatory
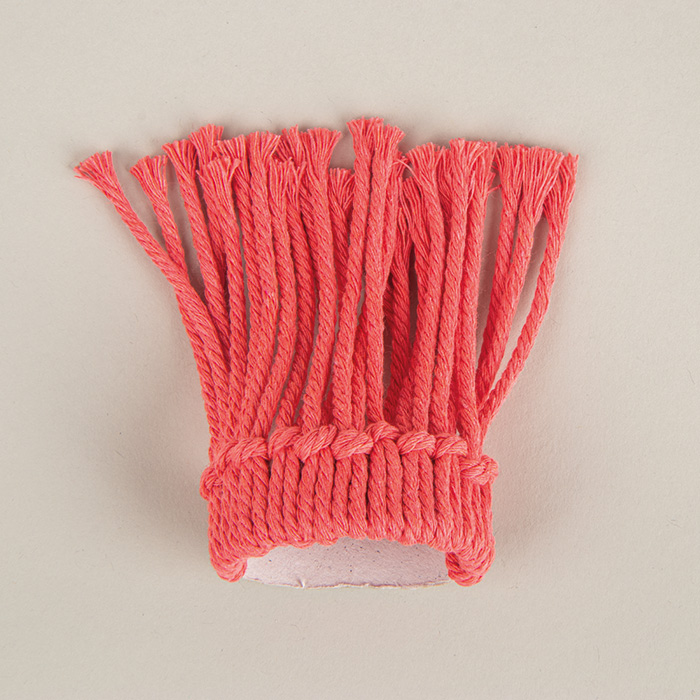
Prepare the following yarn pieces: 12 × white yarn (47 cm each) for the beard and 13 × coral macramé yarn (25 cm each) for the beany. You will also need a 1.5 cm wide ring made of cardboard or stiff paper, e.g. the cardboard tube of a toilet paper roll.2 ![]()
Step 1 - Beany
Now create Santa's beany. To do this, attach the coloured yarn pieces to the cardboard ring with a front anchor bend knot¹. Tighten the loop so that the knot is at the top edge of the ring. Do the same with all the other yarns for the beany.The yarns are only located on the front of the ring. If you wish to create a beany with a view from the rear, you have to double the number of yarn pieces. Tie up the beanie with a piece of yarn.The instruction for the knots can be found in the PDF version of the Craft Idea. Just download it.
3 ![]()
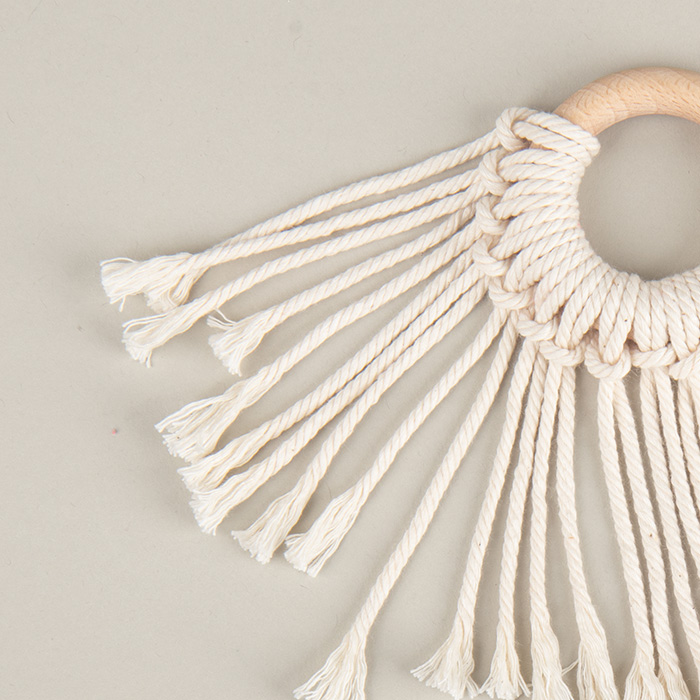
Step 2 - Beard
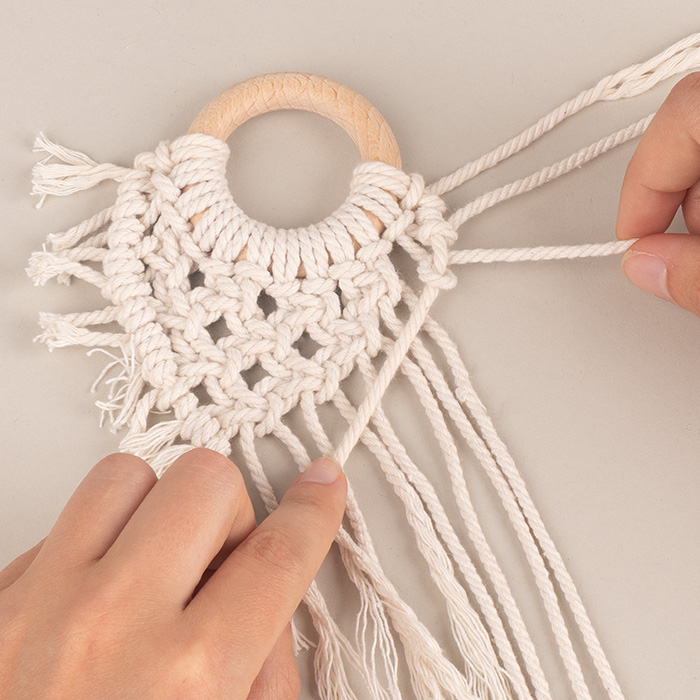
Take the 12 pieces of yarn cut to the length of 47 cm and attach them consecutively to the wooden ring with a front anchor bend knot¹.4 ![]()
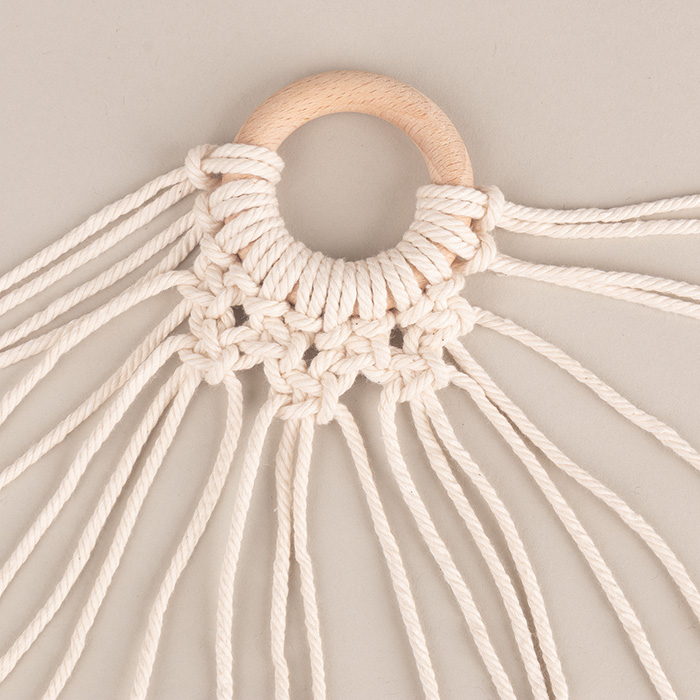
Step 3 - Beard
Weave from left to right. Push the first two anchor bend knots to the side. Tie the third and fourth anchor bend knots with a reef knot². Do the same with the subsequent anchor bend knots. Always tie two anchor bend knots to form a reef knot as a net³. Push the 11th and 12th anchor bend knots to the side.5 ![]()
Step 4 - Beard
As for the second row, starting from the left, put the first six yarns to the side and tie a reef knot again with the next four yarns as a net³. Continue like this for the next four yarns. The last six yarns are left alone.6 ![]()
Step 5 - Beard
As for the third row, put the first eight yarns to the side. Tie a reef knot again with the next eight yarns as a net³. The following eight yarns are left alone.7 ![]()
Step 6 - Beard
As for the fourth row, tie another reef knot in the middle with the four yarns as a net³.8 ![]()
Step 7 - Beard
Now start on the left side of the beard with a diagonal double half hitch knot⁴. Move each knot a little from the previous one up to the middle to create a diagonal composition. Repeat the same steps from the right side, but laterally reversed.9 ![]()
Step 8 - Beard
Cut the yarns to the same length and fray them with a needle.10 ![]()
Completion
Adjust the beany to fit the upper part of the ring, connecting it to the top edges of the beard and affix it to the wooden ring using a bit of hot-melt glue. Glue the wooden ball in the middle of the beard as a nose using a bit of hot-melt glue.Related craft ideas Looking for similar craft ideas? You can find them here: ![]()
![Difficulty -]()
![]()
![Difficulty -]()
![]()
![Difficulty -]()
Macramé tree small
DIFFICULTY

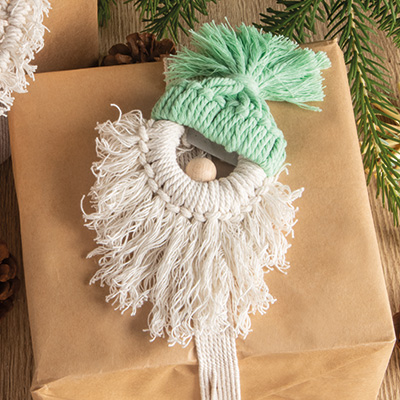
Macramé Santa Claus with simple beard
DIFFICULTY

Macramé Christmas tree
DIFFICULTY
