


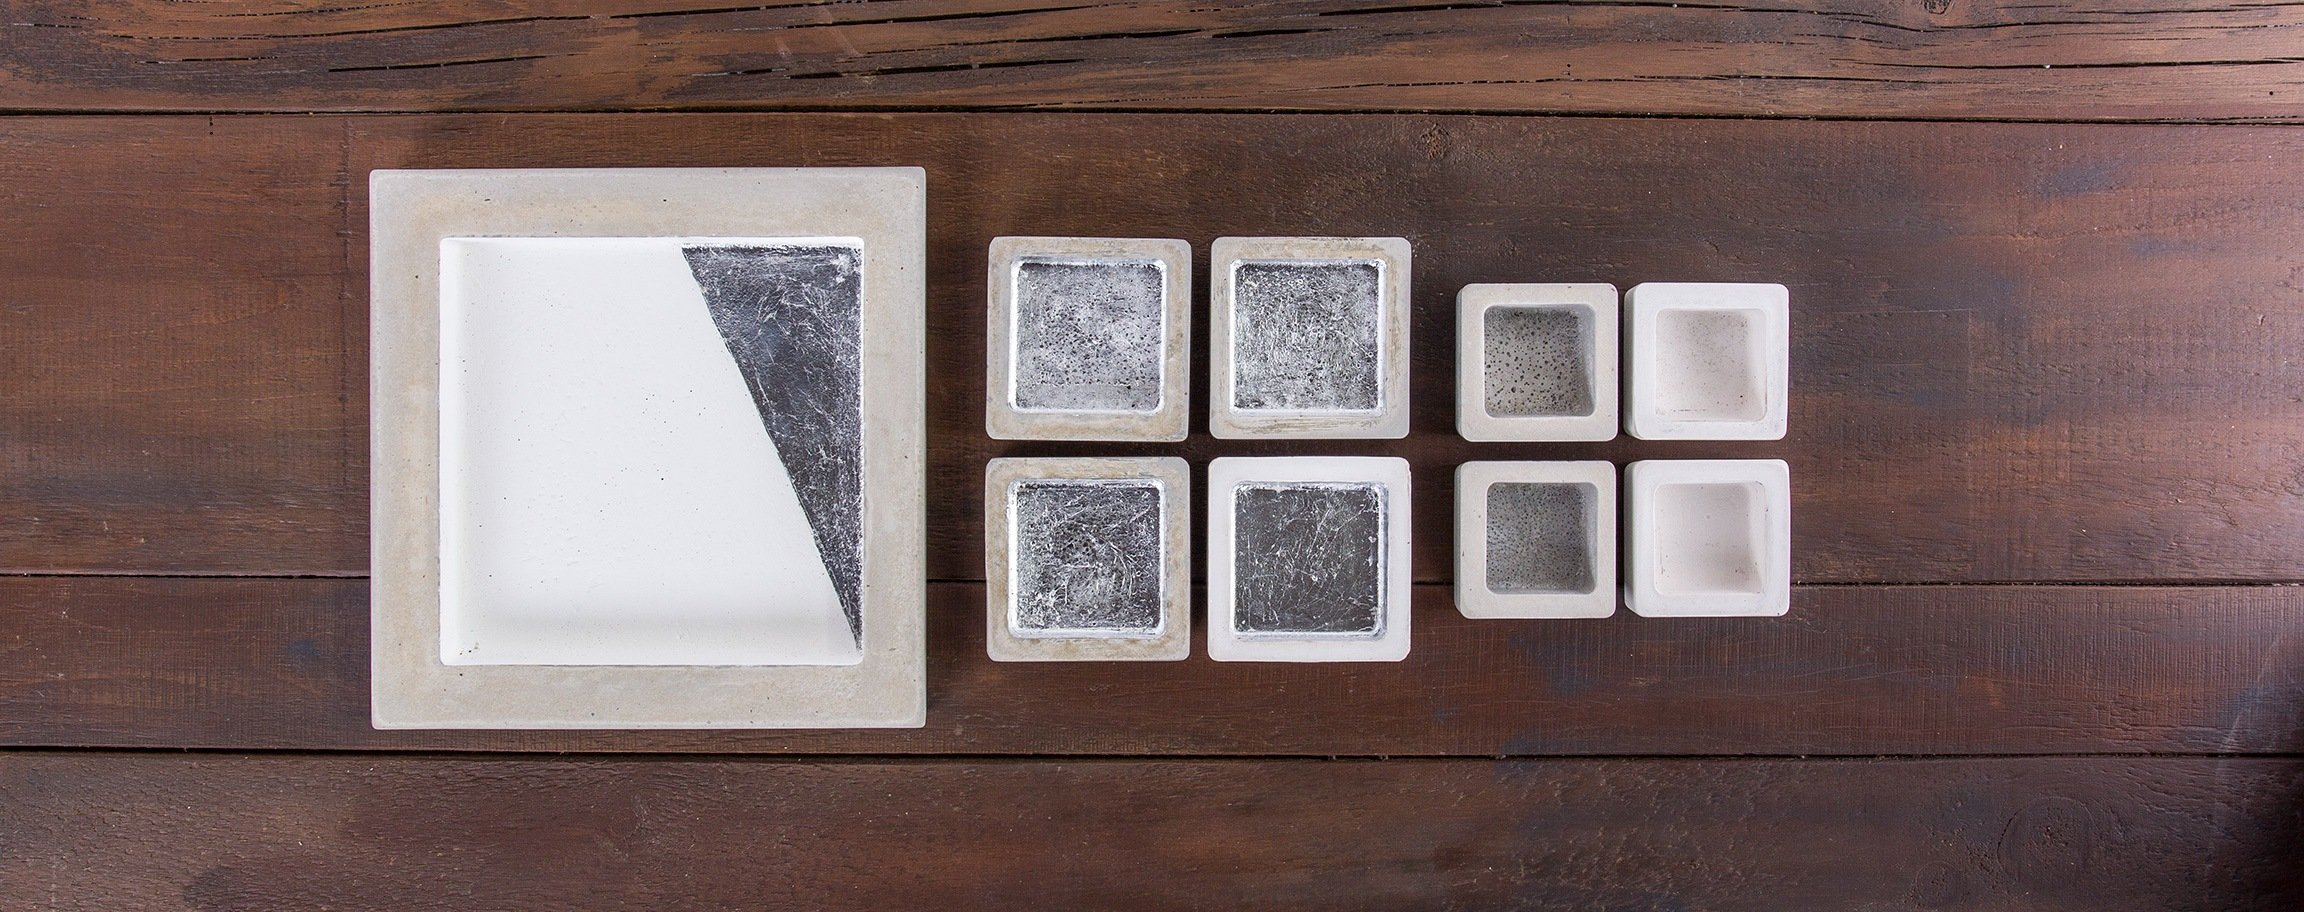
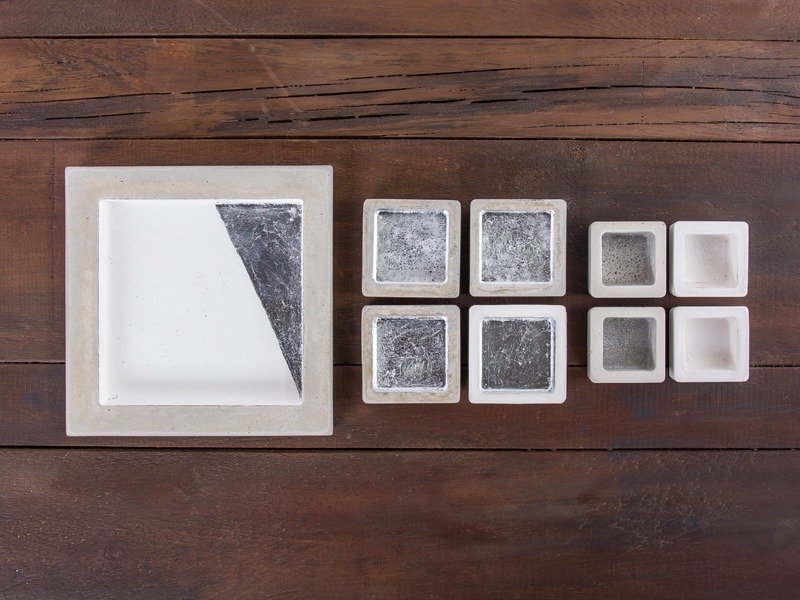
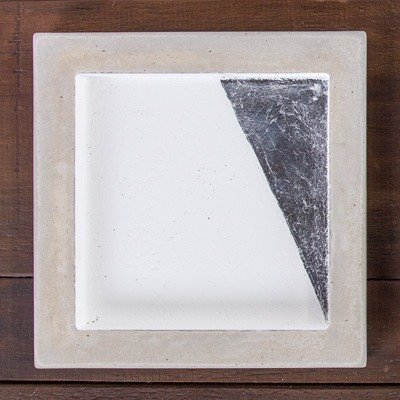
Medium-sized square-shaped side plate out of cement
Difficulty

Duration
60 minShare Idea ![]()
![]()
![]()
![]()


Instructions in 10 steps After drying, you can give these small concrete slabs a silvery shimmer by means of the decorative metal flakes.
Besides the articles listed below, you also need: Cooking oil, sieve, pebbles to weigh down the casting mould, support out of Crepla or cardboard
And this is how it works: 1 ![]()

Step 1
To start the preparation, put the large square-shaped casting mould on a solid and even surface, so that it doesn’t wobble and coat its inside with cooking oil. Coat well the outer side of the small one too with cooking oil.2 ![]()
Step 2
In order to remove the larger pebbles from the cement, you should sieve the cement powder (about 290 g) before mixing with water, through an ordinary household sieve.3 ![]()
Step 3
Pour about 45 ml of water (once the cement is sieved, the mixing ratio is changing according to the instructions on the package) in a plastic bucket and then gradually add approx. 200 g of the creative-cement powder. Stir this mixture with a wooden spatula until an uniform and castable compound is obtained.4 ![]()
Step 4
Fill the prepared larger square-shaped casting mould with the casting compound up to the desired height. Allow the compound to rest for about 1-2 minutes. Tip: to reduce the air bubbles in the cement-casting compound, at first put one side of the smaller square-shaped casting mould on the casting compound and then put the rest of the mould slowly with a slight pressure. Once the whole casting mould has been placed, you can push it with a slight pressure to the desired depth and carefully align it back and forth. After that, weigh down the casting mould to desired depth with pebbles or small stones.5 ![]()
Step 5
Let it dry out overnight.6 ![]()
Step 6
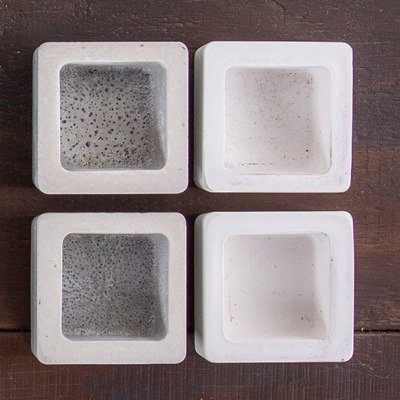
The next day, you can demould a part of the object. Firstly, demould carefully the smaller square-shaped casting mould by bending and pulling it upwards slightly from all sides. Once the smaller square-shaped casting mould has been entirely removed from the casting object, let it dry once more for a few hours.7 ![]()
Step 7
Then you can demould the rest of the casting object from the mould by upturning the casting mould on the support out of Crepla or cardboard and then carefully press slightly with the palm of the hand on the casting object, so that the air penetrates between the casting object and mould. Tap the square-shaped casting mould gently in circles on your support, so that the side plate out of cement becomes entirely detached from the mould.8 ![]()
Step 8
Allow it to harden. The curing time varies depending on the size and the temperature (at best, one to several days).9 ![]()
Step 9
Small burrs and irregularities can be quickly & easily grinded with sandpaper.10 ![]()
Step 10
If desired, you can paint afterwards your square-shaped side plate and/or decorate it with deco-metal.Related craft ideas Looking for similar craft ideas? You can find them here: ![]()
![Difficulty -]()
![]()
![Difficulty -]()
![]()
![Difficulty -]()
![]()
![Difficulty -]()

Cement bowl ø 9,5 cm with metal highlights
DIFFICULTY


Round candle holder
DIFFICULTY
Large square-shaped side plate out of cement
DIFFICULTY
Small square-shaped side plate out of cement
DIFFICULTY
