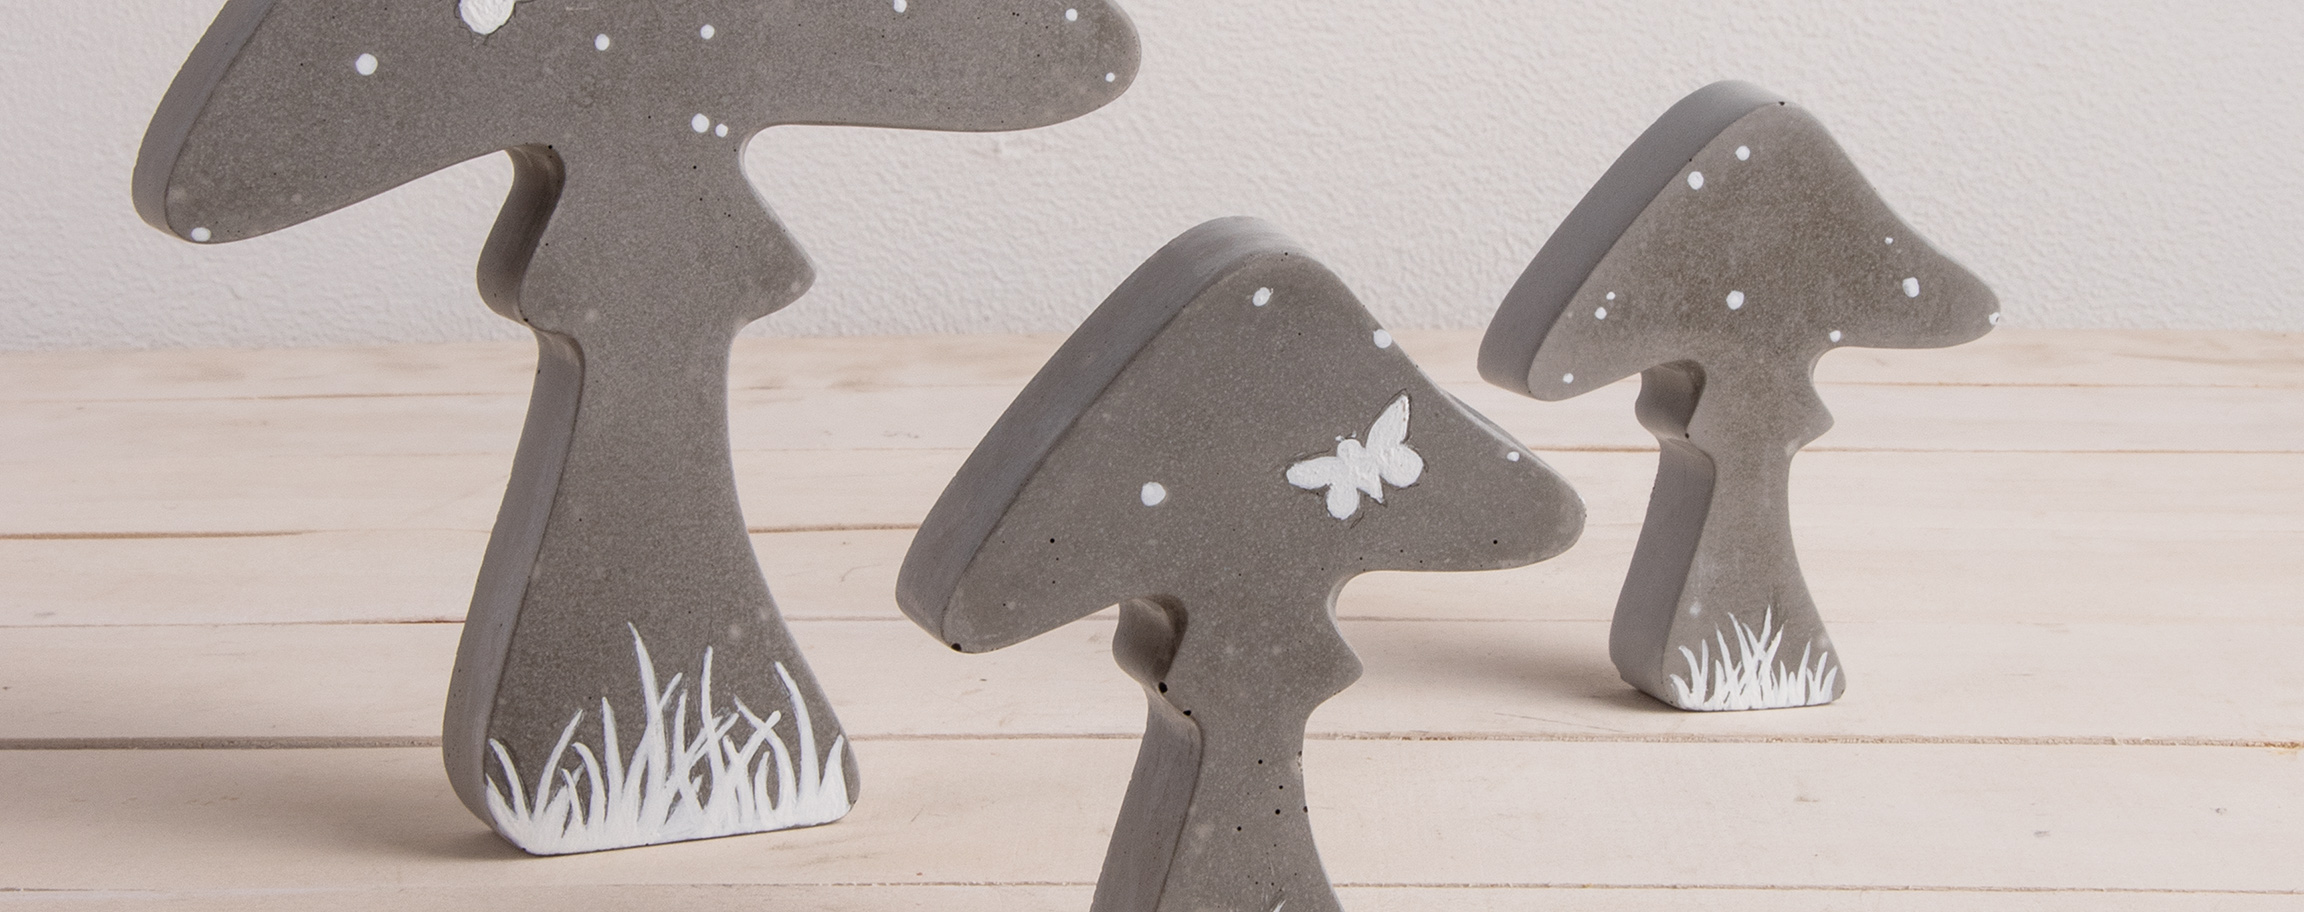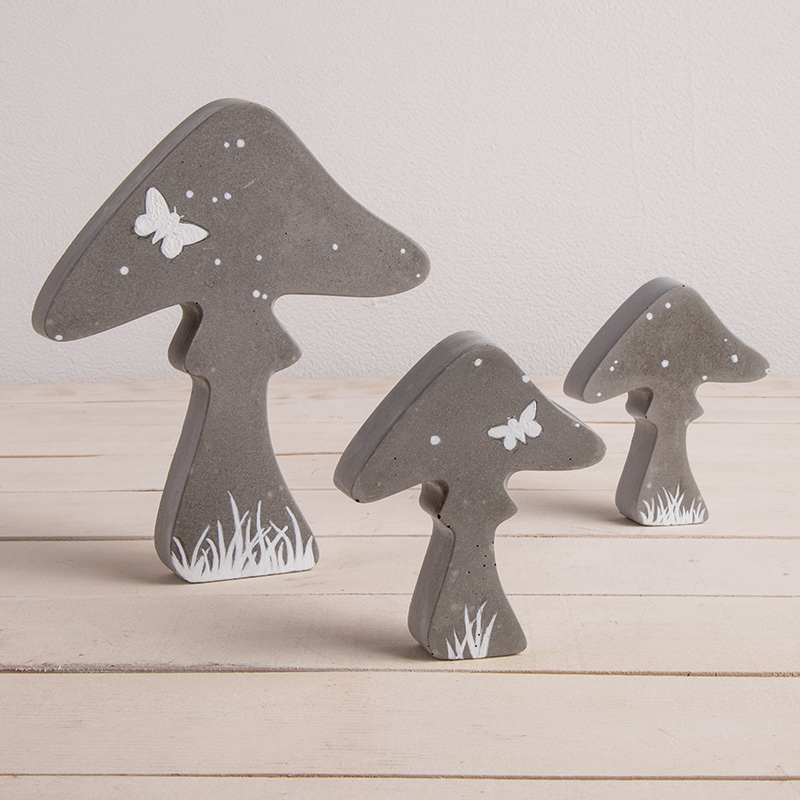
Instructions in 5 steps Simple and timeless. The decorative mushrooms made of concrete are nicely painted after drying with a white all-purpose paint.
Besides the articles listed below, you also need: Tinfoil, kitchen roll, towel
And this is how it works: 1 ![]()
Step 1
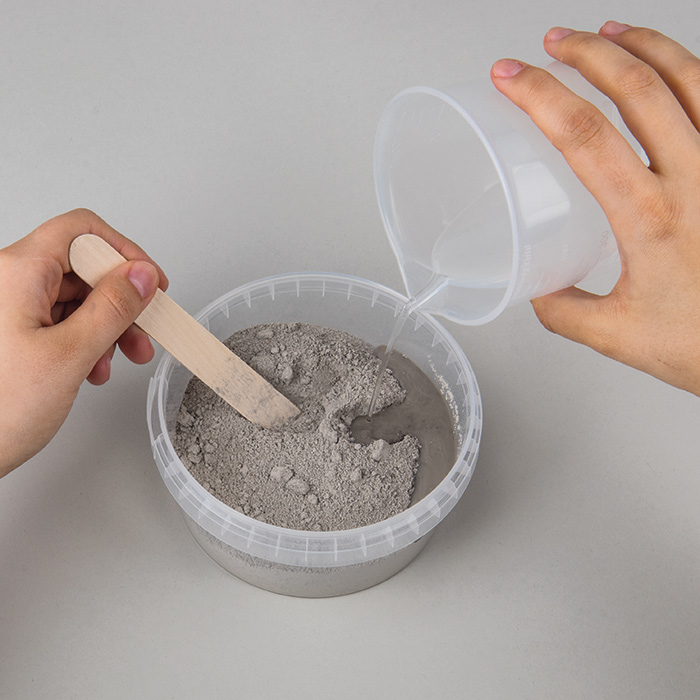
Mix about 350 g of creative-cement with water according to the instructions on the packaging. Stir the mixture until you have reached an uniform, castable compound.2 ![]()
Step 2
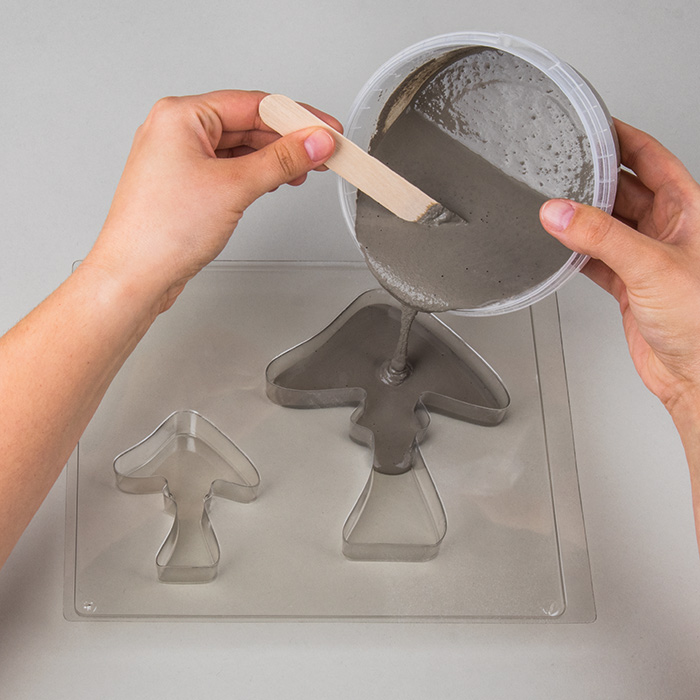
Now pour slowly the concrete mixture into the mould. Make sure that you do not pour up to the brim in order to get a nice and even edge of the mushroom and to avoid any excess of overflowed mixture. Then tap gently your casting mould several times onto work surface to prevent the formation of air pockets. Now allow the concrete to dry out in the casting mould for half a day.3 ![]()
Step 3
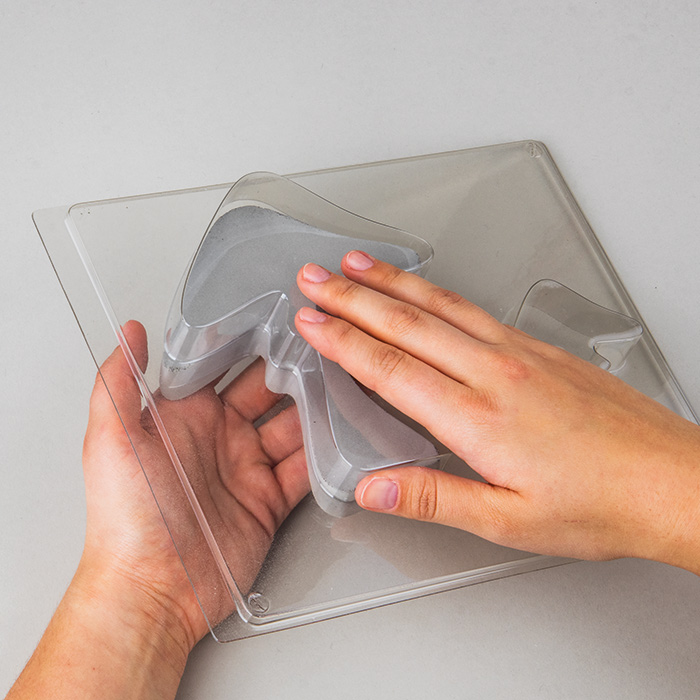
Then demould the mushrooms by turning the casting mould upside down on a towel and by pressing slightly with the flat of your hand against the mould. Tap the casting mould carefully so that the mushrooms can detach from the mould. Then let the demoulded mushrooms dry in air again, preferably for a whole day or night.4 ![]()
Step 4
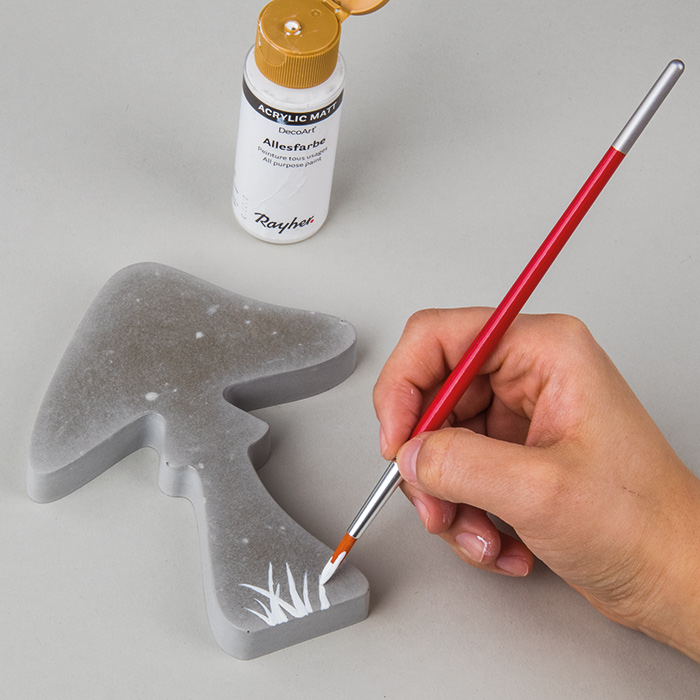
Now we’ll move to the next stage – the design. To do this, take some white all-purpose paint and draw a butterfly and a few uneven scales on the cap of the mushroom with the paintbrush. Then draw an illusory meadow from below with a few paintbrush strokes and your first mushroom is ready. You can naturally implement your own ideas and design the mushrooms in a personalised manner.5 ![]()


