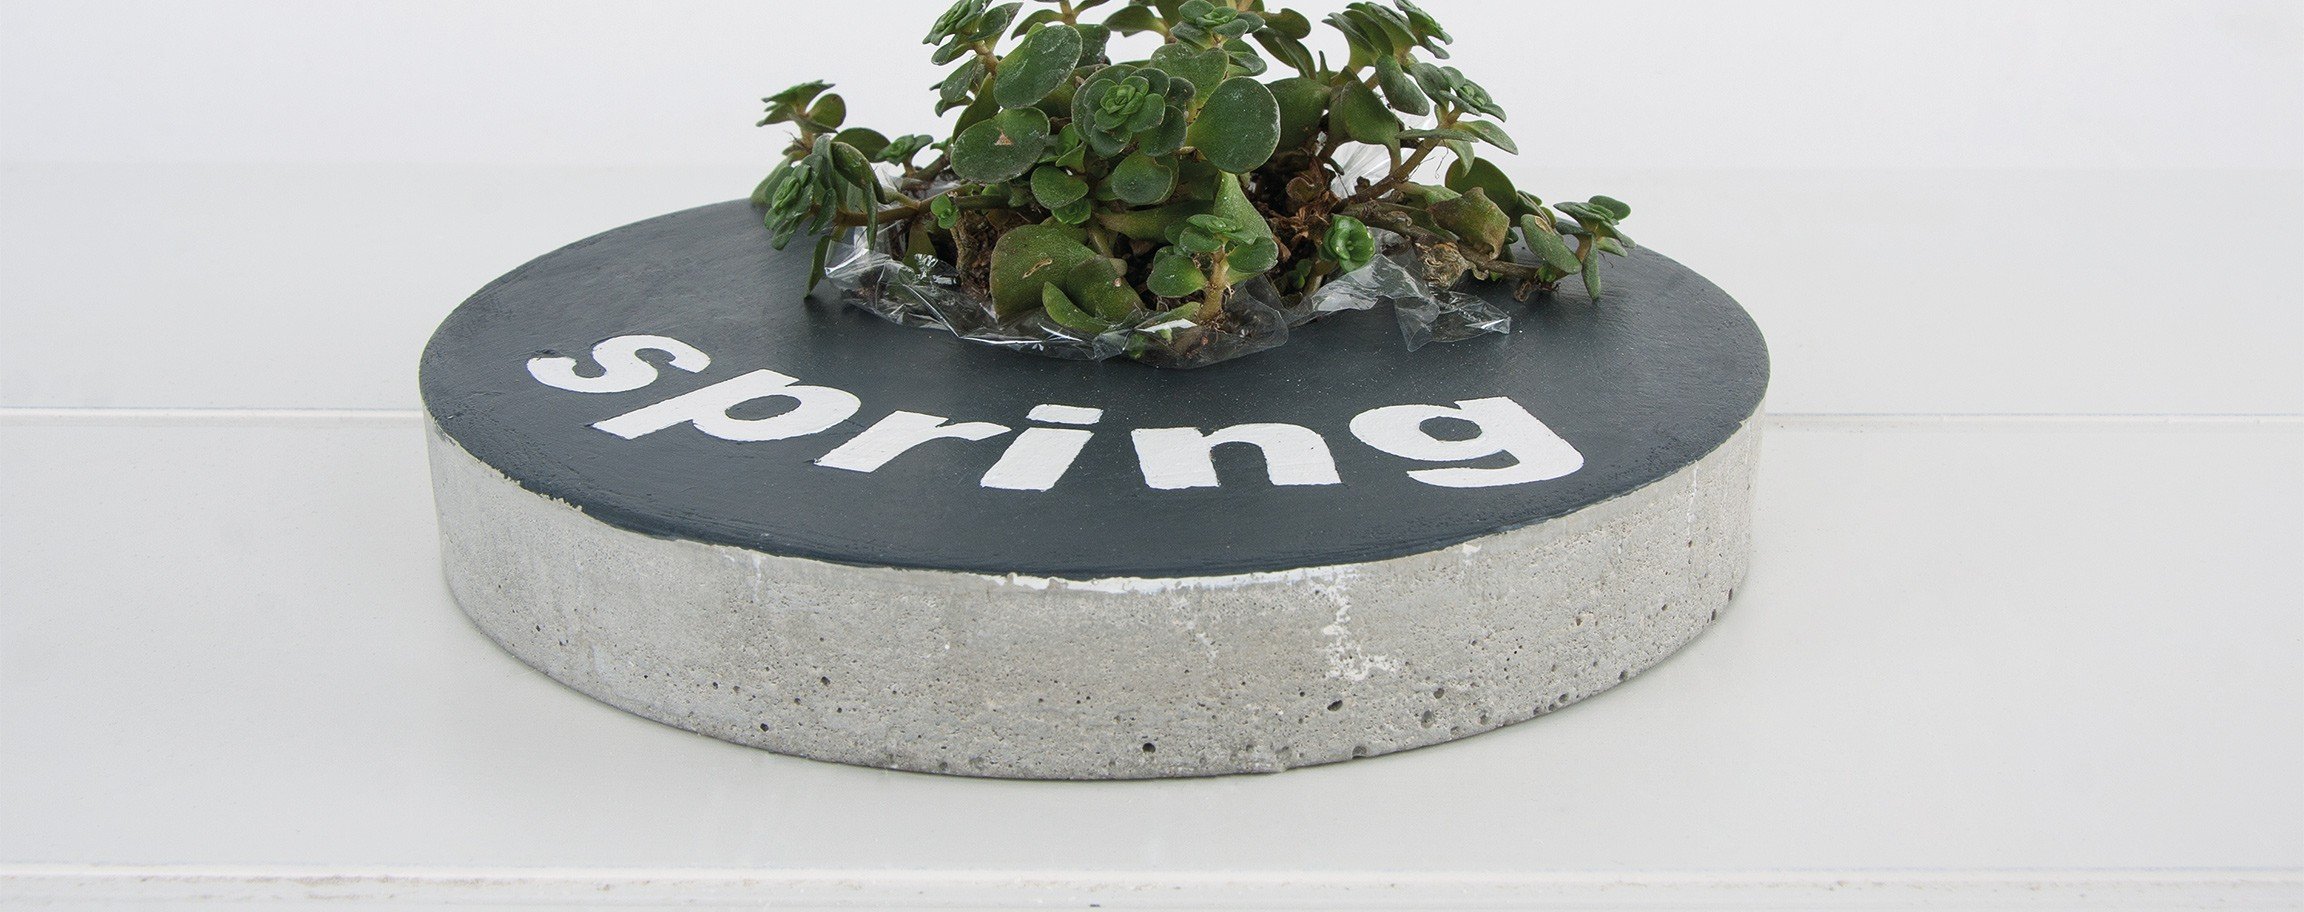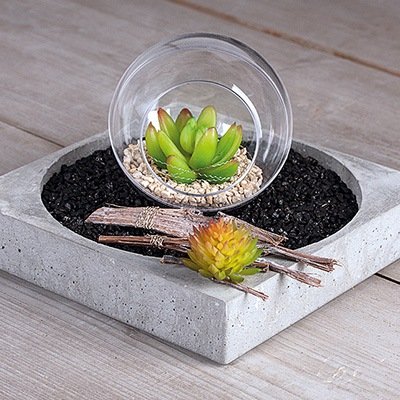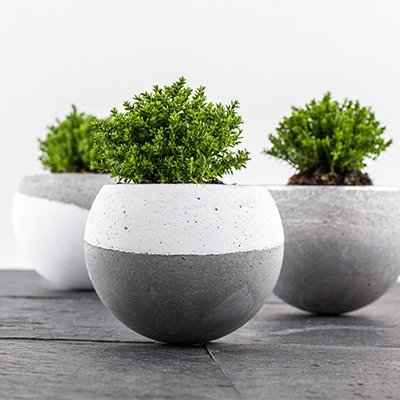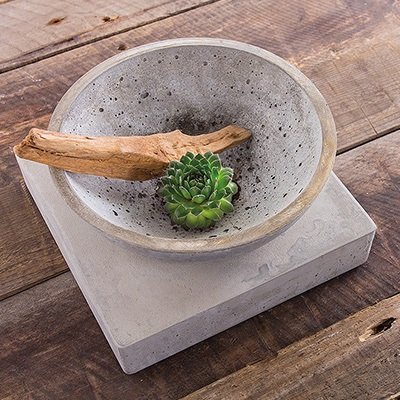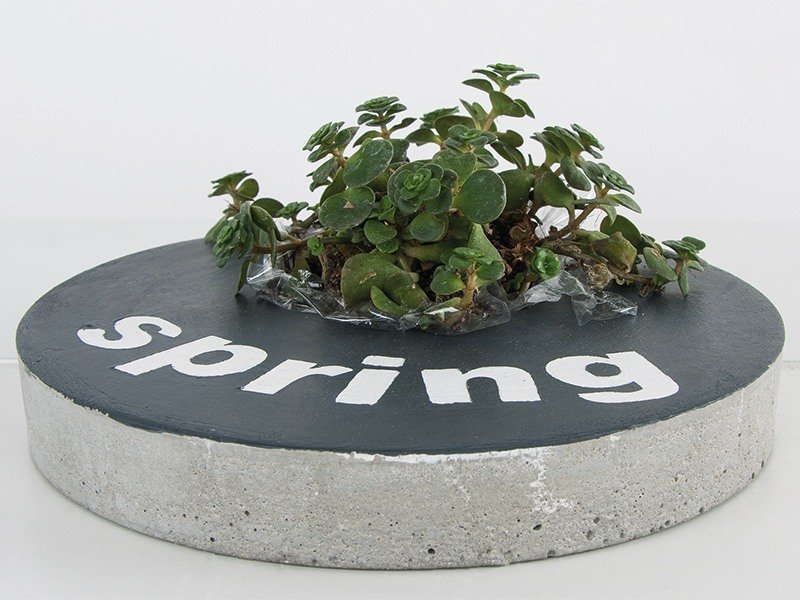
Instructions in 12 steps Paint the round concrete slab with Chalky Finish paint and stick letters on it. You could do some planting in the hole being in the middle.
Besides the articles listed below, you also need: Cooking oil, sandpaper, brush, pebbles, a vessel to stir the cement, support out of Crepla or cardboard
And this is how it works: 1 ![]()

Step 1
To start the preparation, put the bigger casting mould “Circle” on a solid and even surface, so that it doesn’t wiggle and coat its inside with cooking oil. Coat well the outer side of the small one also with cooking oil.2 ![]()

Step 2
Pour about 200 ml of water in a plastic bucket and then gradually add approx. 2000 g of the creative-cement powder. Stir this mixture until an uniform and castable compound is obtained.3 ![]()

Step 3
Fill the prepared bigger circle-shaped casting mould with the casting compound (pour not quite up to the top). Allow the mass to rest for about 1-2 minutes. Hint: to reduce the air bubbles in the cement-casting compound, at first put one side of the smaller circle-casting mould on the casting compound and then put the rest of the mould slowly with a slight pressure. Once the whole casting mould has been placed, you can push it with a slight pressure and carefully align it back and forth. After that, weigh down the casting mould with the pebbles.4 ![]()

Step 4
Let it dry out overnight.5 ![]()

Step 5
The next day, you can demold a part of the object. Firstly, demold carefully the smaller circle-casting mould by bending and pulling upwards slightly from all sides. Once the casting mould has been entirely removed from the casting object, let it dry once more.6 ![]()

Step 6
Then you can remove the rest of the casting object from the mould by upturning the casting mould on the pad made of crepla or cardboard and then press slightly with the palm of the hand on the casting object, so that the air penetrates between the casting object and mould. Tap the casting mould gently on your pad, so that the cement-object becomes entirely detached from the mould.7 ![]()

Step 7
Allow to harden. The curing time varies depending on the size and the temperature (one to several days).8 ![]()

Step 8
Small burrs and irregularities you can grind with sandpaper.9 ![]()

Step 9
Paint the upper side of the cement-tile with Chalky Finish white. Let it dry out and then apply & align the adhesive letters on the cement-tile.10 ![]()

Step 10
Paint over the white painted surface with Chalky Finish anthracite. Let it dry out.11 ![]()

Step 11
Then you can pull off the adhesive letters and repair any minor errors with paint.12 ![]()


