


Instructions in 9 steps The concrete ball will look even better with a coat of Chalky Finish paint. The mould is made of a plastic ball, so push one half back to front into the concrete paste as a recess.
Besides the articles listed below, you also need: Cooking oil, Paper towel, Pebbles, Plastic can or mug ø 6 cm as „inlay“
And this is how it works: 1 ![]()

Step 1
In preparation place the two halves of the plastic ball together and set it on a stable surface (e.g. mug, flowerpot, or other), so that it does not wobble. Oil the inside with cooking oil.2 ![]()
Step 2
Oil the outside oft he plastic mug as well.3 ![]()
Step 3
Fill a plastic bucket with approximately 140 ml of water, afterwards add small portions of approximately 1,4 kg of creative cement. Mix the mixture with a wooden crafting stick until the mixture is smooth and pourable.4 ![]()
Step 4
Pour the mixture into the mold until it reaches the desired height (at best leave 1cm to the top). Let the creative cement rest for 1-2 minutes, while carefully knocking against the mold, so that possible air bubbles can escape. Afterwards immediately place the plastic mug centered into the creative cement and way it down with small stones or pebbles. Depending tot he desired deepness or size oft he mug you can also refill some cement.5 ![]()
Step 5
Let it harden. The curing time can vary, depending on the size and temperature. Best let it harden over night, then demold the form and let it fully harden(do not let it harden completely in the mold.6 ![]()
Step 6
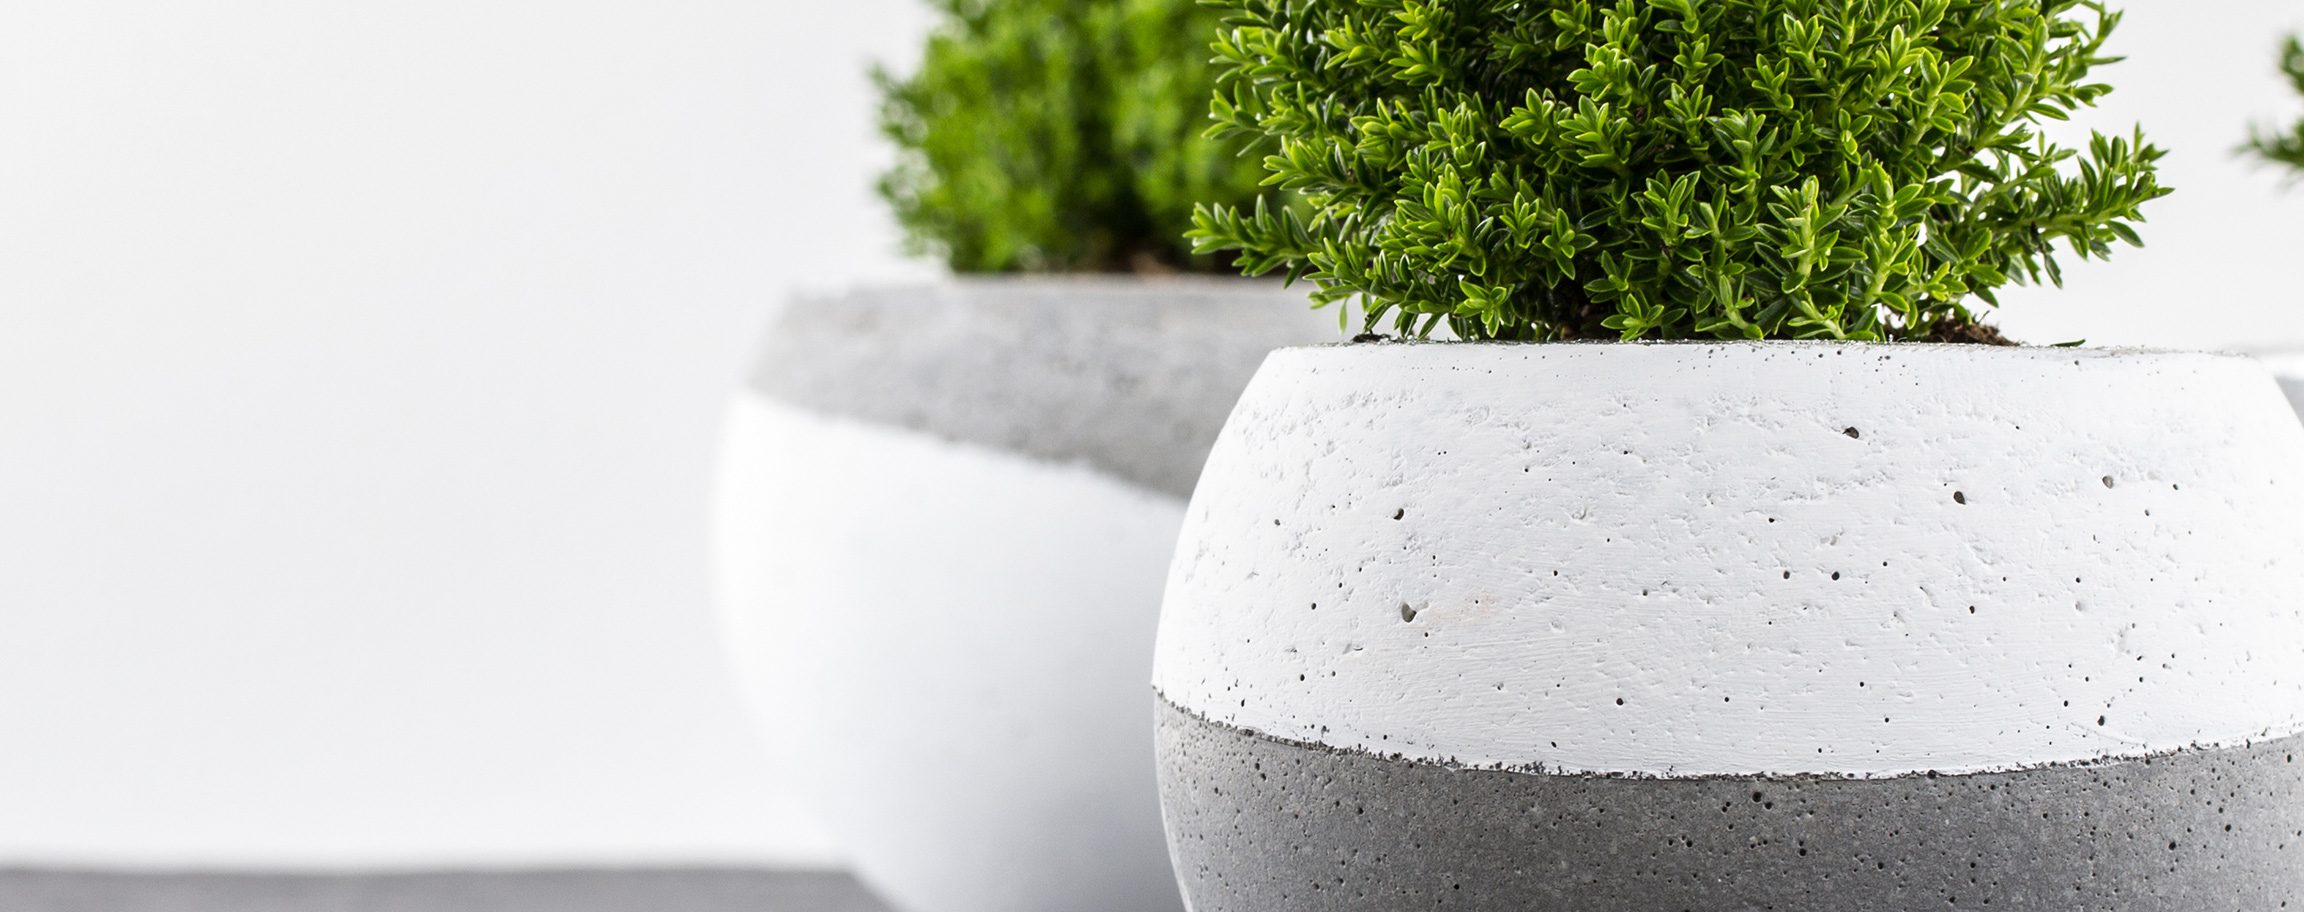
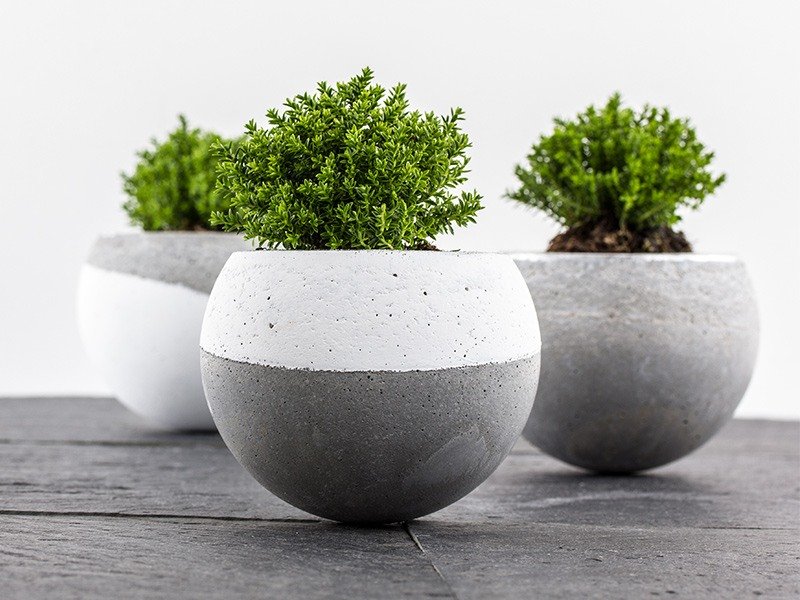
Now the mold can be demolded. First carefully remove the plastic mug from the top. Afterwards demold the cement ball, by removing the upper part of the form. Remove the cement ball from the mold. Remove the sphere oft he form and let it completely dry. The cement sphere is loadable after 2 days. Also ideal to be used as a planting bowl. The bowl is completely hardened and can be used after 1-2 days.7 ![]()
Step 7
Smaller ridges and bumps can easily be removed by sand papering the cement ball.8 ![]()
Step 8
Afterwards paint the cement ball with chalky finish.9 ![]()
Step 9
For a special metal effect the ball can also be decorated with deco-metal. Here for coat the desired surface with the deco metal milk an let it dry a bit, and place the metal flakes onto the coated surface, pressing, or stroking them fast with a soft brush. For a better shine, polish the metal surface with a soft towel.Tipp: The decorated ball has the perfect hold when standing upon the fitting plinth.
Related craft ideas Looking for similar craft ideas? You can find them here: ![]()
![Difficulty -]()
![]()
![Difficulty -]()
![]()
![Difficulty -]()
![]()
![Difficulty -]()

Kneading-cement ball with flowers
DIFFICULTY


“Crown” out of the kneading-cement
DIFFICULTY
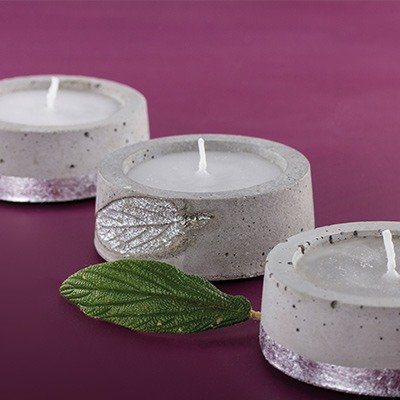
Cement candle light with leave pattern
DIFFICULTY

Round tiles out of cement „Spring“
DIFFICULTY