


Instructions in 20 steps A single soap cake – full of presents. Cast the different cake layers one after the other. Use the kneading-soap to create the decorations on top of the cake.
Besides the articles listed below, you also need: Kitchen scales, pot, melting pot, small plastic container, stirrers, kettle, cooking oil, craft stick, plastic lid or alum.foil
And this is how it works: 1 ![]()

Step 1
Melt the creative-soap in a water-bath on the stove (max. 60° - do not boil).2 ![]()
Step 2
After the complete melting, you can stir the desired colour and/or fragrance oil in the liquid soap. Therefore, use a wooden spatula or a teaspoon.3 ![]()
Step 3
Pour it dropwise.4 ![]()
Step 4
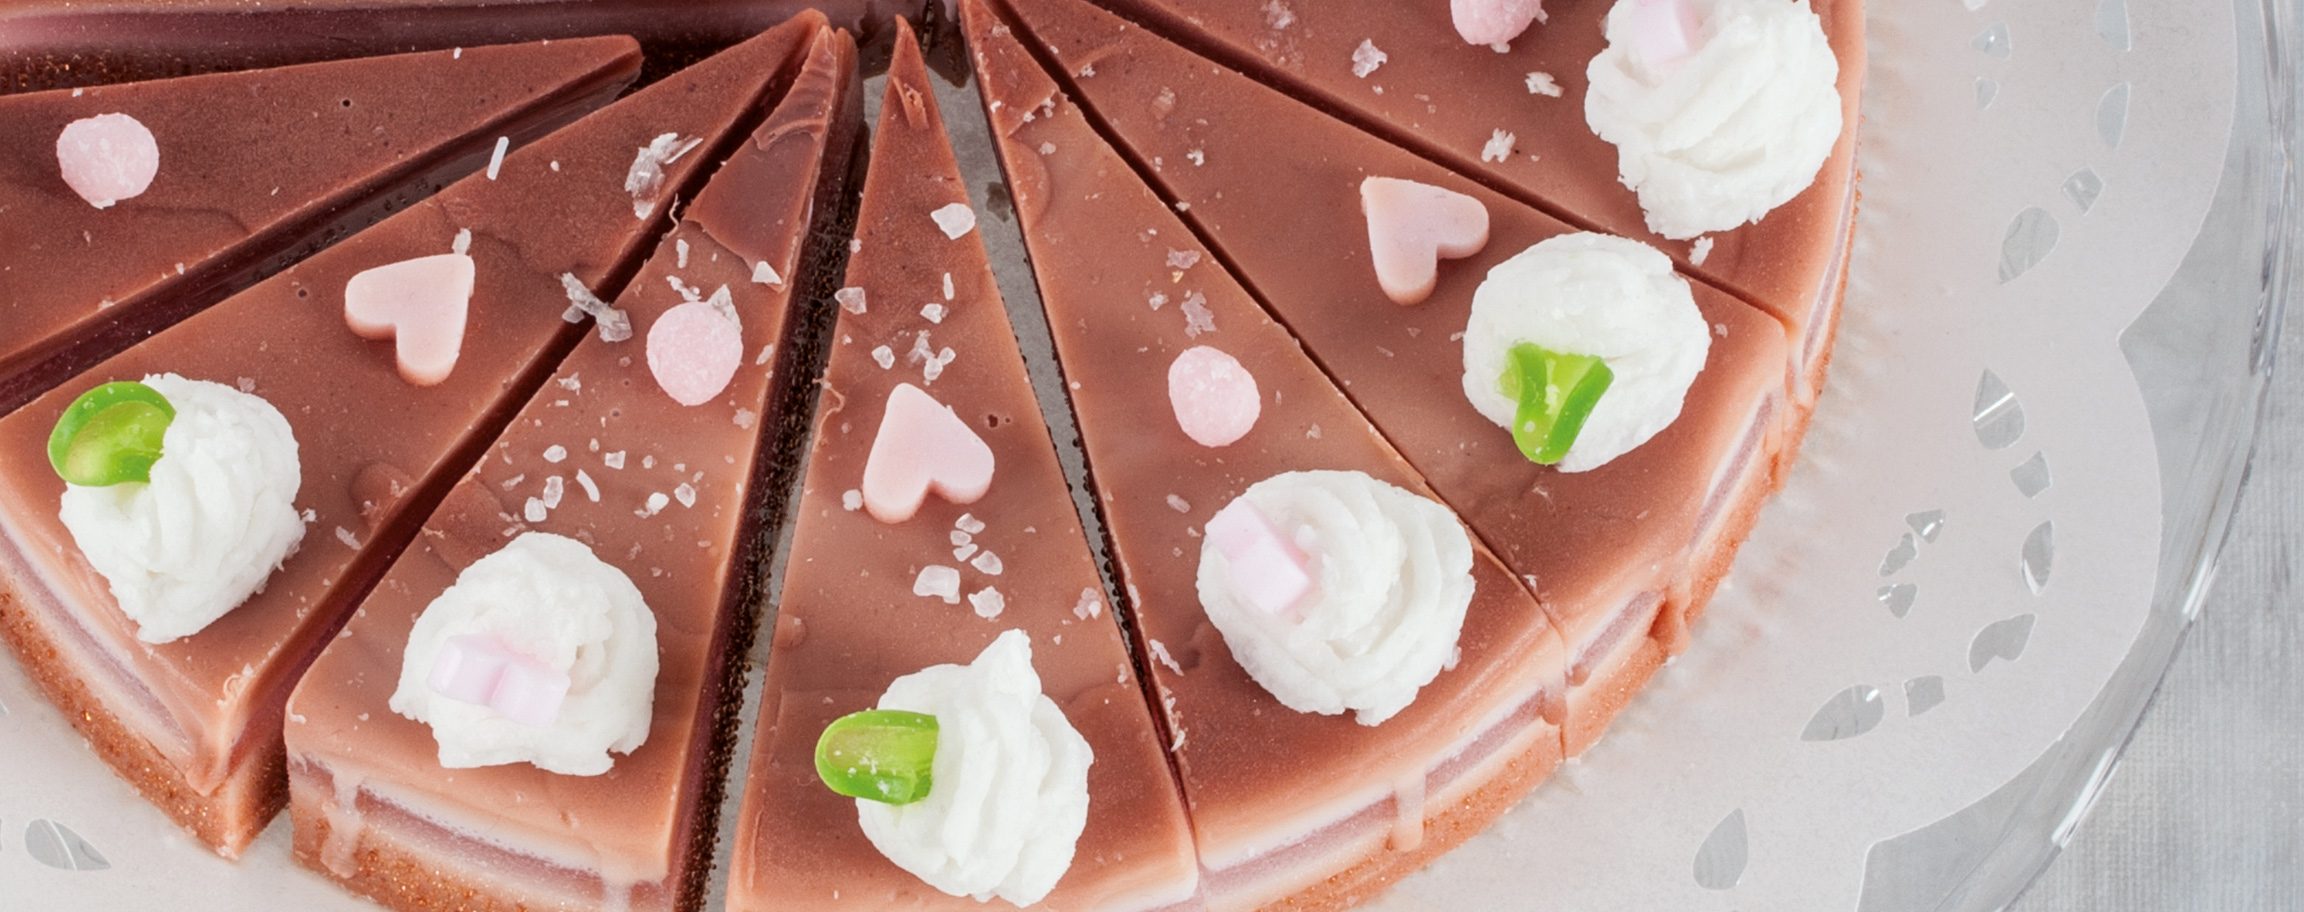
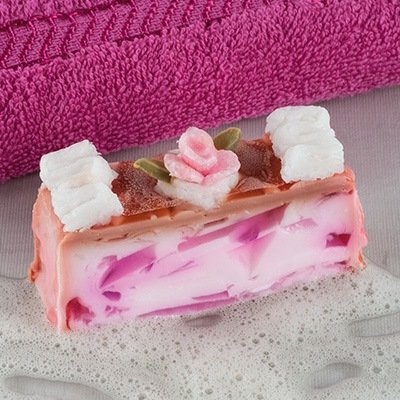
The cake consists of four different colour layers. It means that the cake should be cast in stages. You have to start with the lowest layer, let it cool down for a while and continue to do more of the same, one layer at a time. The last uppermost layer should end at the upper border of the casting mould.5 ![]()
Step 5
Demould the cake by a slight pressure.6 ![]()
Step 6
Let the soap dry well out (at least 2-3 hours, ideally one day).7 ![]()
Step 7
Now, you can spread the chocolate glaze over the cake (see instructions for chocolate glaze).8 ![]()
Step 8
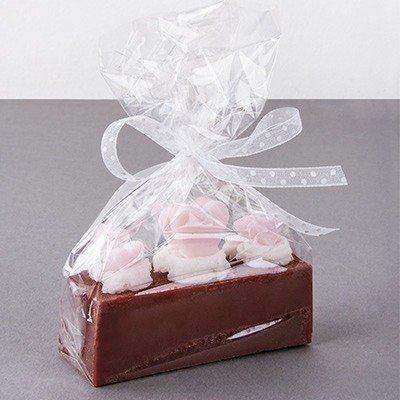
Once the glaze has dried well out, you can cut the cake into pieces and decorate it with cream rosette (see instructions) and the cutout hearts (see instructions).9 ![]()
Step 9
You can make the green leaves out of the transparent green cast wax sheet.10 ![]()
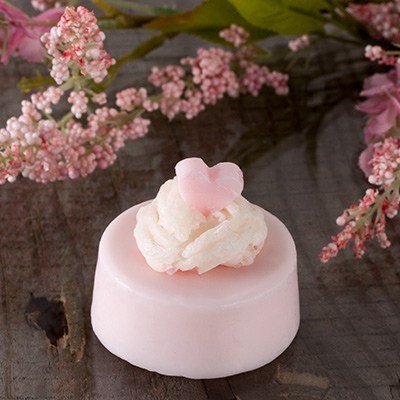
Step 10: Cream rosette
Mix the kneading-soap with hot water and the cooking oil, for e.g. 50g of the kneading-soap with 20ml of hot water and about 5ml of the cooking oil.11 ![]()
Step 11
Stir this mixture with a craft stick and let it rest for 10 minutes.12 ![]()
Step 12
Then knead the mixture well again.13 ![]()
Step 13
Build together a pastry bag (without a bag) and fill it with some kneading-soap.14 ![]()
Step 14
Push the kneading-soap with a finger through the tip and shape at once the pushed out mixture.15 ![]()
Step 15: Cake glaze
Melt the creative-soap in a water-bath on the stove (max. 60° - do not boil).16 ![]()
Step 16
After the complete melting, you can stir the nougat colour in the liquid soap. Therefore, use a wooden spatula or a teaspoon.17 ![]()
Step 17
Pour it dropwise.18 ![]()
Step 18: Soap sheet
Melt the creative-soap in a water-bath on the stove (max. 60° - do not boil).19 ![]()
Step 19
After the complete melting, you can stir the colour in the liquid soap. Therefore, use a wooden spatula or a teaspoon. Pour it dropwise. Pour the melted soap onto a flat surface such as for e.g. a small lid or some aluminum foil.20 ![]()
Step 20
Once the soap hardened, after at least half an hour, you can cut the desired motifs out by means of the cookie cutters.Related craft ideas Looking for similar craft ideas? You can find them here: ![]()
![Difficulty -]()
![]()
![Difficulty -]()
![]()
![Difficulty -]()
![]()
![Difficulty -]()
Round light-pink soap with cream rosette
DIFFICULTY

Piece of cake
DIFFICULTY

A piece of cake
DIFFICULTY


A piece of cake
DIFFICULTY