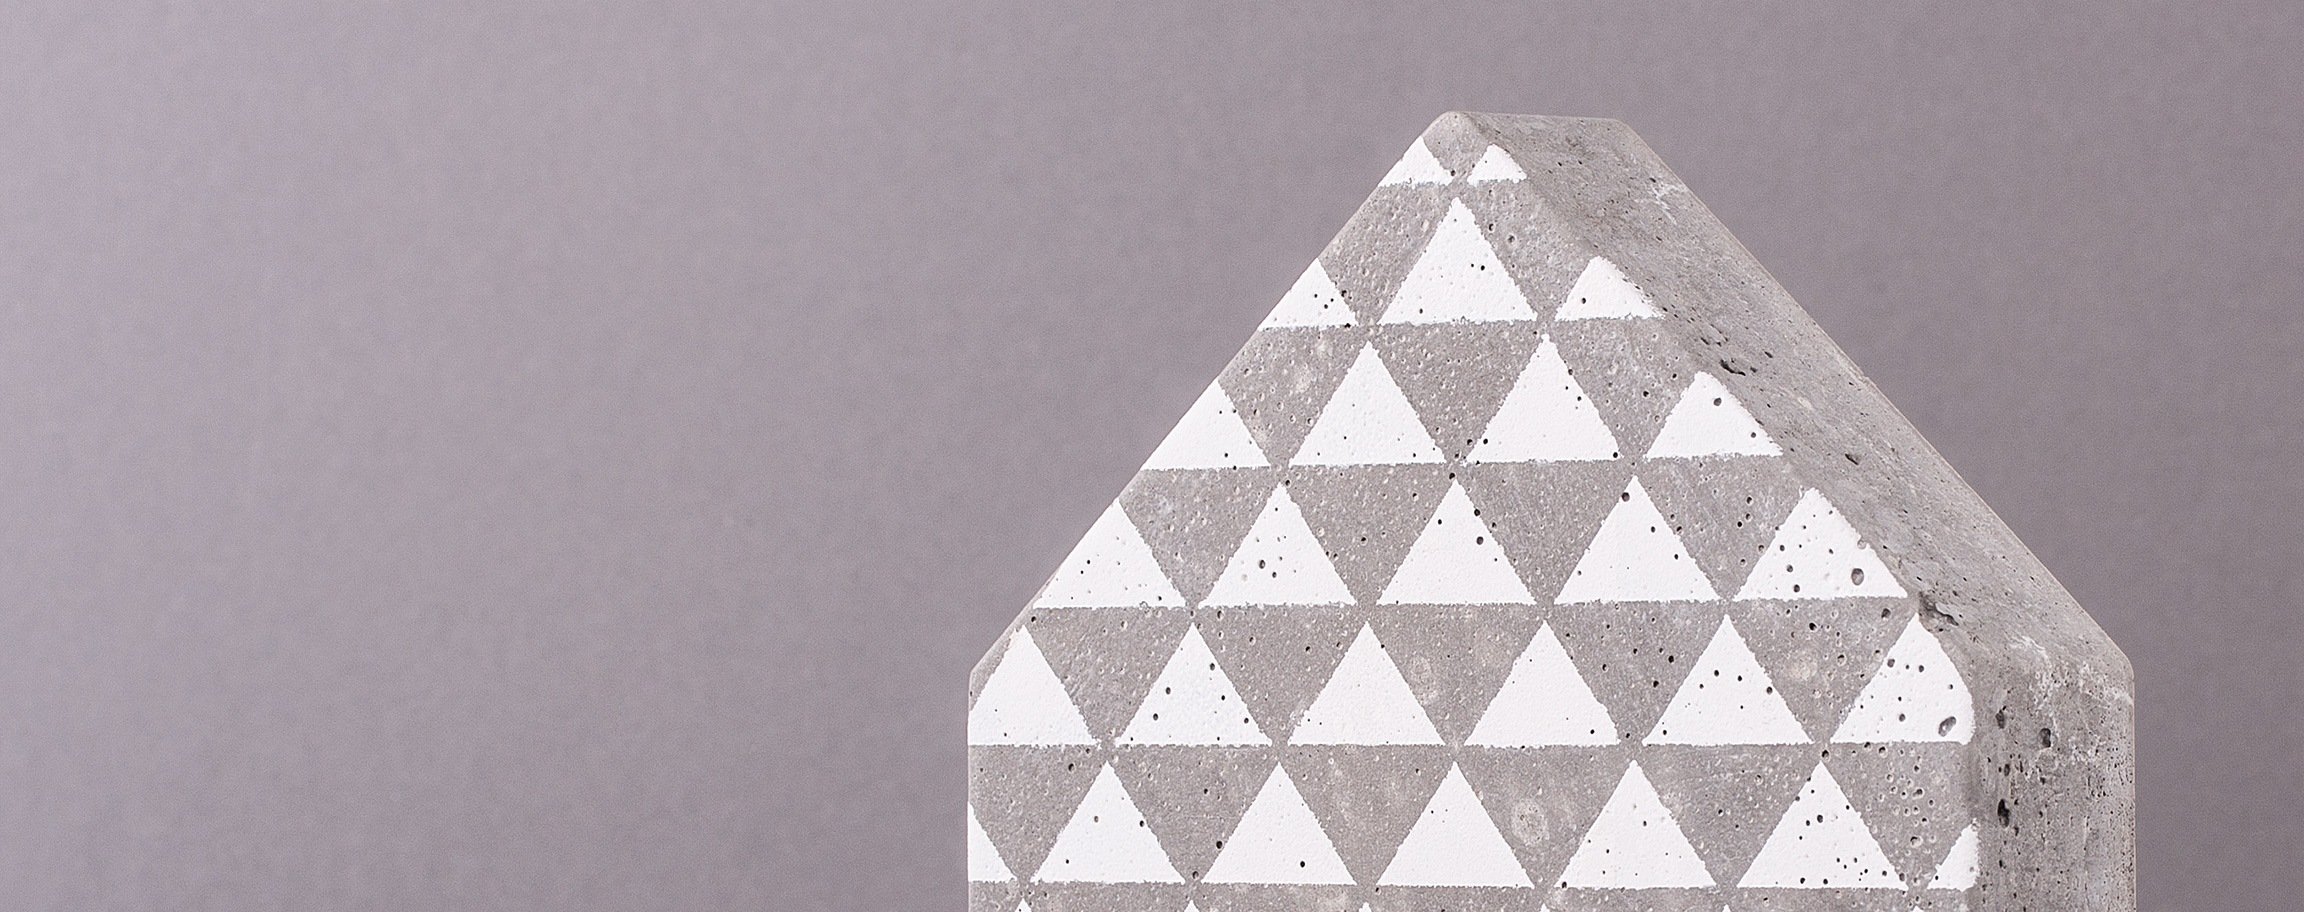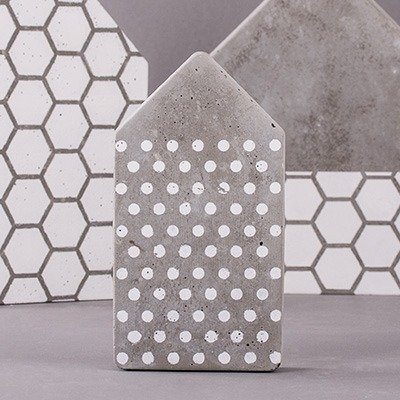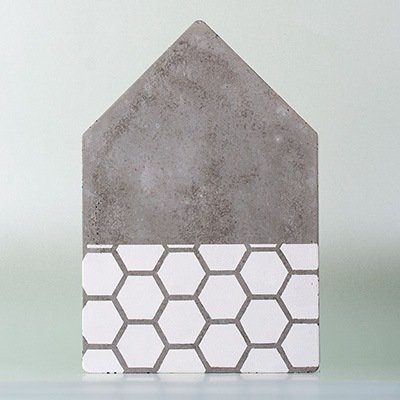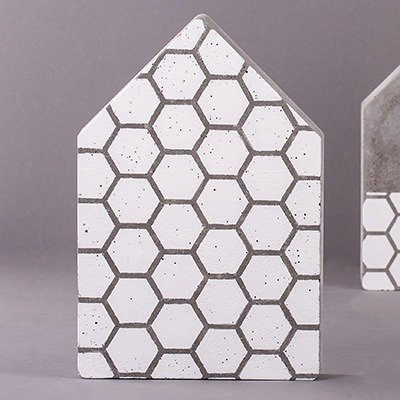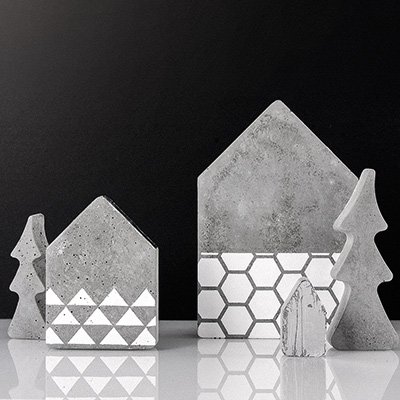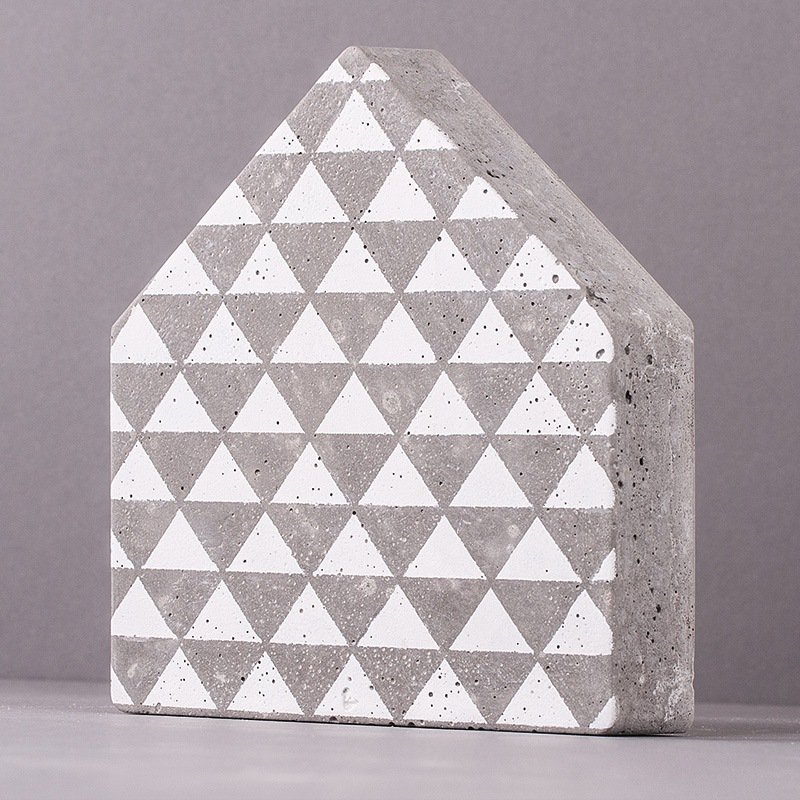
Instructions in 8 steps The self-adhesive template helps you to place the pattern precisely on the house made of concrete.
Besides the articles listed below, you also need: Edible oil, sandpaper, craft wooden stick, brush, container for mixing of the cement, pad out of crepla or cardboard
And this is how it works: 1 ![]()

Étape 1
For the preparation, place the mould on a stable surface so that it does not wobble and spread out its inner side with edible oil.2 ![]()

Étape 2
Fill a plastic bucket/bowl with about 170ml of water and add gradually about 1700g of the creative-cement powder. Stir this mixture with a wooden spatula until an uniform, pourable mass is reached.3 ![]()

Étape 3
Pour the casting compound into the prepared mould (do not pour it quite to the upper edge). Allow the mixture to rest for 1-2 minutes. Thereby tap repeatedly and slightly onto the mould to release any air bubbles from the cement mass.4 ![]()

Étape 4
Let it dry over the night.5 ![]()

Étape 5
The very next day you can demould the object. Therefor, turn around the casting mould and lay it down on a pad as for example a sponge rubber or a cardboard. Work with a light pressure of the palm of your hand against the mould, thus air can not penetrate between casting object and mould. Keep tapping the mould gently on your pad, so that the cement object is completely detached from the mould.6 ![]()

Étape 6
Let it harden. The curing time depends on the size and the temperature (best 1 up to several days).7 ![]()

Étape 7
Small burrs and imperfections you can grind with a sandpaper.8 ![]()


