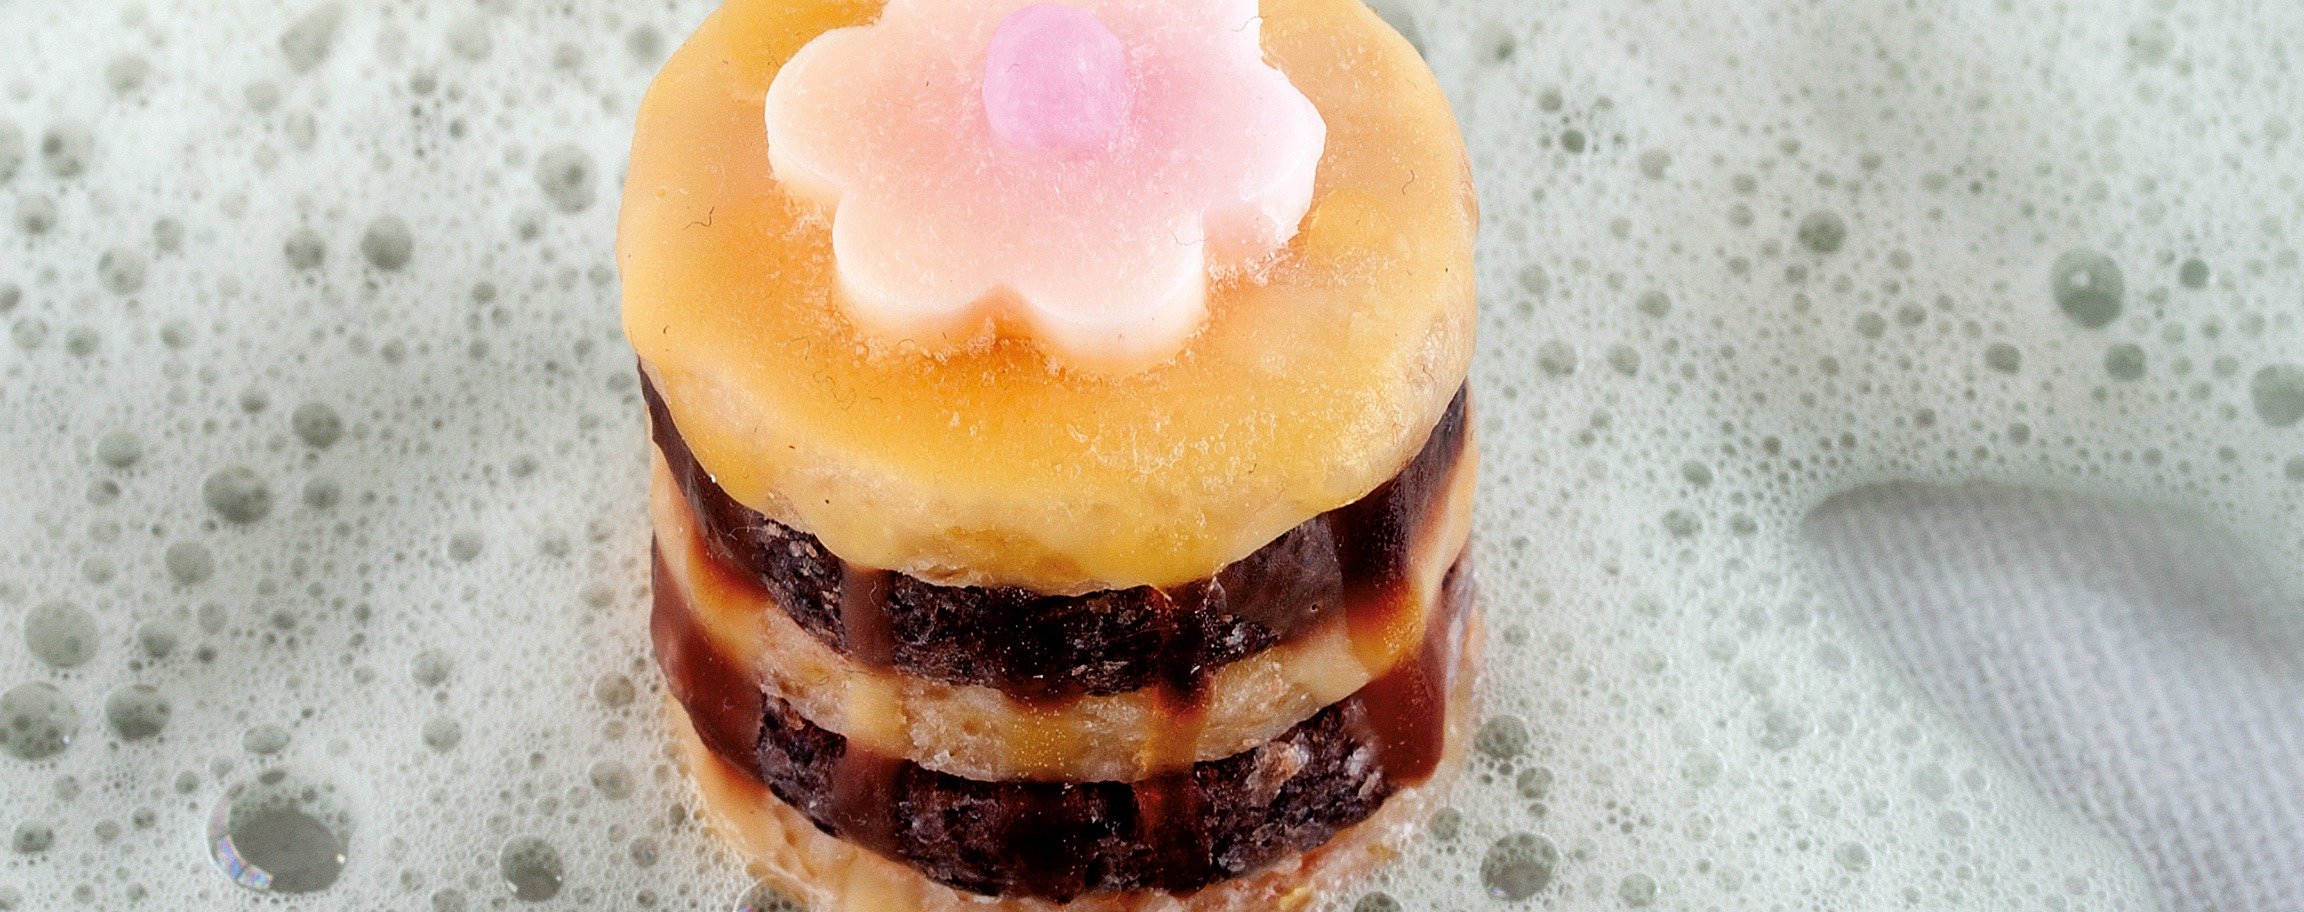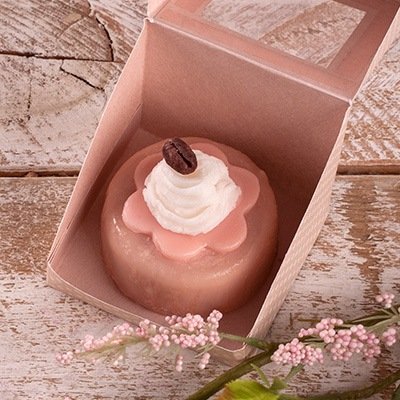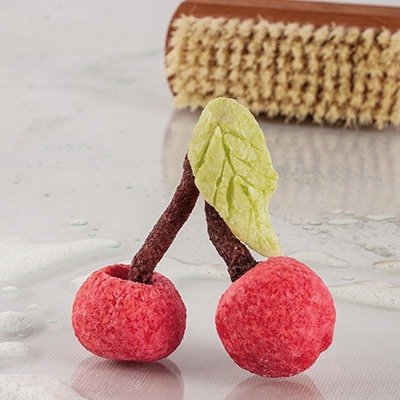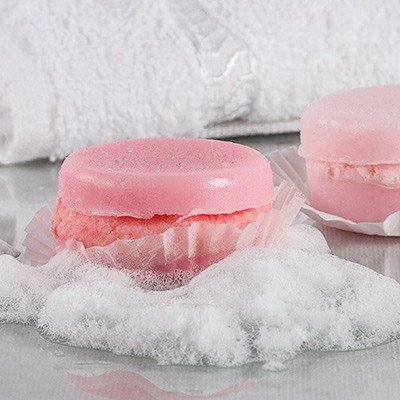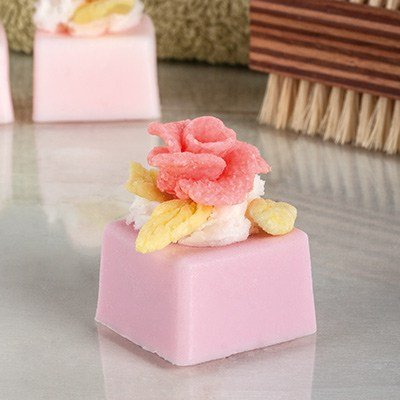
Instructions in 6 steps Cut out the thin round flat soap wafers from the prepared soap bars.
Besides the articles listed below, you also need: Kitchen scales, pot, melting pot, small plastic container and stirrers, plastic lid or alum.foil
And this is how it works: 1 ![]()

Step 1
Melt the creative-soap in a water-bath on the stove (max. 60° - do not boil).2 ![]()

Step 2
After the complete melting, you can stir the colour in the liquid soap. Therefore, use a wooden spatula or a teaspoon.3 ![]()

Step 3
Pour it dropwise.4 ![]()

Step 4
Pour the melted soap onto a flat surface such as for e.g. a small lid or some aluminum foil.5 ![]()

Step 5
Once the soap hardened, after at least half an hour, you can cut the desired motifs out by means of the cookie cutters.6 ![]()

Step 6
Stick the single cutout parts together with some liquid white or brown dyed soap.Additional info: The soap dries or rather carries on ripening and becomes thereby firmer (two up to three weeks). Depending on the temperature and airiness, the soap can perspire. We recommend therefore to wrap the soap after its demoulding in a floral gift-foil (item no.81 489 00). Clean the soap casting mould and the pots with hot water.


