


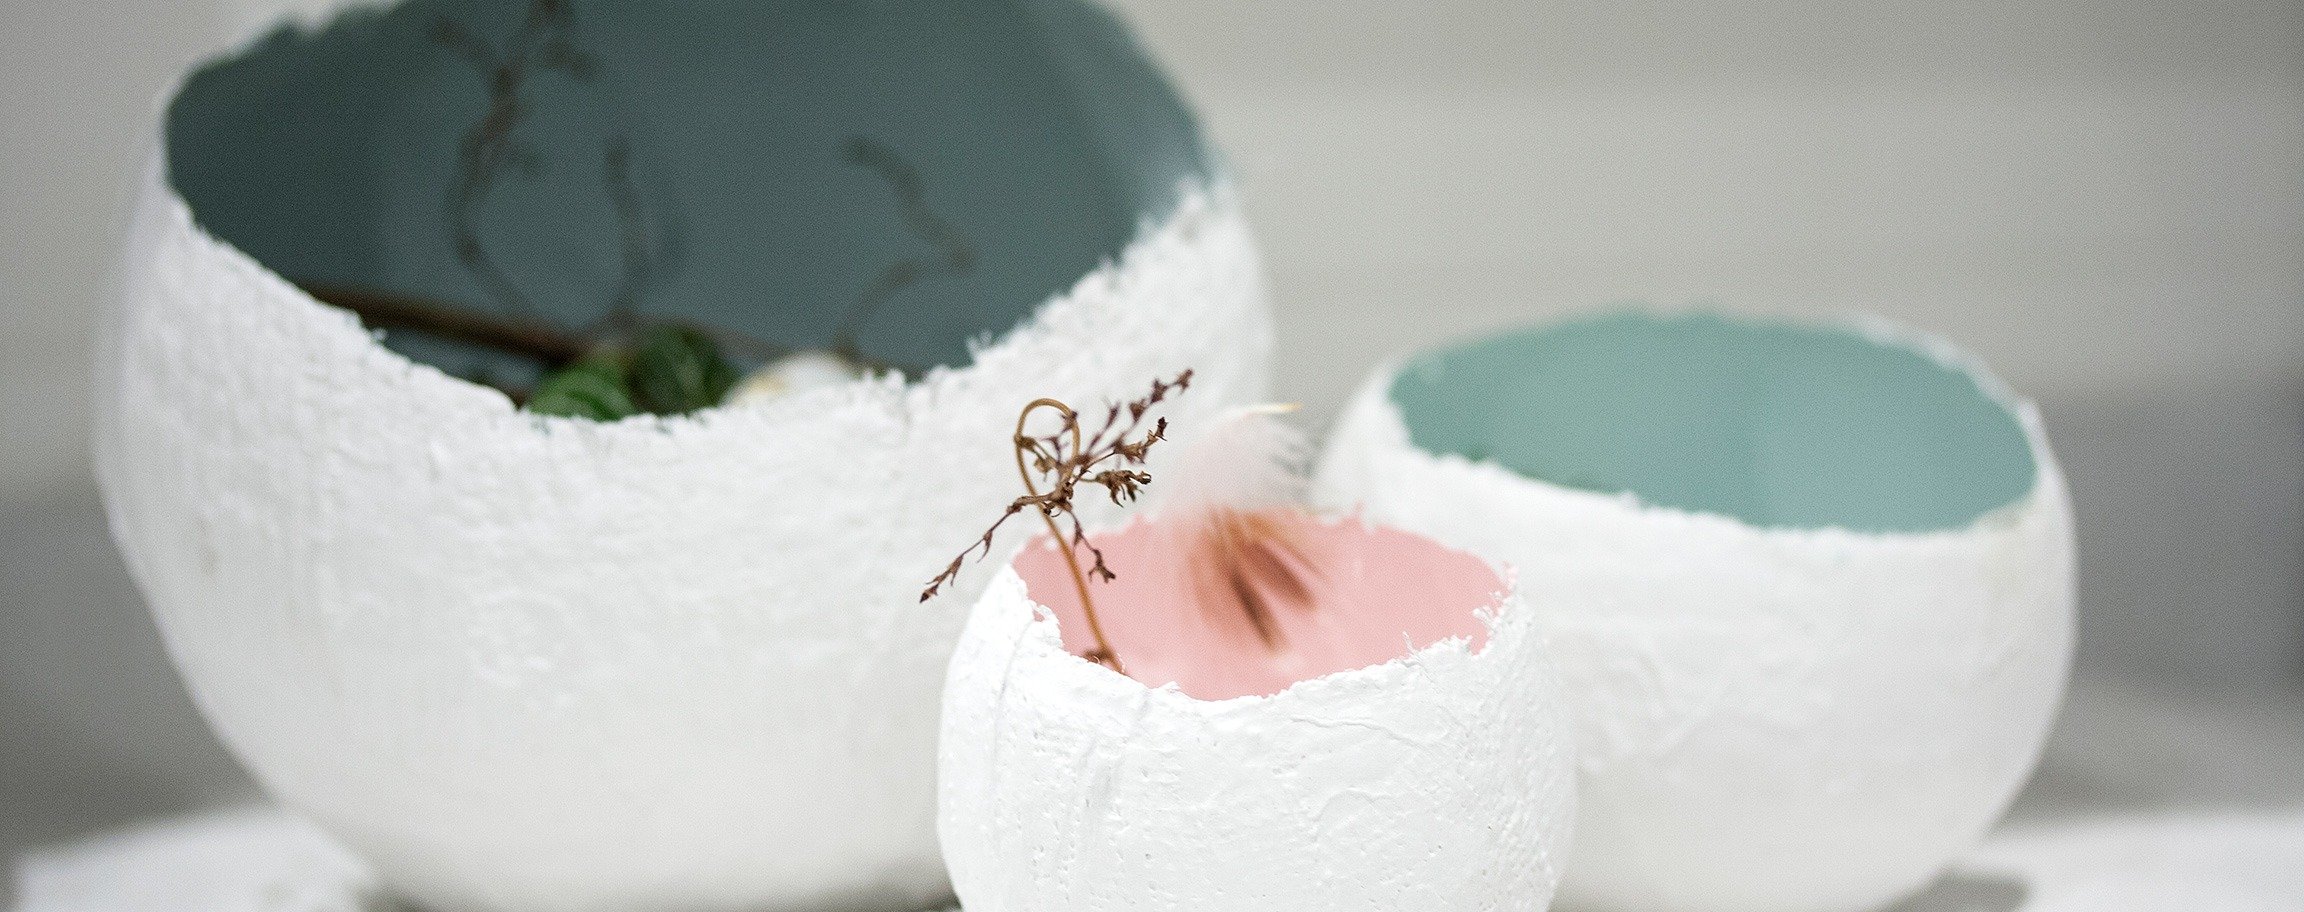


Instructions in 4 steps You can use the modelling fabric in a similar way as the plaster strips. If you wrap it around a balloon, you get a bowl that you can decorate to your liking.
Besides the articles listed below, you also need: Balloon, plastic container, brush
And this is how it works: 1 ![]()

Step 1
For the preparation, you need a balloon inflated to the desired size, a support stand (e.g. flower pot) for the balloon and a plastic container filled with water.2 ![]()
Step 2
Cut the modelling fabric into small pieces (about 4-5 cm) and dip them briefly into the water for the first layer, and lay them around the balloon by overlapping them until the desired height of the bowl is reached and a sealed modelling layer is formed. For further layers, continue to work with little water.3 ![]()
Step 3
Let it dry out for about 1 day (the drying time is dependent upon the weather conditions).4 ![]()
Step 4
Then, take carefully the balloon out or release the air with a little prick and remove it. After one more day of drying process, the bowl can be painted and decorated as desired.Related craft ideas Looking for similar craft ideas? You can find them here: ![]()
![Difficulty -]()
![]()
![Difficulty -]()
![]()
![Difficulty -]()
![]()
![Difficulty -]()

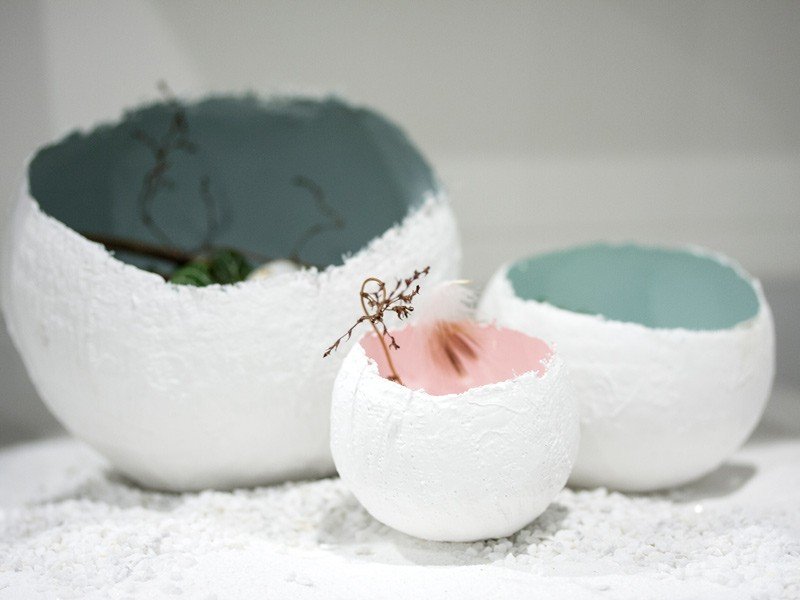
Deco-bowls out of the kneading-cement in folded optics
DIFFICULTY


Cement bowl ø 9,5 cm with metal highlights
DIFFICULTY

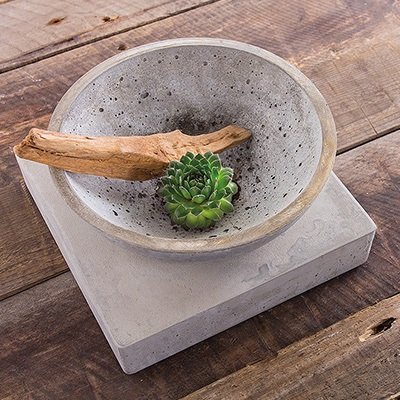
Bowl out of concrete on a plinth
DIFFICULTY

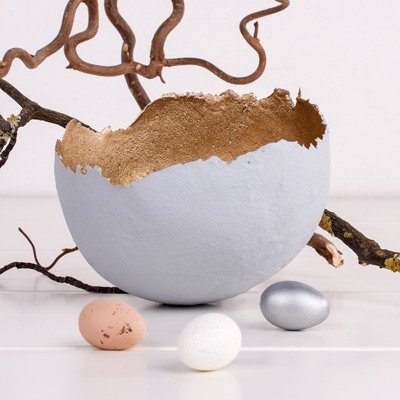
Modelled Easter bowl
DIFFICULTY