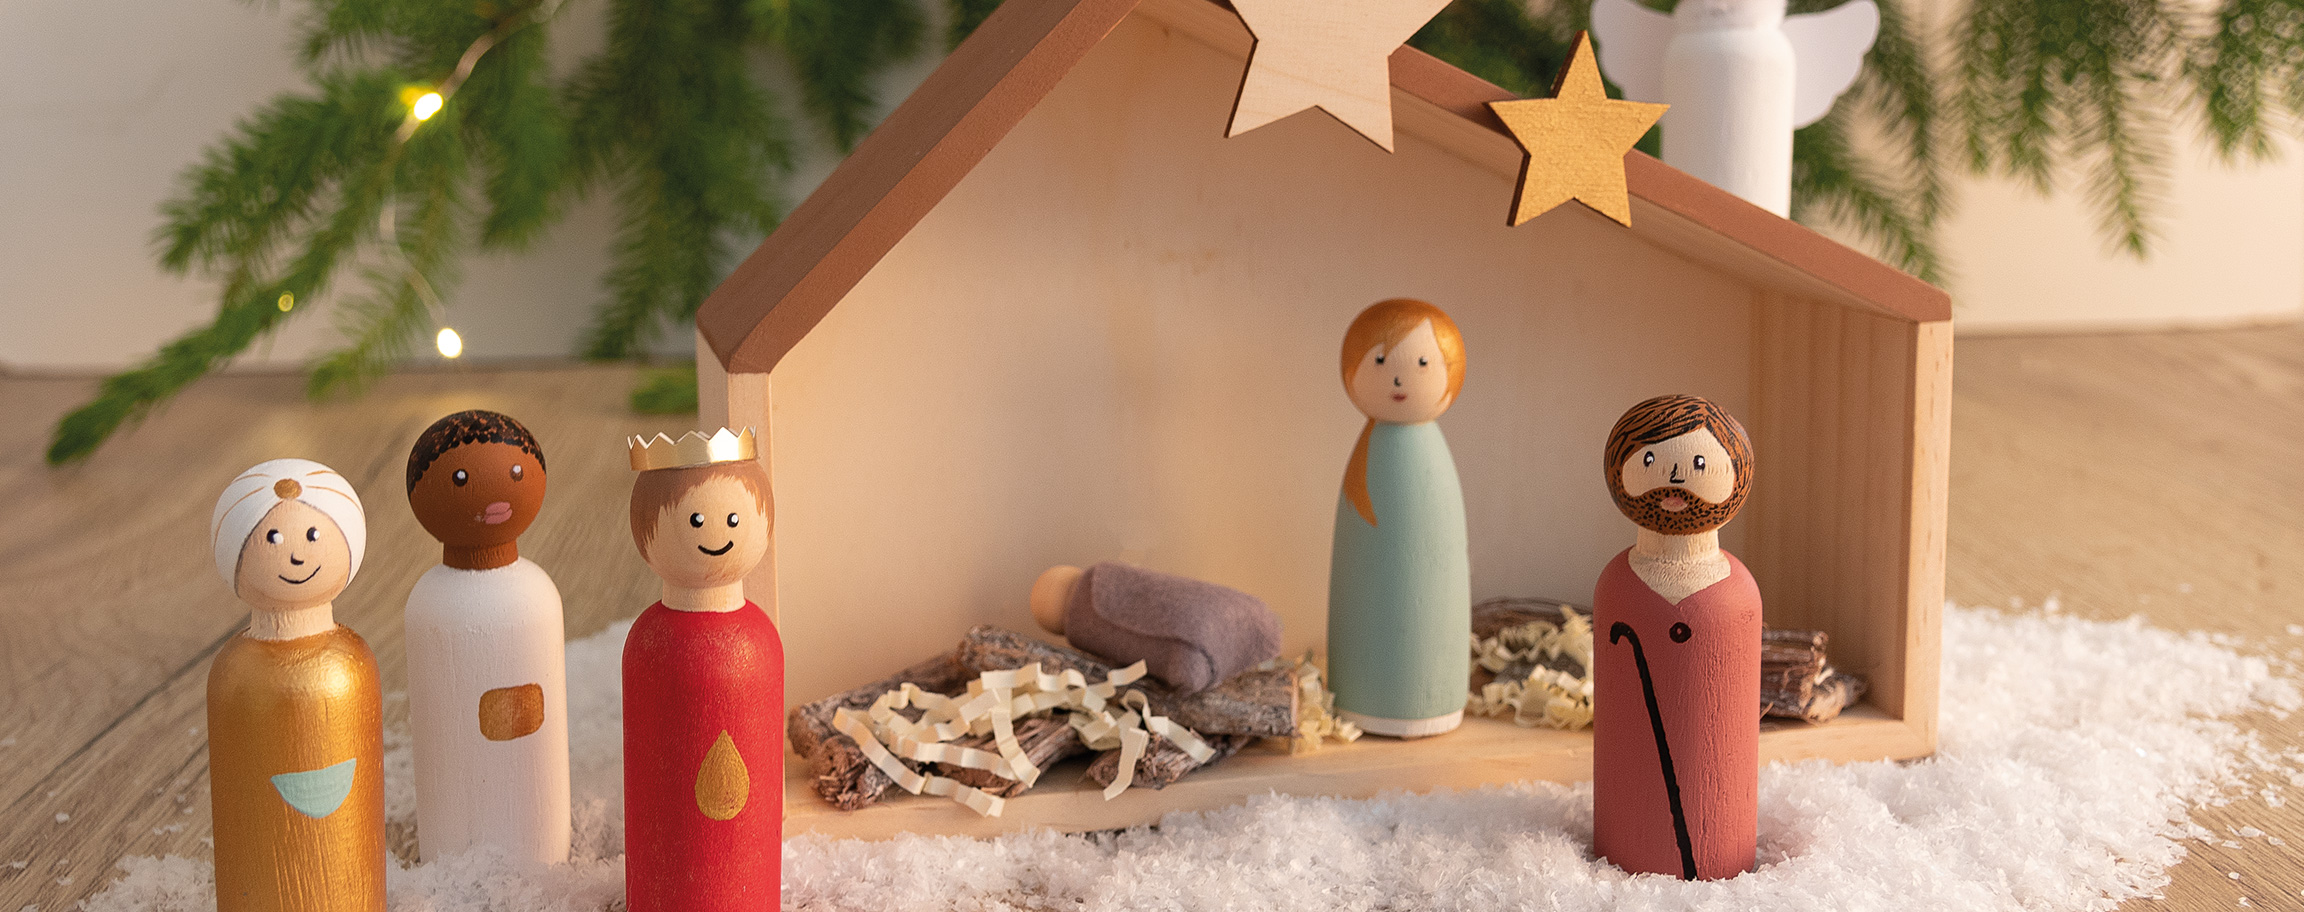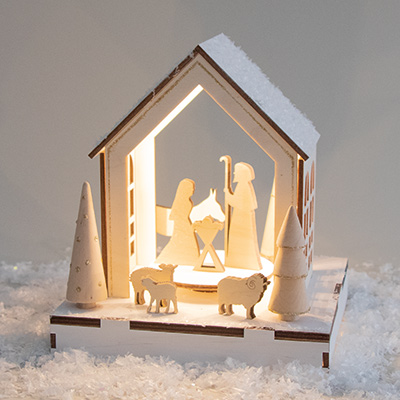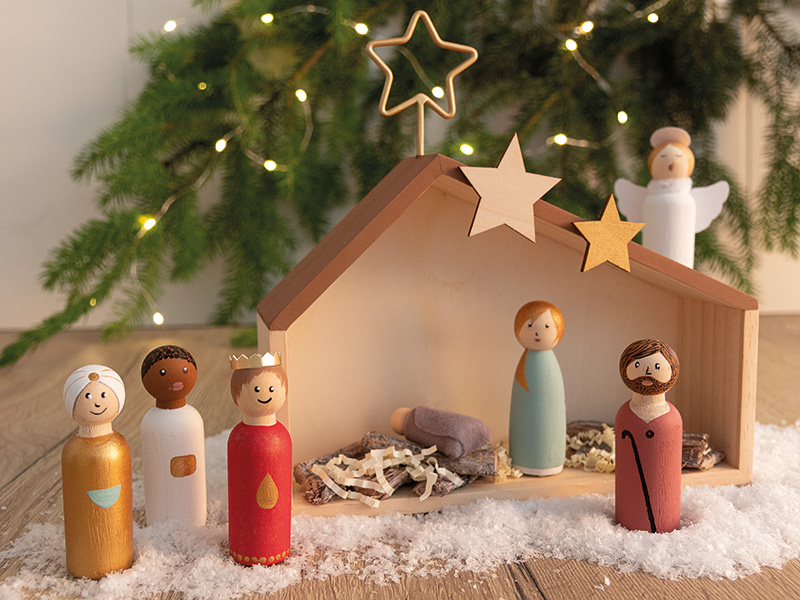
Instructions in 7 steps Create your very own Christmas crib. The wooden peg dolls can be painted and designed
to your liking. Enjoying your little masterpiece and playing with it are more than welcome.
The Christmas story can now begin.
Besides the articles listed below, you also need: Strong white paper (wings, halo), template Wings + Halo, strong gold paper (crown, sheet of music), scissors, possibly pinking shears, pencil, felt or fabric offcuts, paintbrush
And this is how it works: 1 ![]()
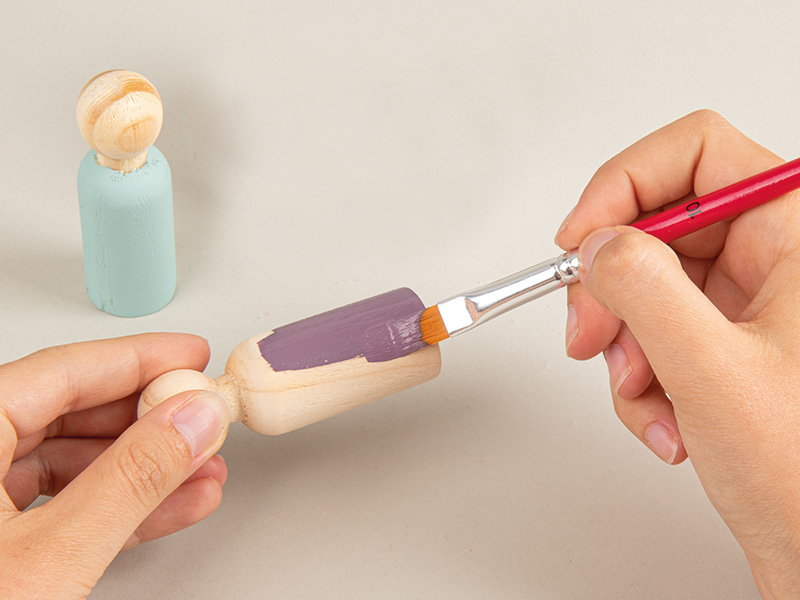
Step 1
Start with designing the nativity scene figures. Lightly outline the face and the hair of each figure with a pencil. Paint details with the respective colour and add subtle highlights by means of the black multi-liner. Take care that the surface is dry.2 ![]()
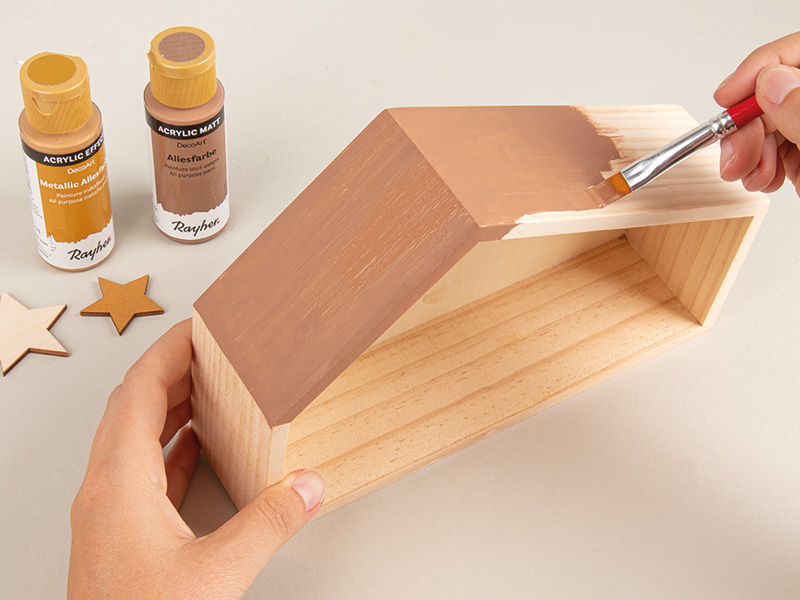
Step 2
The next step would be to paint the roof of the Christmas crib with the nougat-coloured all-purpose paint. Paint a star for the roof of the barn with the golden metallic all-purpose paint. Let the painted surfaces dry well out.3 ![]()

Step 3
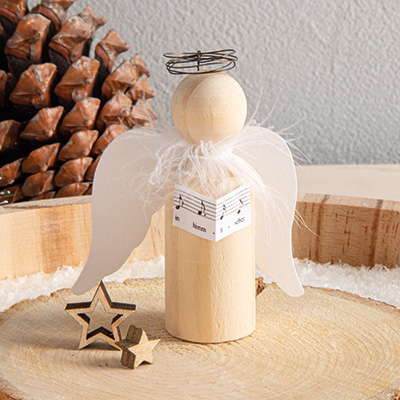
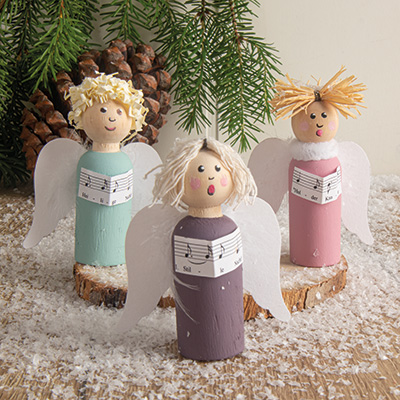
Meanwhile, draw the wings and the halo for the angel using the template and cut them out.The cutting pattern can be found in the PDF version of the Craft Idea. Just download it.
4 ![]()
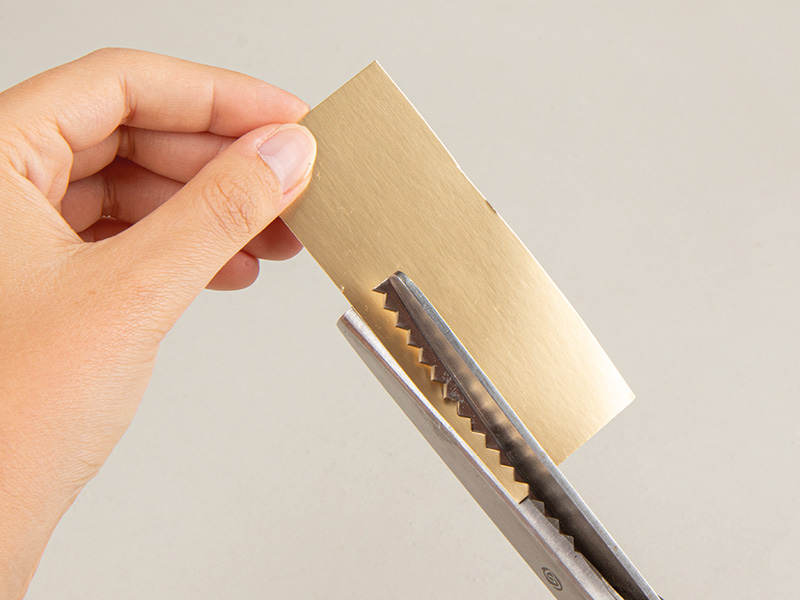
Step 4
Cut the king's crown from strong gold paper – take the pinking shears to make this task easier for you.5 ![]()
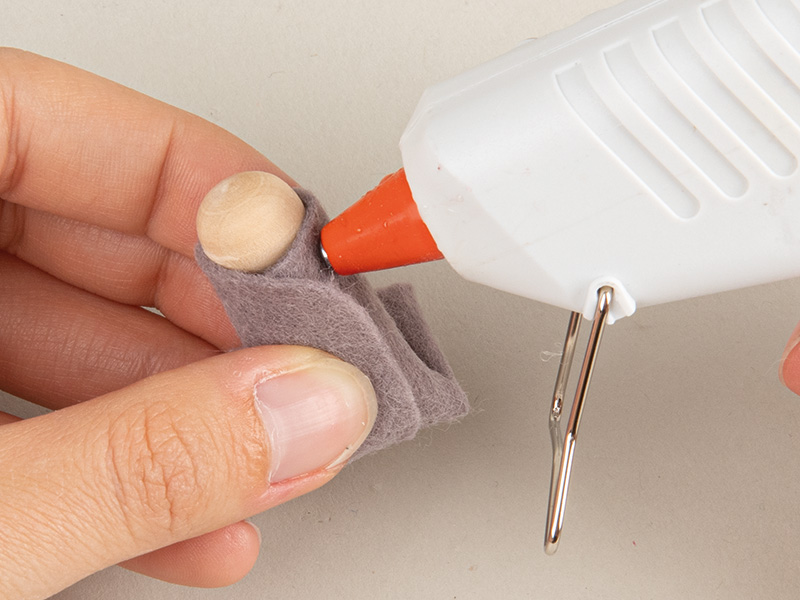
Step 5
To make the baby Jesus, wrap a felt or fabric remnant around the little peg doll and affix it with hot-melt glue.6 ![]()
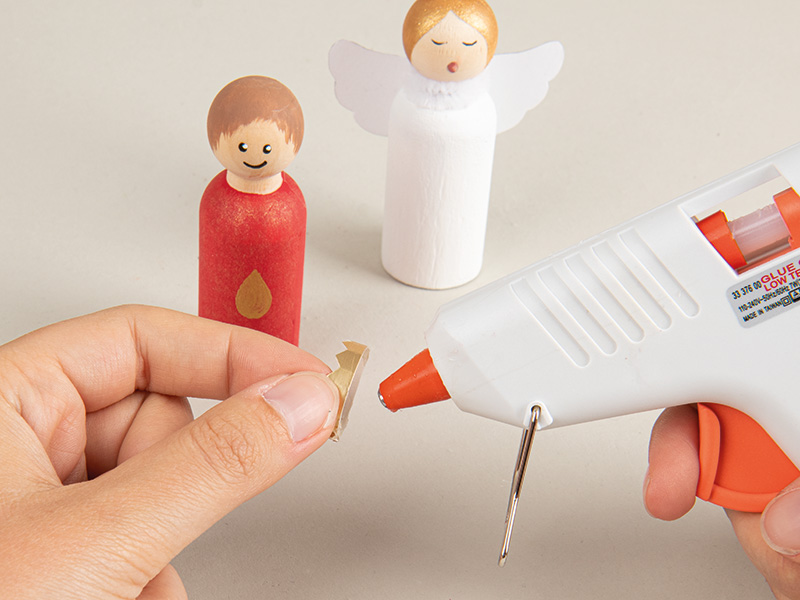
Step 6
Then finish the angel and the king by affixing the chenille wire serving as a scarf, wings and halo on the angel and as a crown on the king with a drop of hot-melt glue.7 ![]()
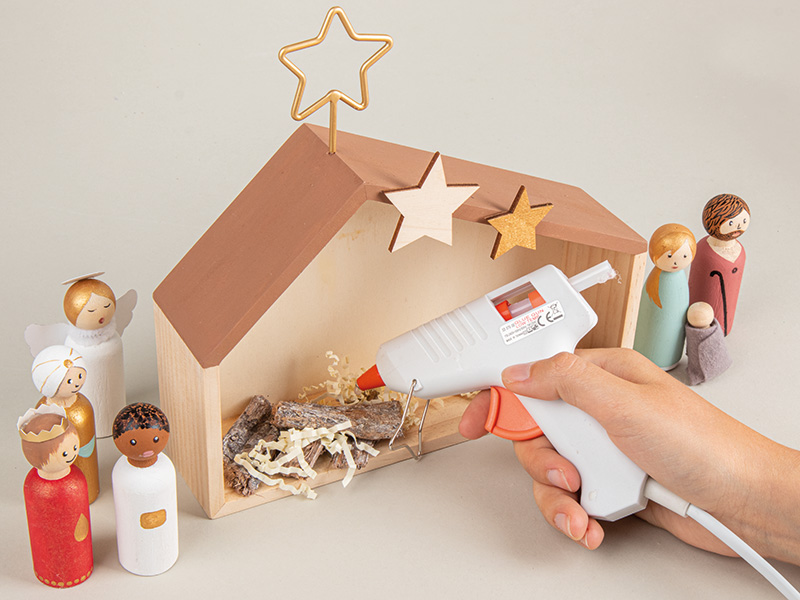
Step 7
Finally, decorate the barn where the baby Jesus is with pieces of bark and decorative grass.The Christmas story can now begin.


