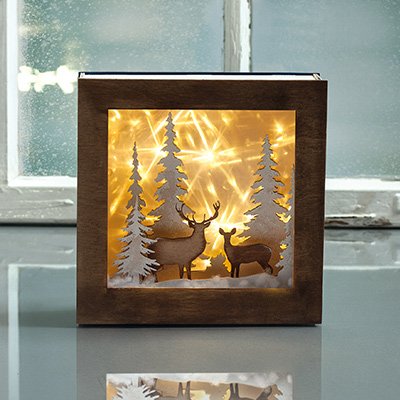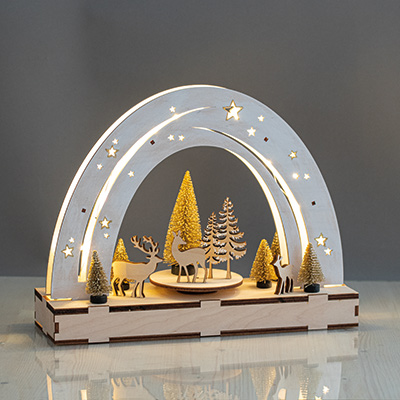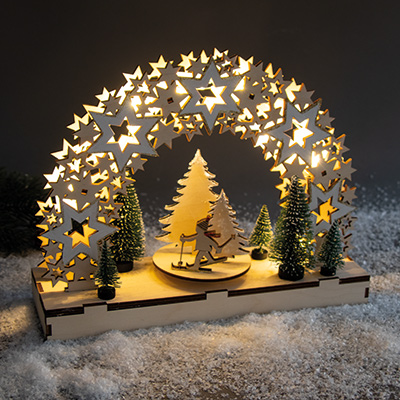
Instructions in 9 steps The Christmas crib looks very simple because only subtle white and gold colour shades and natural wooden accessories are applied.
Besides the articles listed below, you also need: AA batteries for rotation mechanism 2 pieces, AA batteries for string lights 3 pieces
And this is how it works: 1 ![]()

Step 1
Paint the base plate (no. 1), the four base lateral parts (no. 10, 11, 12 & 13), the two parts of the roof (no. 18 & 19) and the large rotary plate (no. 9) with the white All-purpose paint.2 ![]()

Step 2
For the wooden construction kit front and back of the house (no. 16 & 17), use a ruler and the Quickie-Glue adhesive stick to draw a line along all four edges onto which you sprinkle the ultra-fine glitter dust in brilliant gold colour.3 ![]()

Step 3
Coat the two parts of the roof (no. 18 & 19) with the craft glue and sprinkle the decorative snowflakes onto the still wet glue.4 ![]()

Step 4
Now assemble the house according to the instructions.5 ![]()

Step 5
Stick the light strip inside the house. Insert the batteries.6 ![]()

Step 6
Draw a line on the base plate (no. 1), along all four edges, with the craft glue onto which you sprinkle the decorative snowflakes.7 ![]()

Step 7
Use the Klebefix-Pen stick to glue the wooden deco-shapes onto the rotary plate (no. 9).8 ![]()

Step 8
Use the Quickie-Glue adhesive stick and the ultra-fine glitter dust in brilliant gold colour to decorate the wooden trees with dots and lines, for example.9 ![]()


