


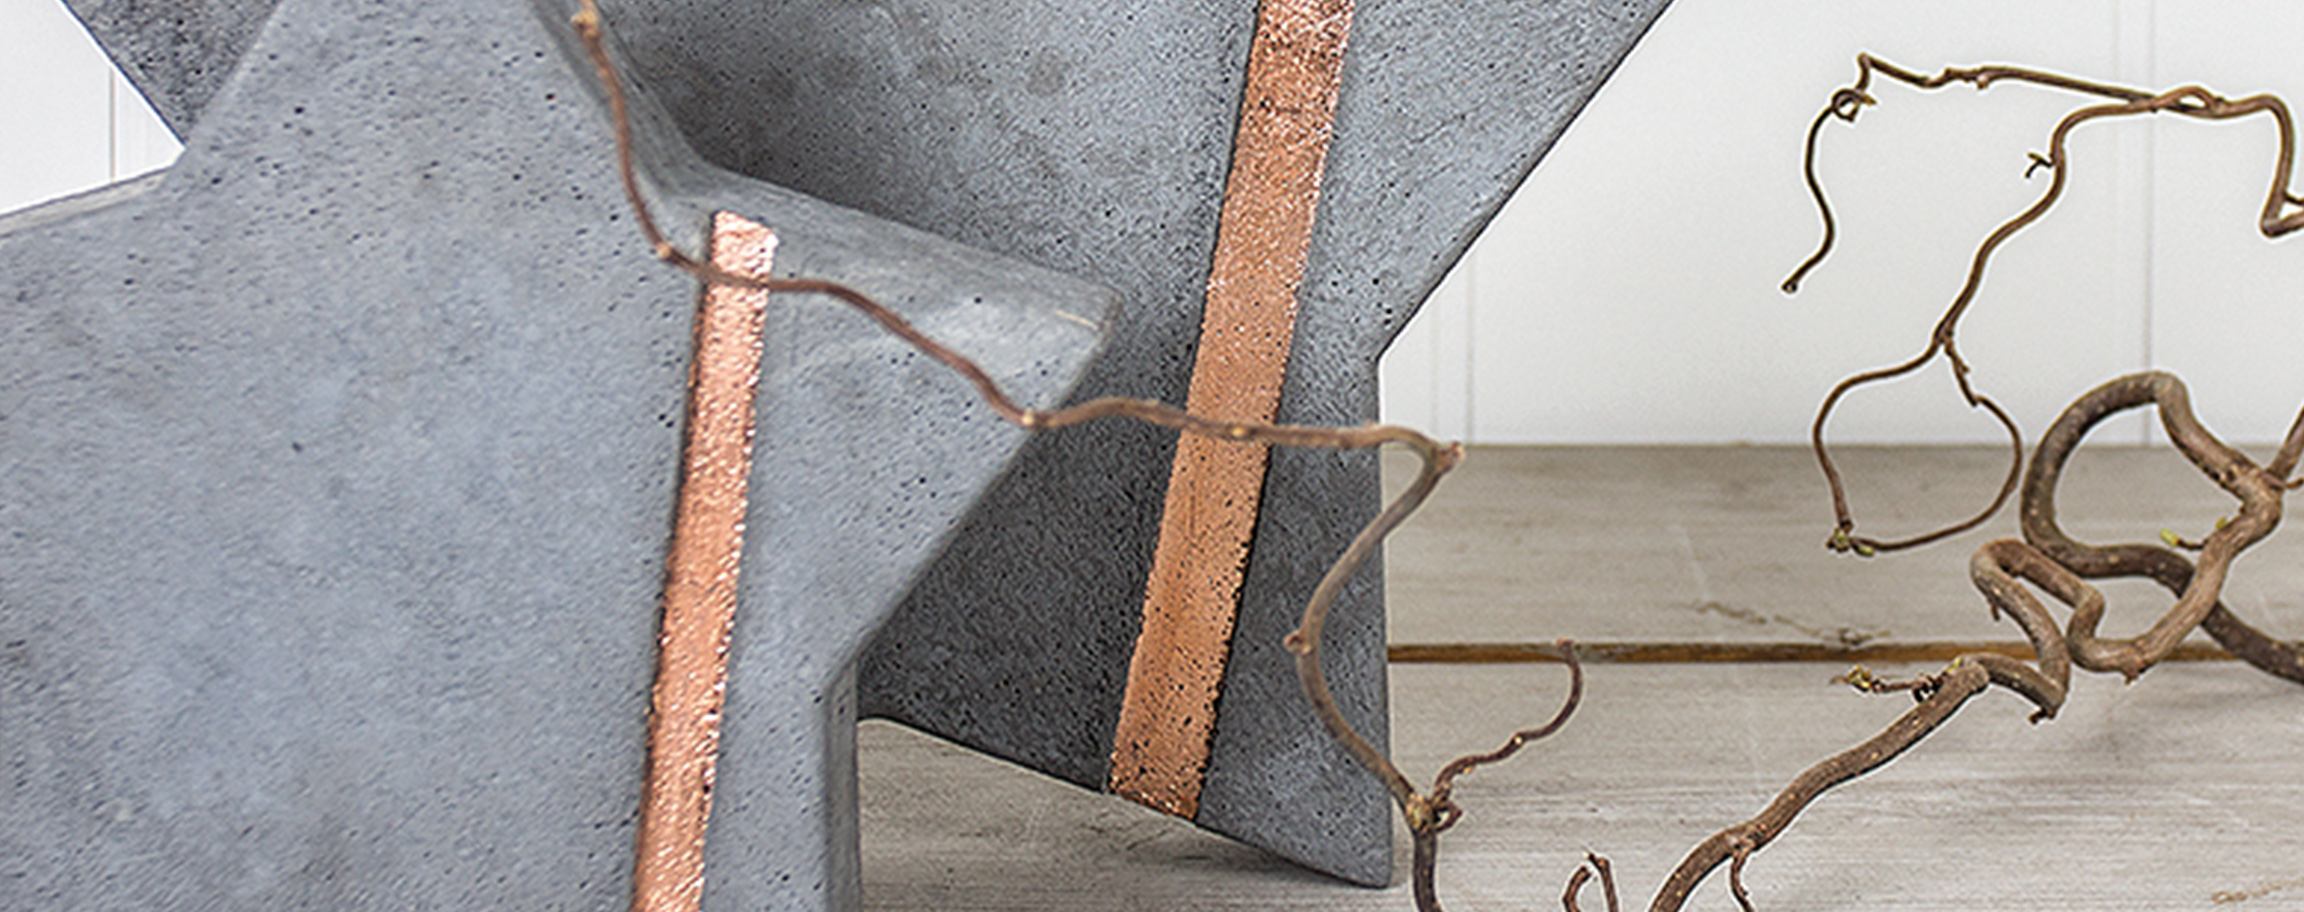
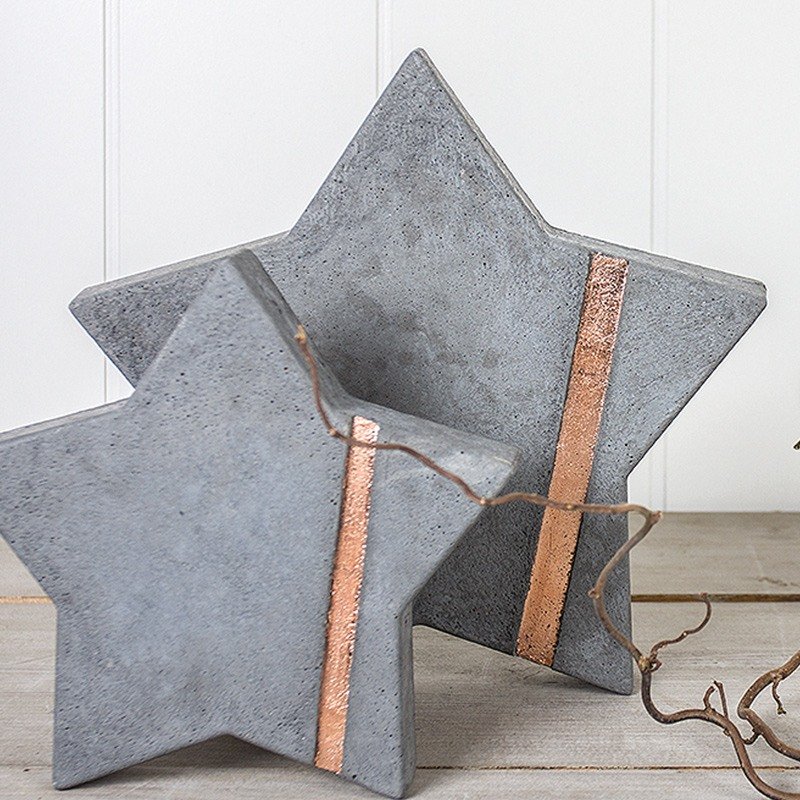
Star out of concrete 28 cm with metallic strips
Difficulty

Duration
60 minShare Idea ![]()
![]()
![]()
![]()


Instructions in 8 steps Once placed in the casting mould, the foam rubber strip acts as a placeholder. After demoulding and drying, you can decorate the recess with decorative metal flakes.
Besides the articles listed below, you also need: Cooking oil, support out of Crepla or cardboard, scissors
And this is how it works: 1 ![]()

Step 1
Cut a strip 1 x 20 cm long out of the Crepla sheet and affix it inside of the casting mould by the means of the adhesive tape. Finally, coat thoroughly all of the inner surfaces of the casting mould (the Crepla strips as well) with the cooking oil.2 ![]()
Step 2
Pour about 280 ml of water and the black acrylic paint in a plastic bucket and then gradually add approx.2800 g of the creative-cement powder. Stir this mixture with a craft wooden stick until an uniform and castable mass is obtained.3 ![]()
Step 3
Fill the prepared star-shaped casting mould with the casting compound until you reach the desired height (at best, do not pour quite up to the top). Let the mixture rest for about 1-2 minutes. Thereby tap repeatedly and slightly onto the mould to release any air bubbles from the cement mixture.4 ![]()
Step 4
Let it dry out (at best overnight).5 ![]()
Step 5
Now, you can demould carefully the cured object by turning the star-shaped casting mould around and laying it on a support out of Crepla or cardboard. Then carefully press slightly with the palm of your hand on the back of the casting mould, so that the air penetrates between the casting object and mould. Tap the star-shaped casting mould carefully & slowly in circles on your support, so that the star out of concrete becomes entirely detached from the mould6 ![]()
Step 6
Allow it to harden. The curing time varies depending on the size and the temperature (at best, one to several days).7 ![]()
Step 7
Small burrs and irregularities can be quickly & easily grinded with sandpaper.8 ![]()
Step 8
For a particularly shiny effect, spread the strip soaked in the leaf adhesive, let it dry and then put the deco-metal on. Press it down with a soft brush, then polish it gently with a soft cloth and wipe excess residue off. At the end, if desired, coat it with the protective varnish.Related craft ideas Looking for similar craft ideas? You can find them here: ![]()
![Difficulty -]()
![]()
![Difficulty -]()
![]()
![Difficulty -]()
![]()
![Difficulty -]()
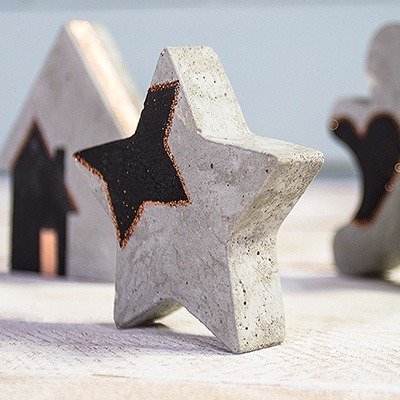
Stencilled star out of concrete
DIFFICULTY


Star out of concrete 21.5 with metallic strips
DIFFICULTY
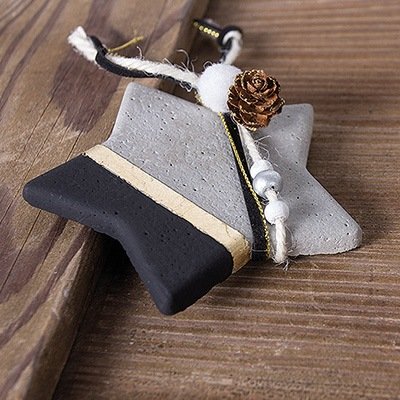
Decorative star out of concrete (black & gold)
DIFFICULTY

Large star-shaped bowl out of creative-cement
DIFFICULTY