


Instructions in 9 steps Make an illuminated Christmas star from a simple paper block bottom bag.
Besides the articles listed below, you also need: Pencil, rigid cardboard, fine ribbon or nylon threads, sewing needle,batteries
And this is how it works: 1 ![]()

Step 1
Copy a template from the cutting pattern (inner side of the craft tip) onto the rigid cardboard and cut it out according to the model.The cutting pattern can be found in the PDF version of the Craft Idea. Just download it.
2 ![]()
Step 2
Put the template on the paper block bottom bag (bottom side backwards) and fix the cutting pattern with 2 fixing clamps.3 ![]()
Step 3
Transfer the template with a pencil onto the paper block bottom bag. Mark the position of the stars and then remove the template. Use the pointed tip paper scissors to cut precisely along the indicated marking (----).4 ![]()
Step 4
Punch with the motif-puncher Star, then with the punch pliers Star the marked stars out. Fold back the bottom flap when punching the lateral stars. You need 8 paper block bottom bags for the star. Repeat this step until the specified number of bags has been reached.5 ![]()
Step 5
Along the marking ----- (vertically and at the bottom edge of the paper block bottom bag), apply a strip of the special double-sided adhesive tape. Skip the last paper block bottom bag.6 ![]()
Step 6
Stick the paper block bottom bags together, so that a stack is formed.7 ![]()
Step 7
Glue a magnet with a white blank sticker (see mark ×) to the inner side of the first paper block bottom bag. Close the star and hold the counter-magnet at the inner side of the last paper block bottom bag. The counter-magnet is being drawn toward the first one. Then affix firmly the counter-magnet by means of the white blank sticker.8 ![]()
Step 8
For the suspension, pierce a small hole through the star tip with a sewing needle. Thread the desired loop with e.g. a fine ribbon or nylon thread.9 ![]()
Step 9
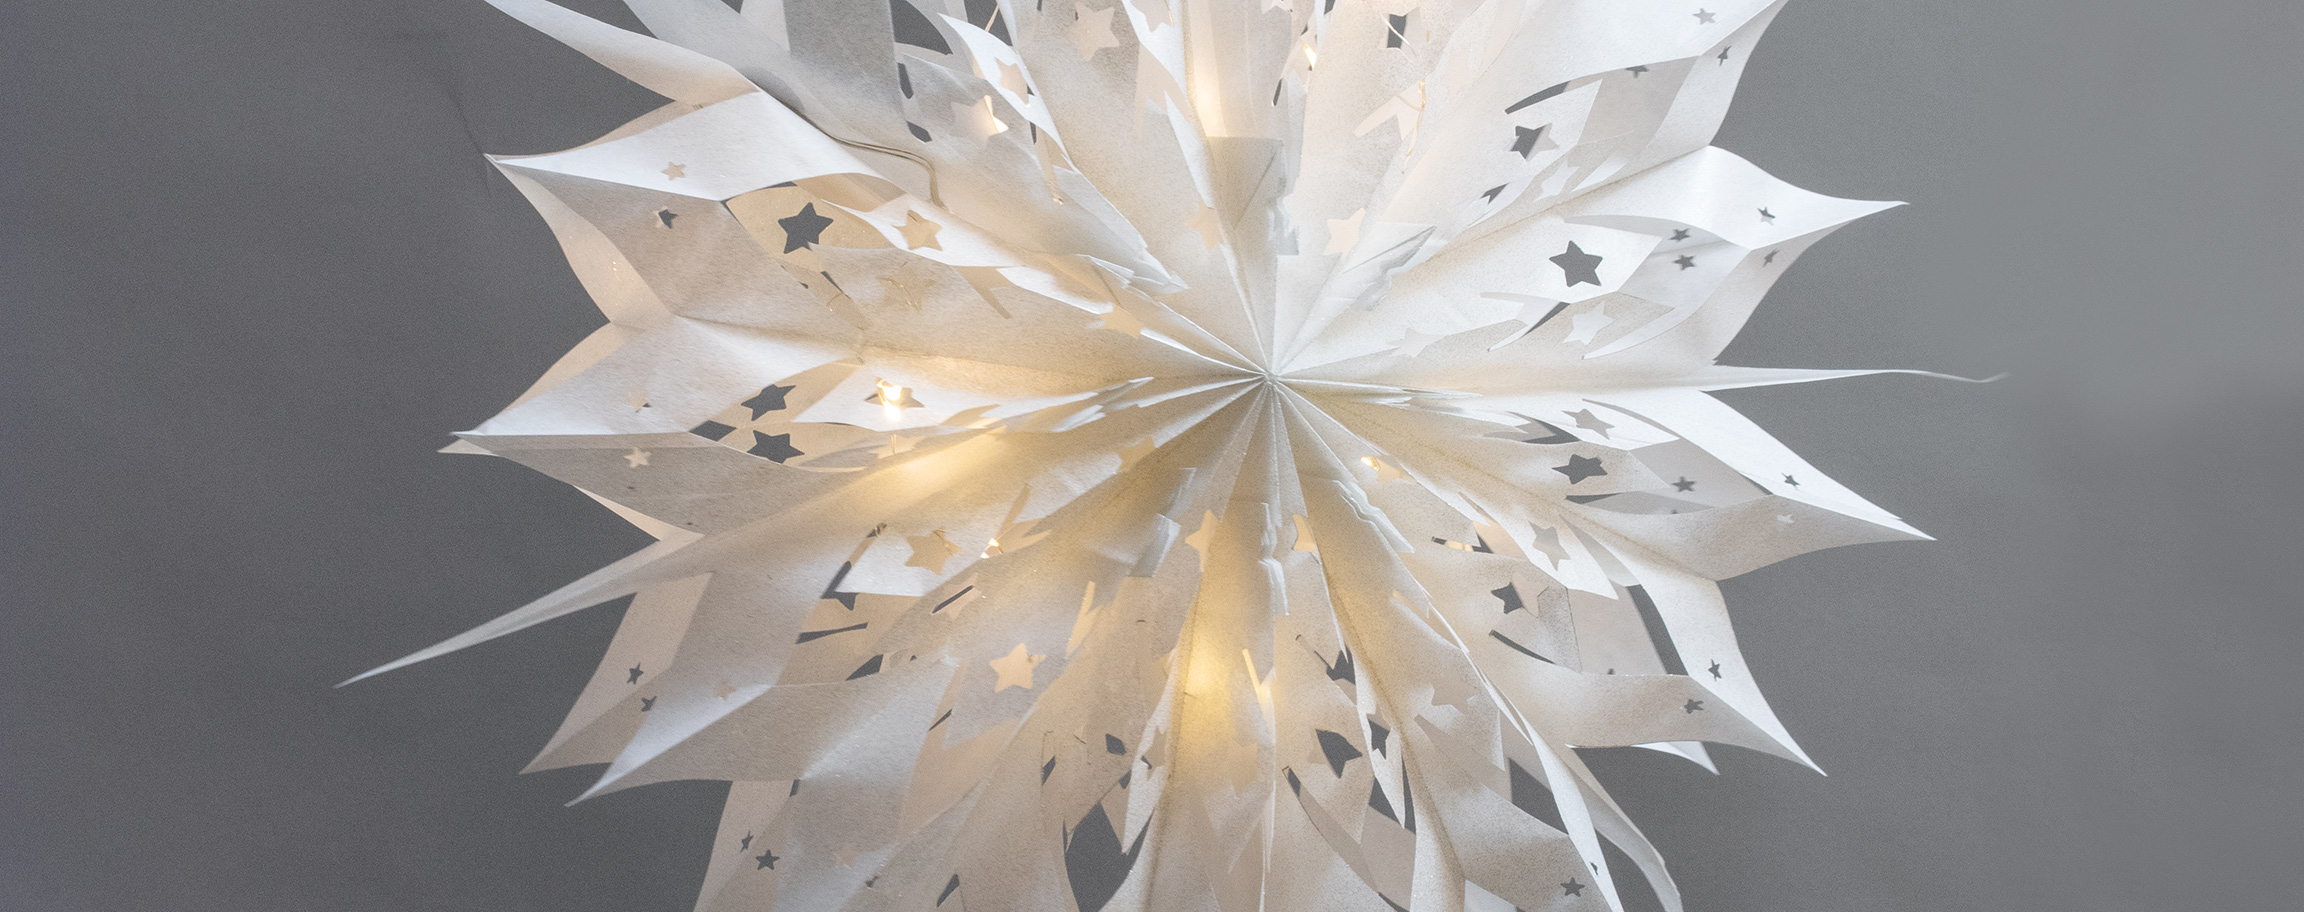
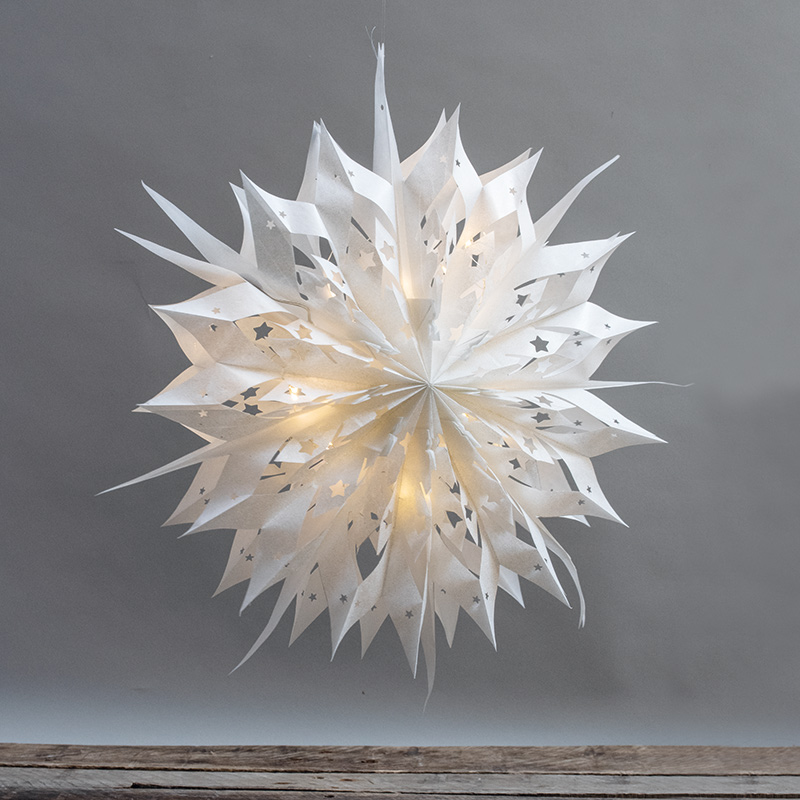
The star can be illuminated by piercing carefully a hole approx. 3 - 4 mm large at the specified spot (see marking · ) through the entire stack of bags with the pointed tip paper scissors. Thread carefully the mini LED string of lights through the hole and unfold the star. The supply cable should remain outside the star.To create a special effect, spray the star with the Glitterspray Fine (item no.34 088 616).
Related craft ideas Looking for similar craft ideas? You can find them here: ![]()
![Difficulty -]()
![]()
![Difficulty -]()
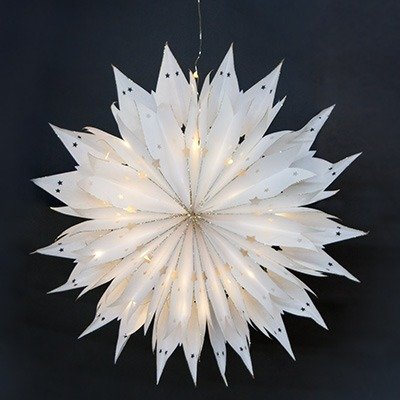
Paper star with fairy lights
DIFFICULTY

Glass bottle "Let it glow" Saying & stars
DIFFICULTY
