


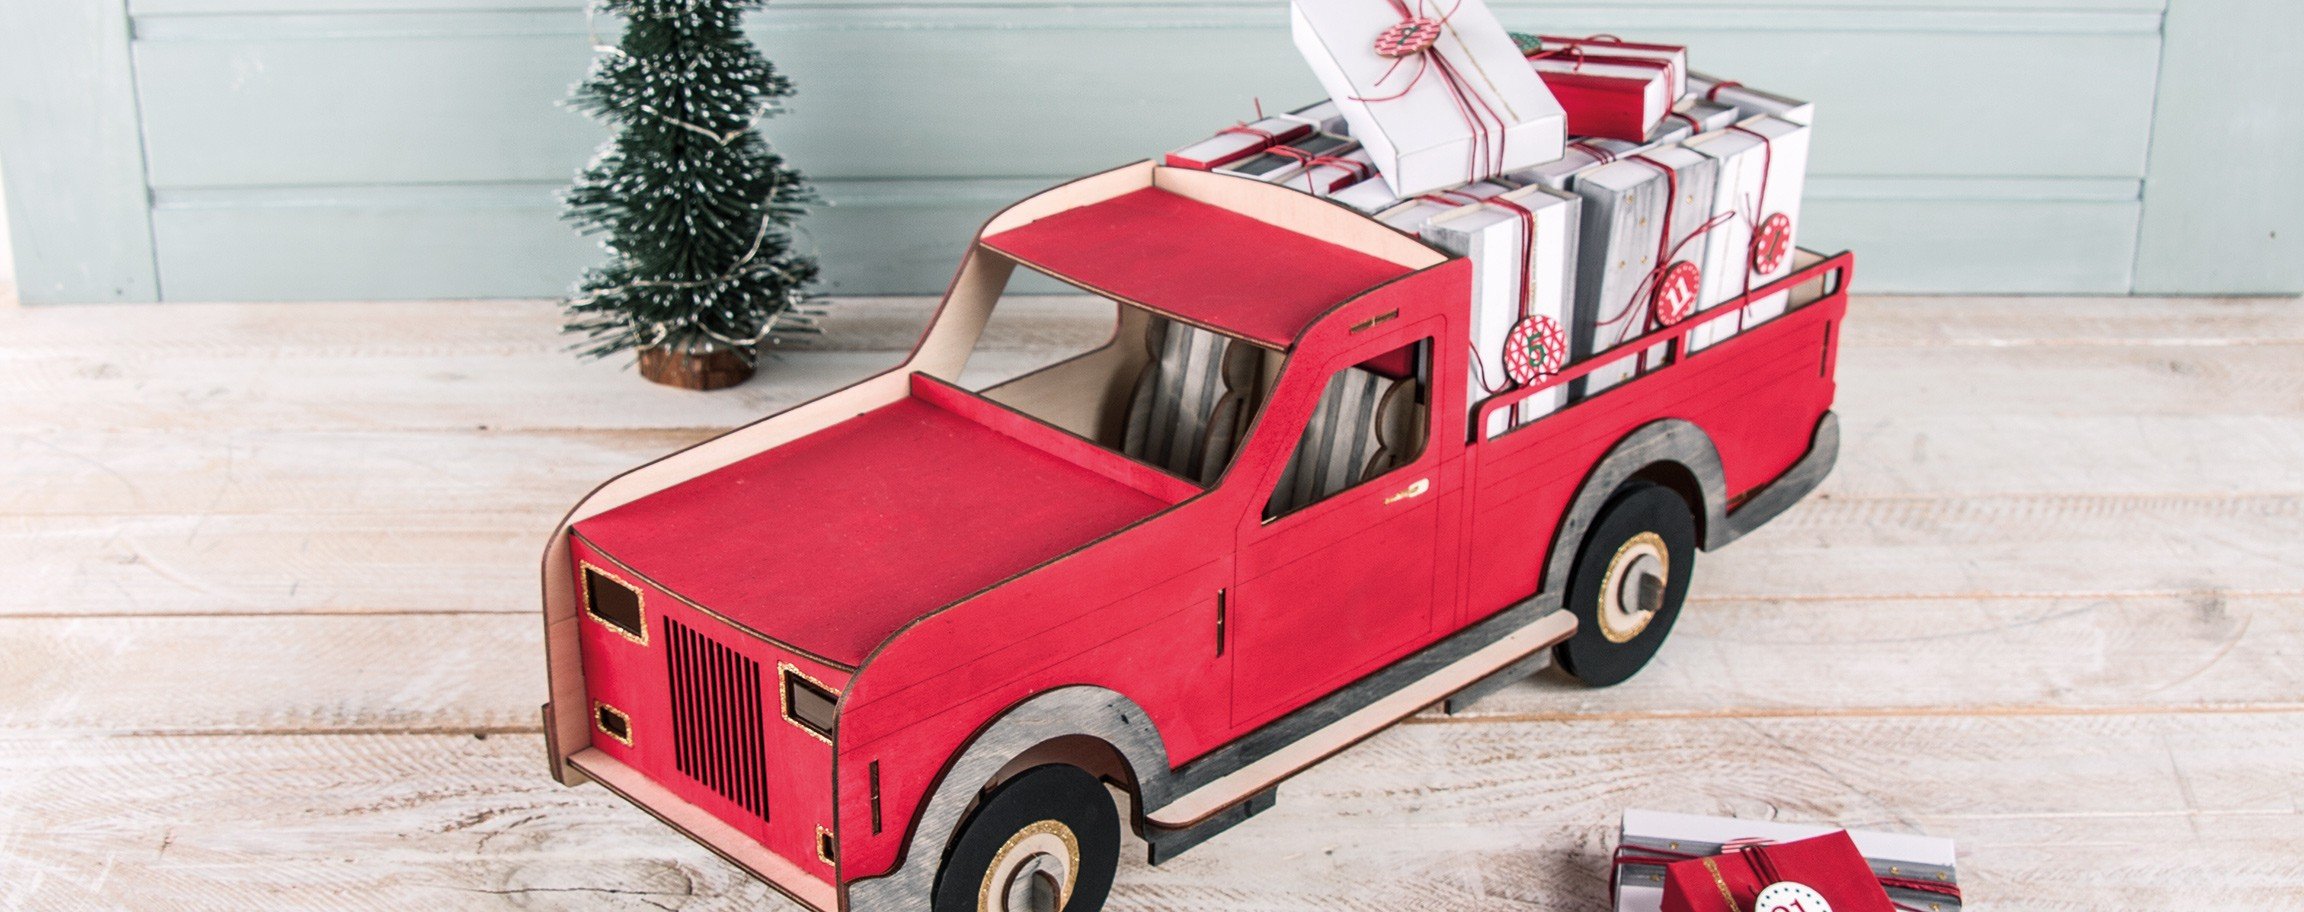


Instructions in 10 steps You can assemble this truck by means of a wooden construction kit. At the end, it results in a very special Advent calendar.
Besides the articles listed below, you also need: Sellotape, Tinfoil
And this is how it works: 1 ![]()

Step 1
The wooden building kit Truck consists of pre-cut wooden boards and is suitable for plugging and gluing. Push the single building components out of the wooden boards. Plug together the bottom plate, the axles and the crude body of the truck. Put the roof, the bonnet, the mudguards and the wheels aside. Plug together the seats and the dashboard according to instructions. Do not assemble it yet!2 ![]()
Step 2
Now you can start painting. Paint only the outer sides of the body with the fiery red acrylic craft paint. The inner sides are left in natural wood. Let it dry out.3 ![]()
Step 3
Now paint the wheels. With the black acrylic craft paint, paint the steering wheel and the big outer wheel ring. Let them dry out. Then, apply the gold Glitter-Glue onto the narrow hub centric ring. Let it also dry well out, and lay the steering wheel and the wheels aside.4 ![]()
Step 4
Prepare the following: the dashboard, the axle mounts and the seats. Mix well the black acrylic craft paint with water, so that you reach by painting a light shade of grey. Paint the mudguards (not the tread, it remains in natural wood), the axle mounts, the narrow strips on the seating surfaces and the dashboard in a light shade of grey.5 ![]()
Step 5
Let it all dry well out and assemble the painted components onto the truck. Install the bonnet and the roof, push the wheels onto the axle. Insert the axle mounts and affix them.6 ![]()
Step 6
You can decorate the truck further with the golden Glitter-Glue, e.g.: the door handles and the lights.7 ![]()
Step 7
For the designing of the matchboxes, use the fiery red acrylic craft paint and the water-diluted black acrylic craft paint as well. Paint the matchboxes according to your desire. For the striped pattern, a sellotape will be of use as an aid for the gluing. By means of the Glitter-Glue set small accents in the form of stripes and dots.8 ![]()
Step 8
Let it all dry well out and fill them as you wish.9 ![]()
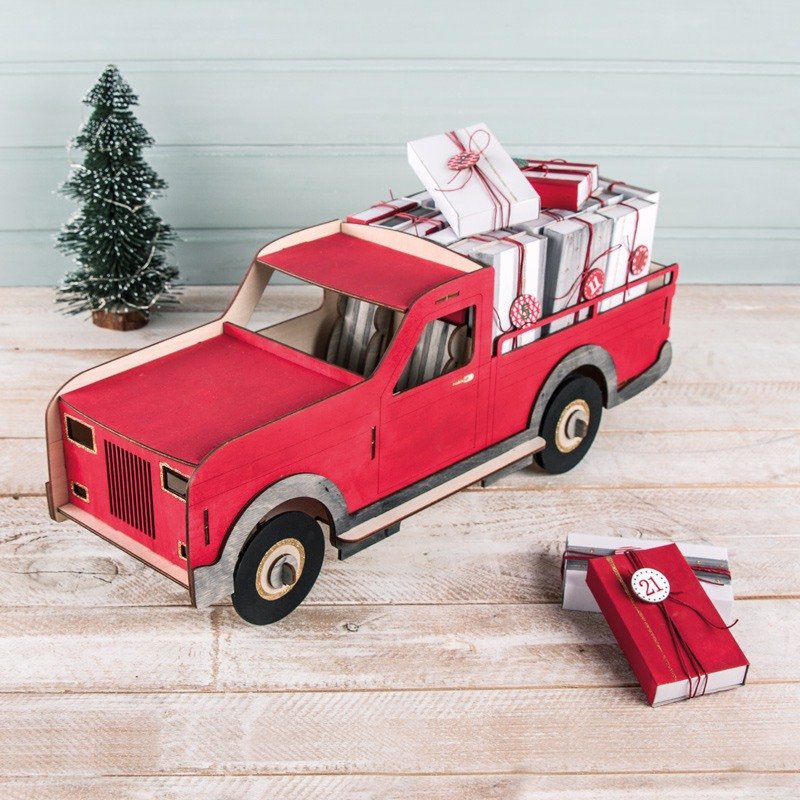
Step 9
Wrap the boxes around in an even prettier manner, twice to thrice, with a string and tie a tiny bow.10 ![]()