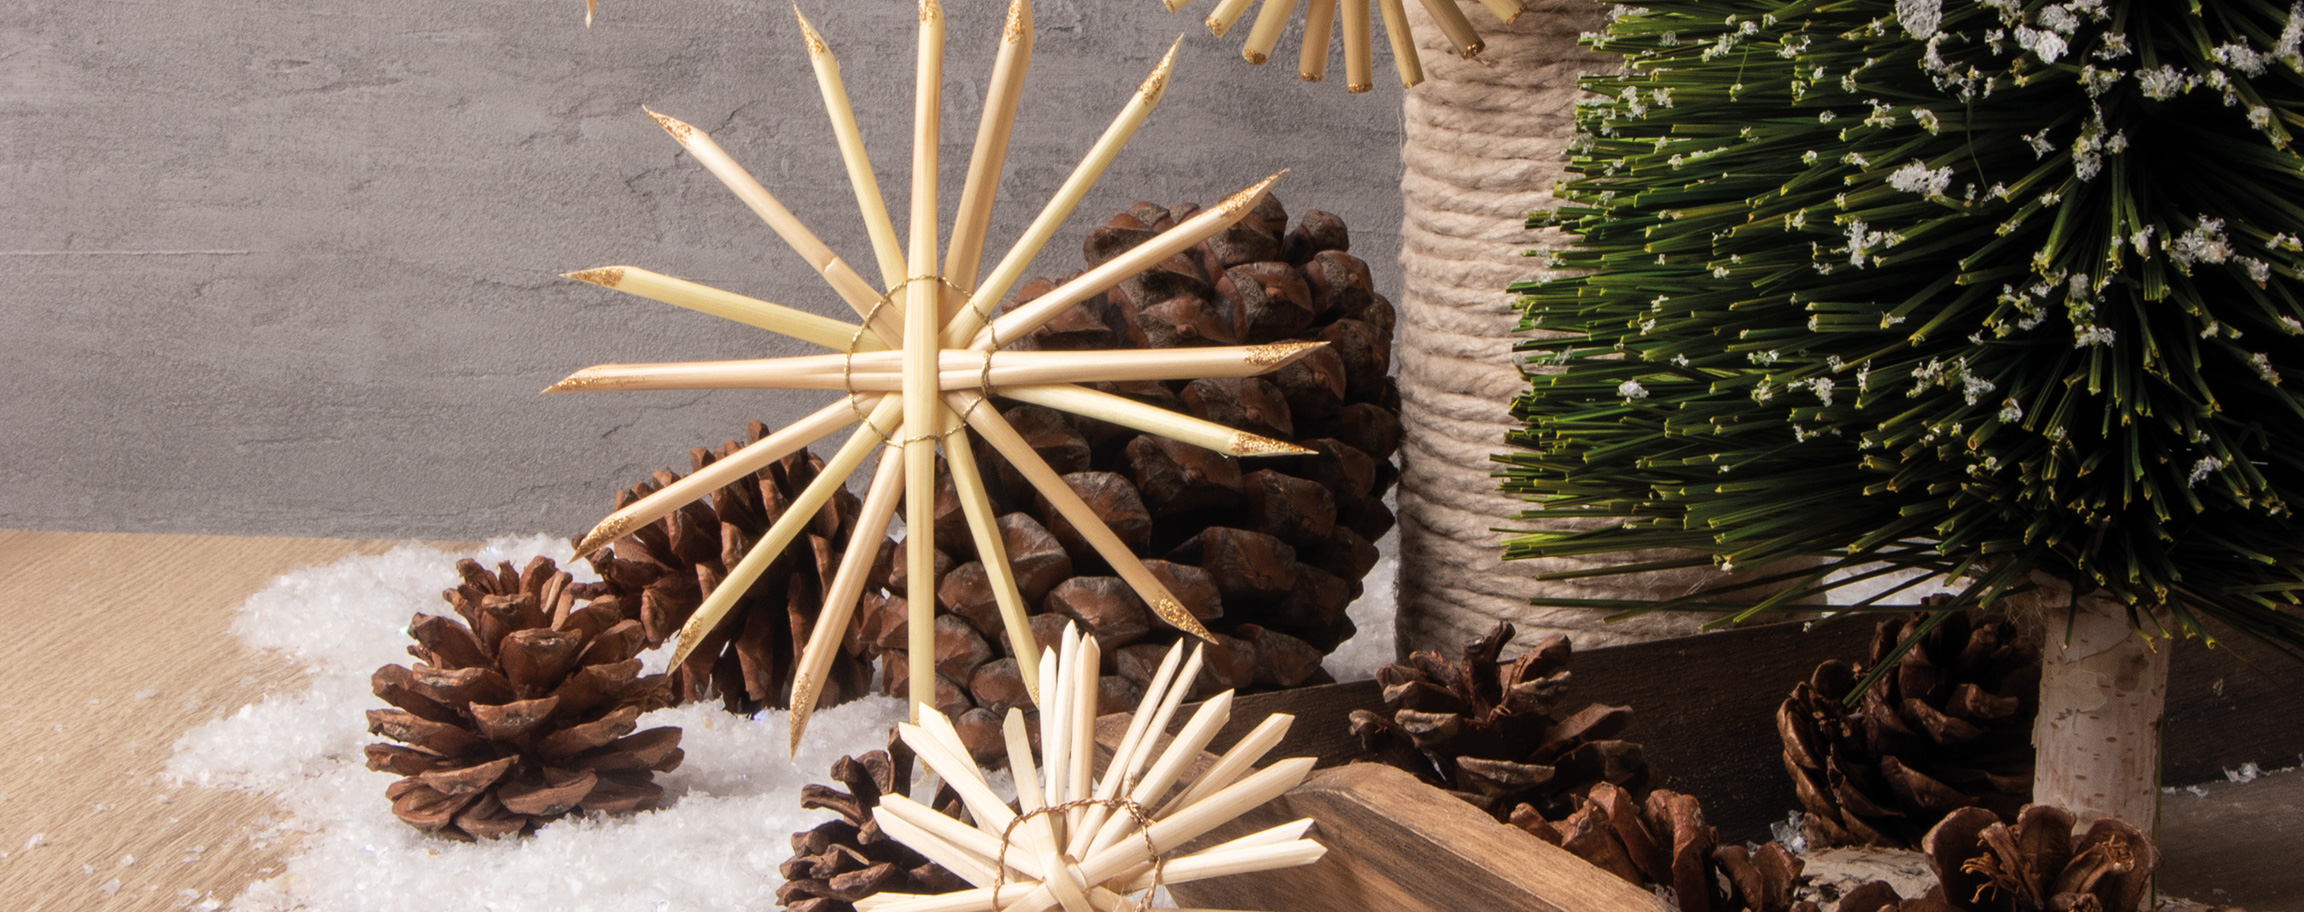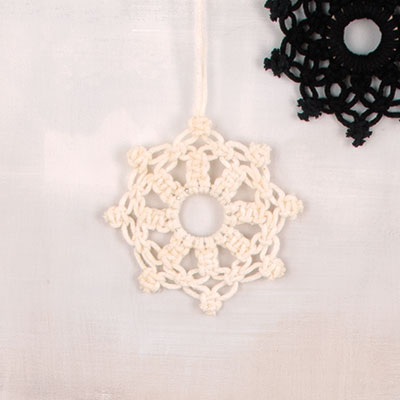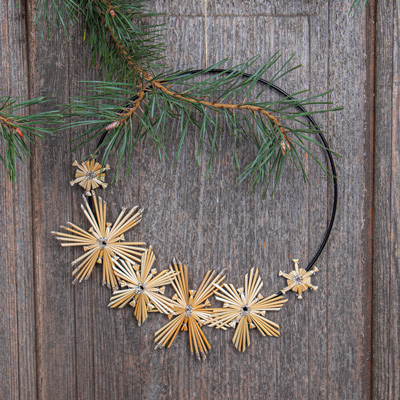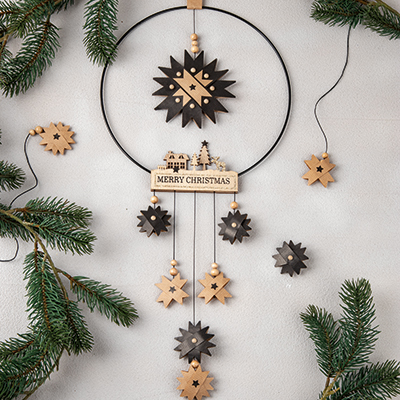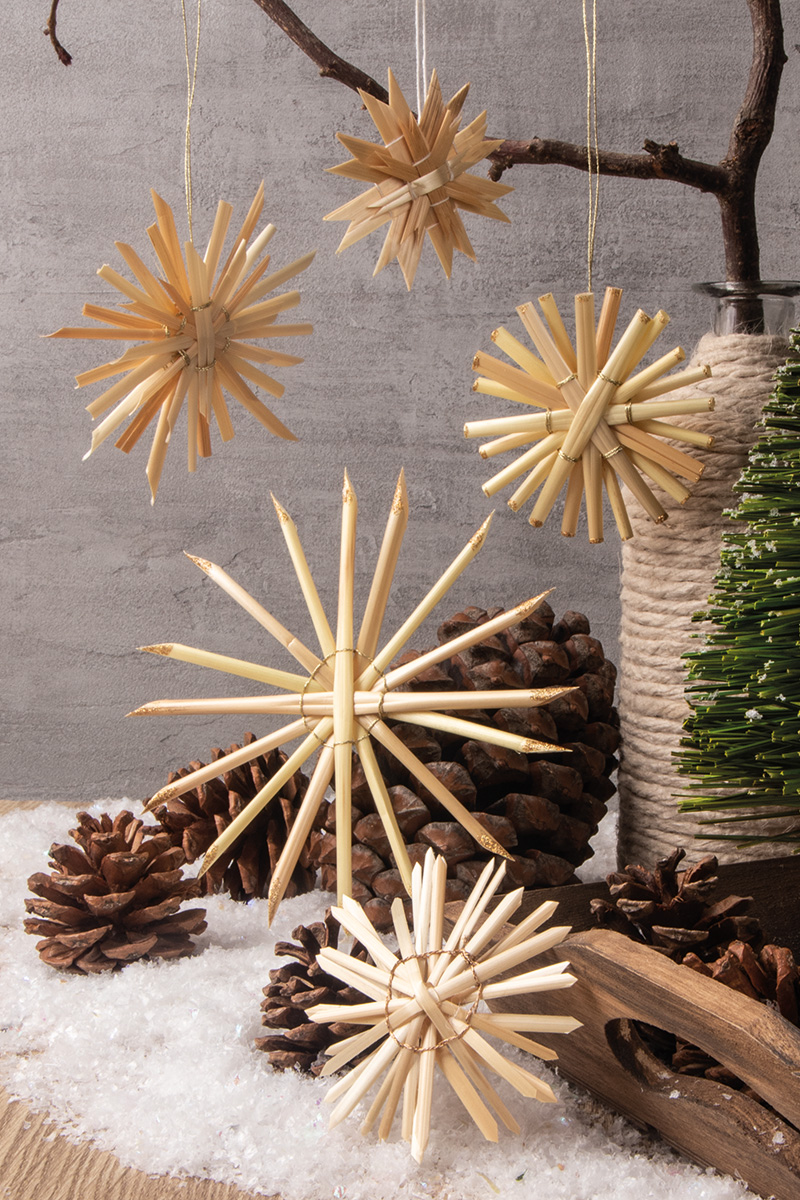
Instructions in 5 steps Thanks to this straw-splitter set, you can easily make amazing Christmas straw stars from straw stalks. You could experiment with the length and style in order to get diverse Christmas stars.
Besides the articles listed below, you also need: Scissors
And this is how it works: 1 ![]()

Step 1
To make the straw stars, you will need the green crown mould from the straw-splitter set. Lay the straw stalks sequentially in the crown gaps all the way round.2 ![]()

Step 2
Press down the straw stalks with your finger and tie them round with yarn. In order to achieve this, pass the metallic yarn consecutively over and under the straw stalks. Repeat this process all the way around, at least twice. Pull the yarn tight. Make a knot and cut off the threads hanging down, close to the knot. Your base star is ready.Tip: You can achieve different settings by varying the number of turns and the different colours supplied within the yarn set.
3 ![]()

Step 3
The base star can now be used to create a variety of settings. Change e.g. the way you cut the straw stalks or their length. You can leave the straw stalks as they are, bevel their ends, make them pointed or cut a sort of "V" at the straw stalk ends.4 ![]()

Step 4
You can set further highlights by painting the straw stalks. As for our example, we have created shiny highlights by applying the glitter glue.5 ![]()

Step 5
For suspension, cut a piece of yarn to desired length, thread it through the star and knot its ends together.Note for experienced users: In the instructions for the straw-splitter set, you get further information for creating straw stars. You could try to stack several base stars on top of each other. For extra special effect, you could do it with colourful straw stars.


