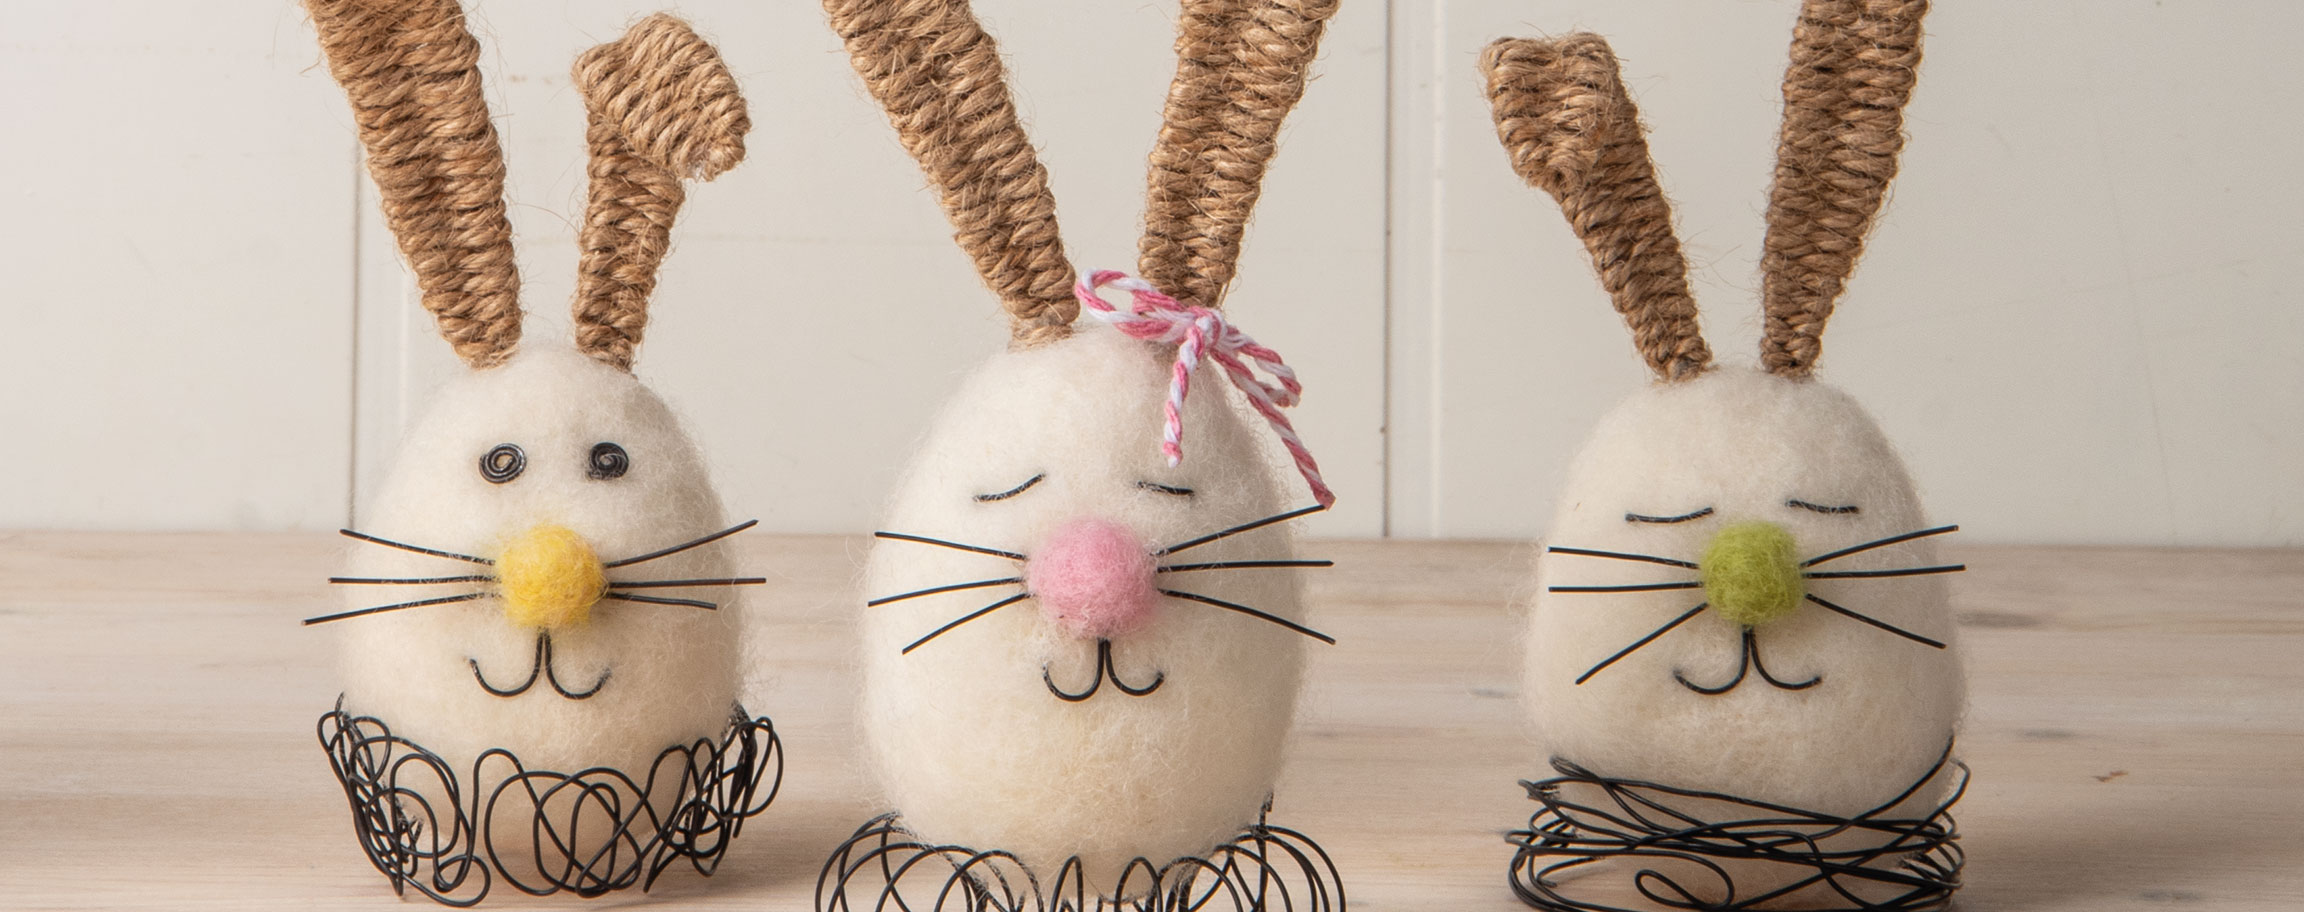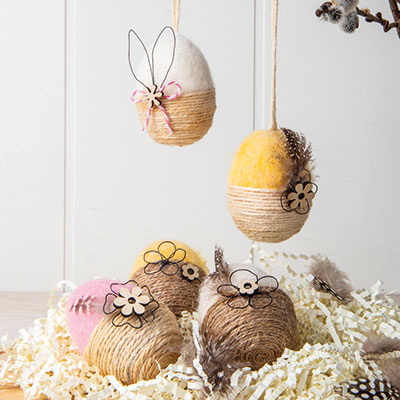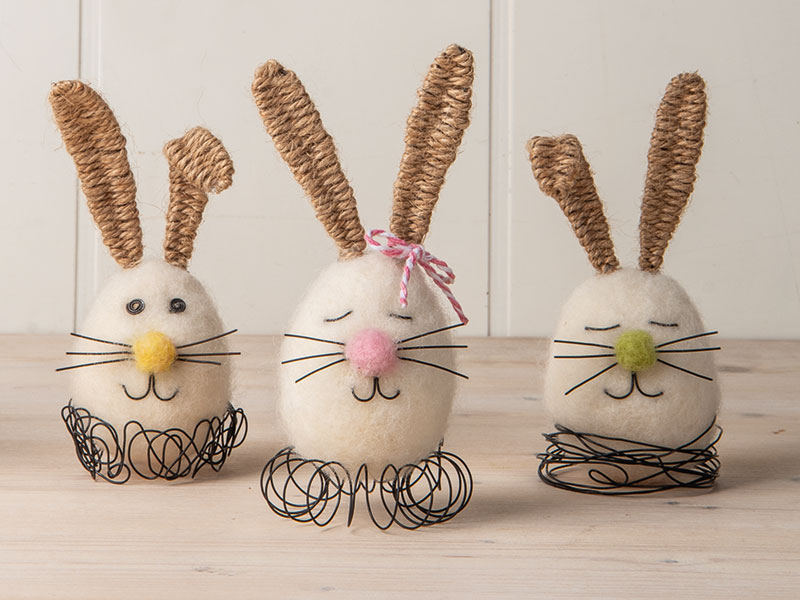
Instructions in 5 steps The pure new wool can be easily felted onto the styrofoam egg by means of the felting tool. The artwork can be further enhanced with the florist’s wire and cords.
Besides the articles listed below, you also need: Scissors, ruler
And this is how it works: 1 ![]()
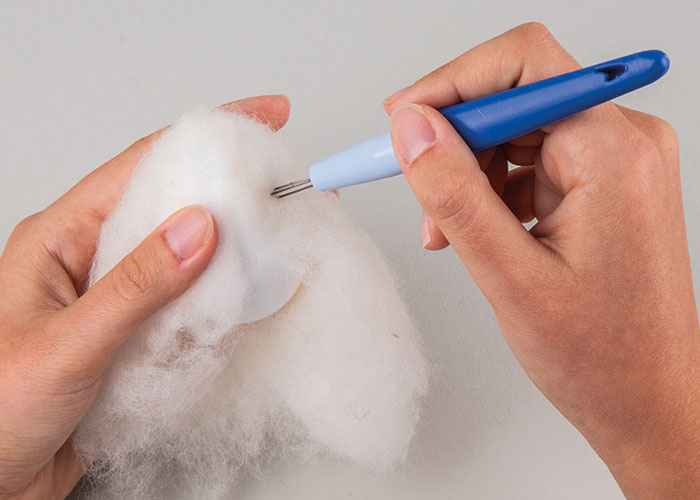
Step 1
For each bunny to be felted, cut off enough wool to cover the whole egg. Then stitch the wool using the felting tool. The more often and more densely you stitch, the more compactly your bunny is felted.2 ![]()
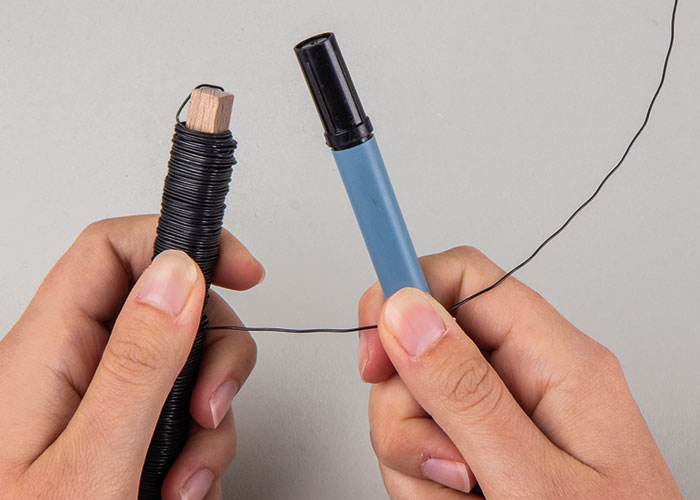
Step 2
To flatten the winding shafts with the florist’s wire, stretch it with a round stick or pencil. Then prepare the pieces of wire to make the ears, eyes, mouth and whiskers, following submission. Bend the wire pieces as shown using the flat round pliers.3 ![]()
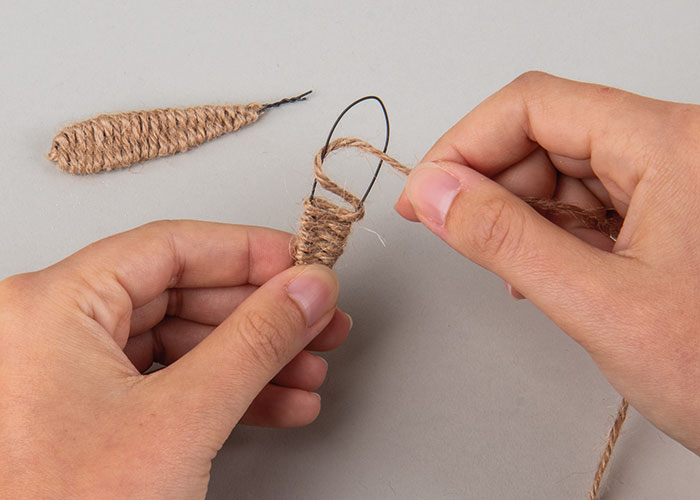
Step 3
You’ll need 0.55 m of jute cord for each bunny ear. Affix the cord to the lower part of the ear by means of the hot melt glue and wind it around the ear as shown to the right. The upper part of the ear is also affixed with a drop of hot-melt glue. Once both ears are wrapped in cord, insert the protruding pieces of wire into the styrofoam egg. A drop of glue is enough to hold them firmly in place.4 ![]()
Step 4
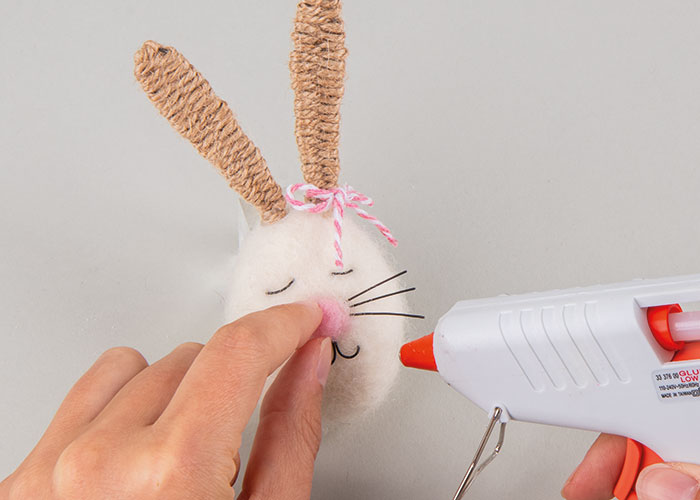
Then insert the eye-shaped and mouth-shaped wires in the felted egg. Use a small amount of felt wool for the nose and shape it into a ball. Fix the nose in the middle, below the eyes, with a few felting tool stitches. Insert 3 whiskers on both sides of the felted ball and affix the nose with a dot of hot-melt glue. In this way, the whiskers are also affixed.5 ![]()


