


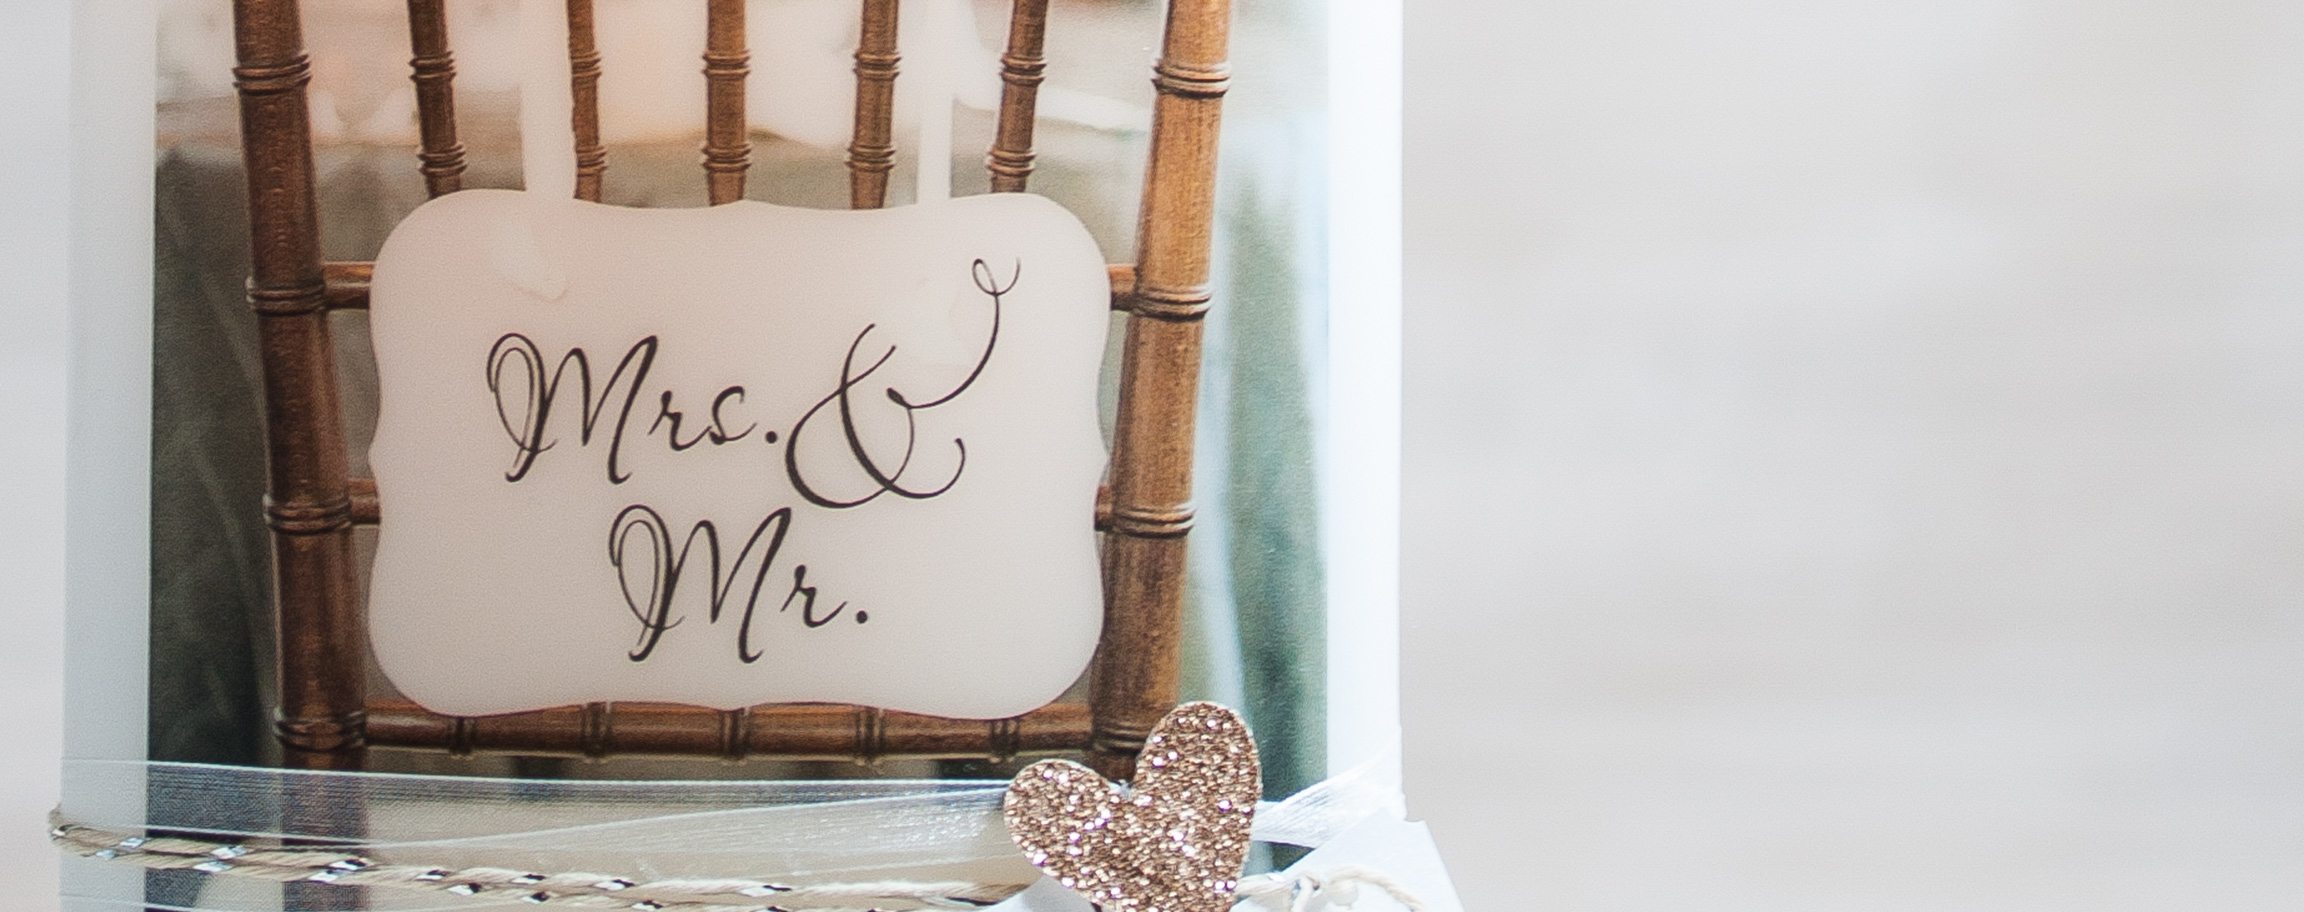
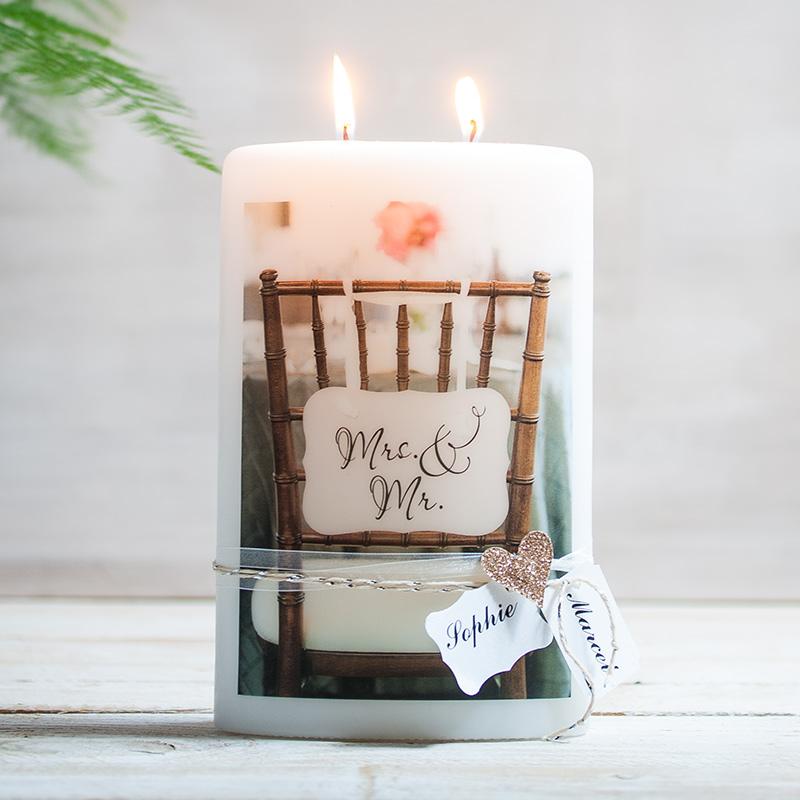


Instructions in 5 steps Use the transfer foil and your laser printer to create this individual candle. You can decorate it further with tags, an organza ribbon and cords.
Besides the articles listed below, you also need: A container with water, Laser printer
And this is how it works: 1 ![]()

Step 1
Imprint laterally correct the transfer foil onto the shiny side by means of a laser printer/laser copier (the fixing drum temperature max. 170 °C). To control the desired colour depth & sharpness of the motif, a previous printing on a white copy paper is recommended.2 ![]()
Step 2
Cut the printed motif out, lay it with the printed side down in water, turn it over and once the motif begins to dissolve, slide it onto the candle.3 ![]()
Step 3
The motif can be adjusted while still being wet, then dab dry with a cloth and let it dry for about 6 hours.4 ![]()
Step 4
After a drying out period, the candle can be lacquered with the candle lacquer 31 159 00.5 ![]()
Step 5
At the end, punch out the tags and hearts, label them and decorate the candle as well the punched parts with the organza ribbon & cord.Related craft ideas Looking for similar craft ideas? You can find them here: ![]()
![Difficulty -]()
![]()
![Difficulty -]()
![]()
![Difficulty -]()
![]()
![Difficulty -]()
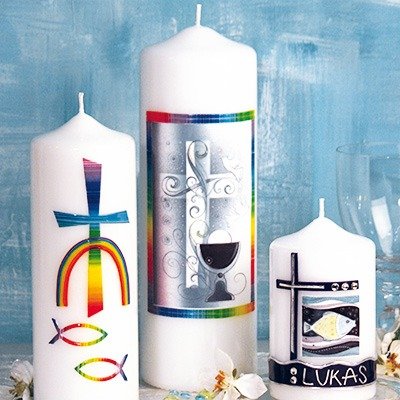
Candle with a subject for Communion & Confirmation
DIFFICULTY

Candle with transfer foil
DIFFICULTY

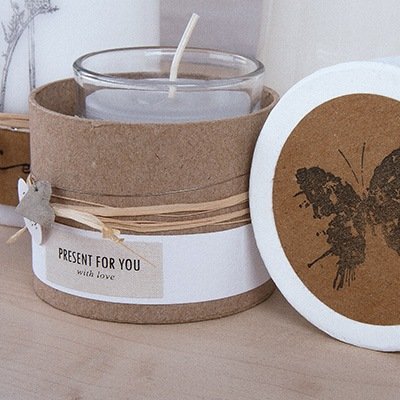
Candle glass holder in oval gift box with butterfly
DIFFICULTY

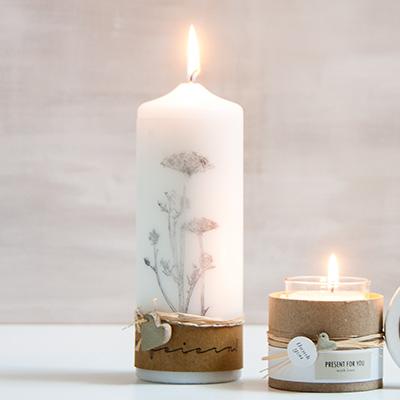
Candle „Yarrow“
DIFFICULTY