


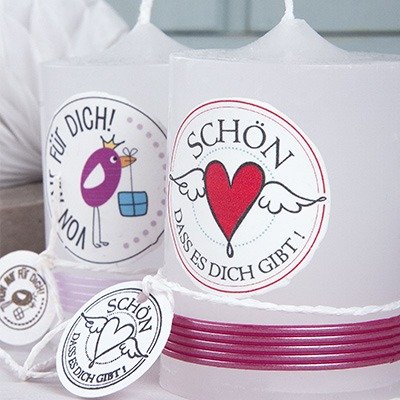
Instructions in 4 steps Your favourite motif on a candle. With the transfer foil, you can achieve it in a flash.
Besides the articles listed below, you also need: A container with water
And this is how it works: 1 ![]()

Step 1
Imprint laterally correct the transfer foil onto the shiny side by means of a laser printer/laser copier (the fixing drum temperature max.170 °C). To control the desired colour depth & sharpness of the motif, a previous printing on a white copy paper is recommended.2 ![]()
Step 2
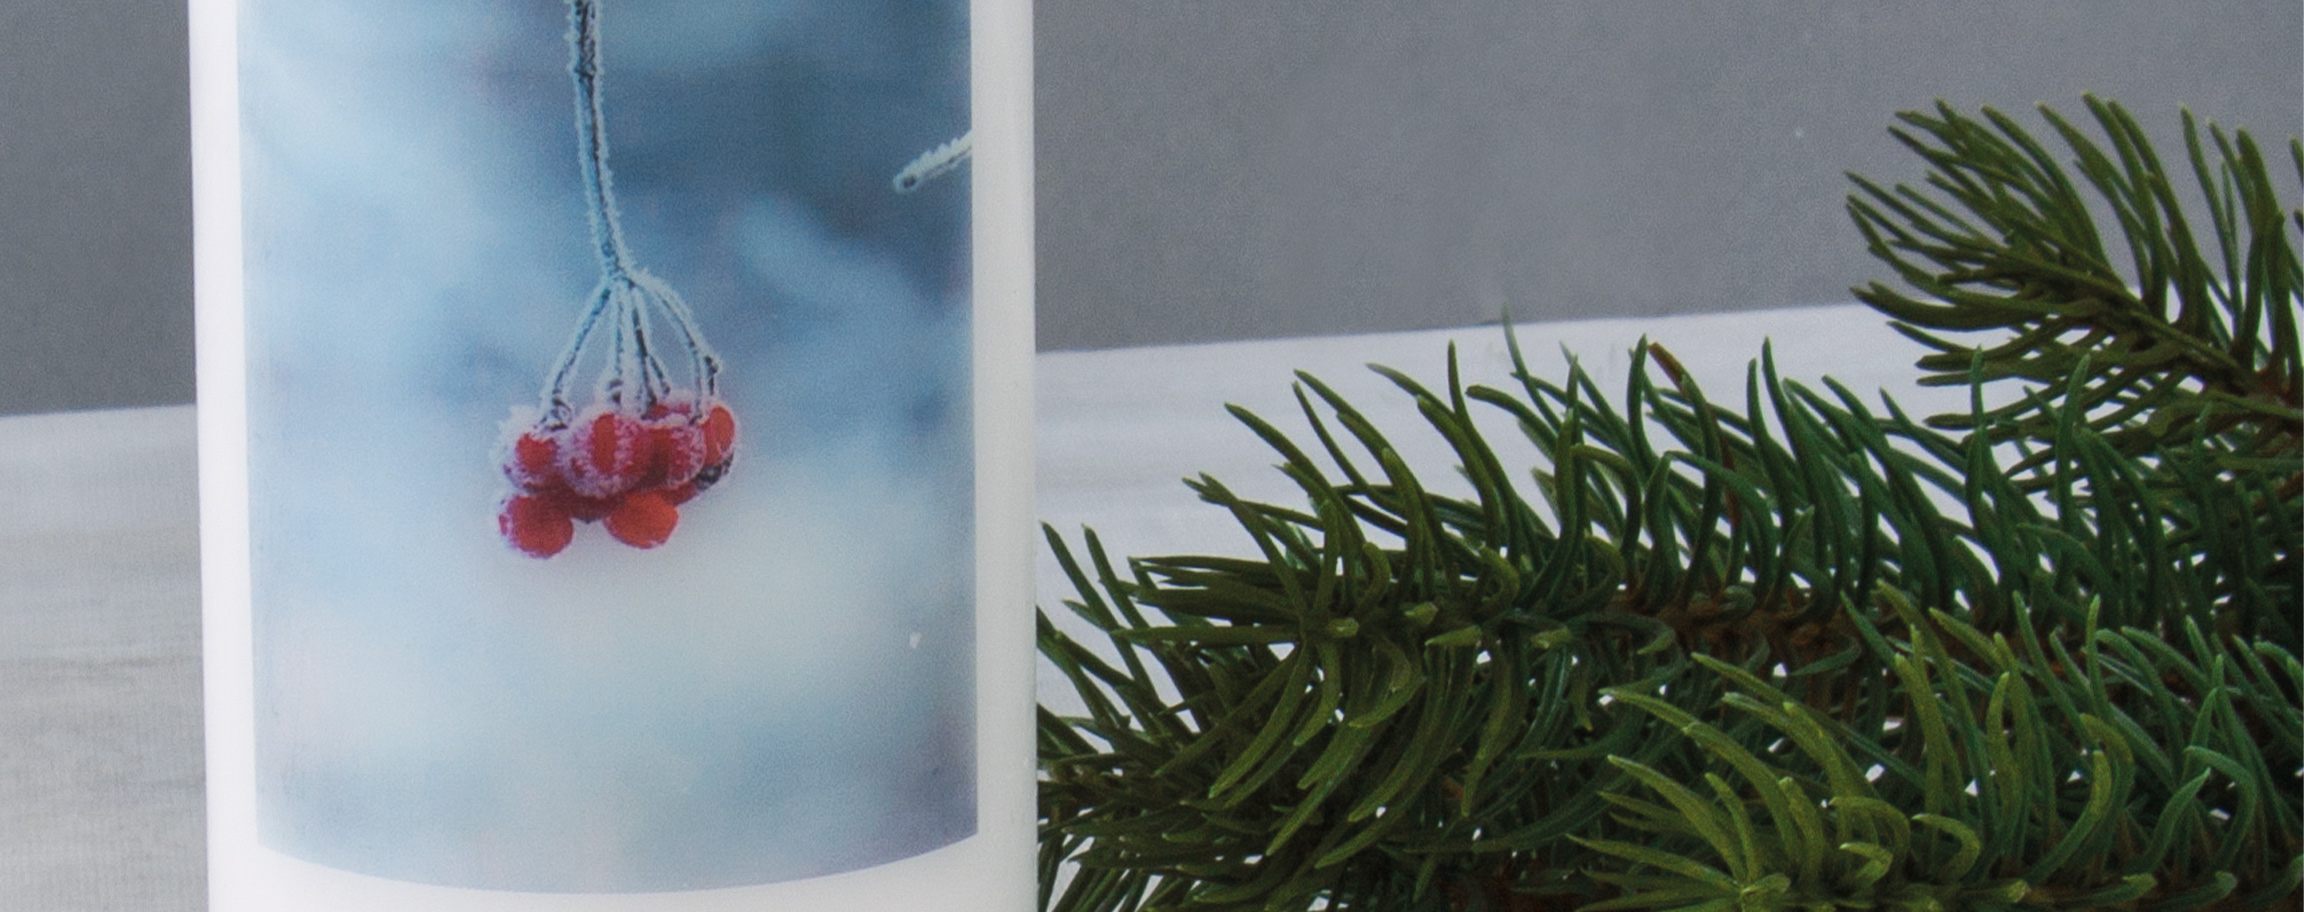
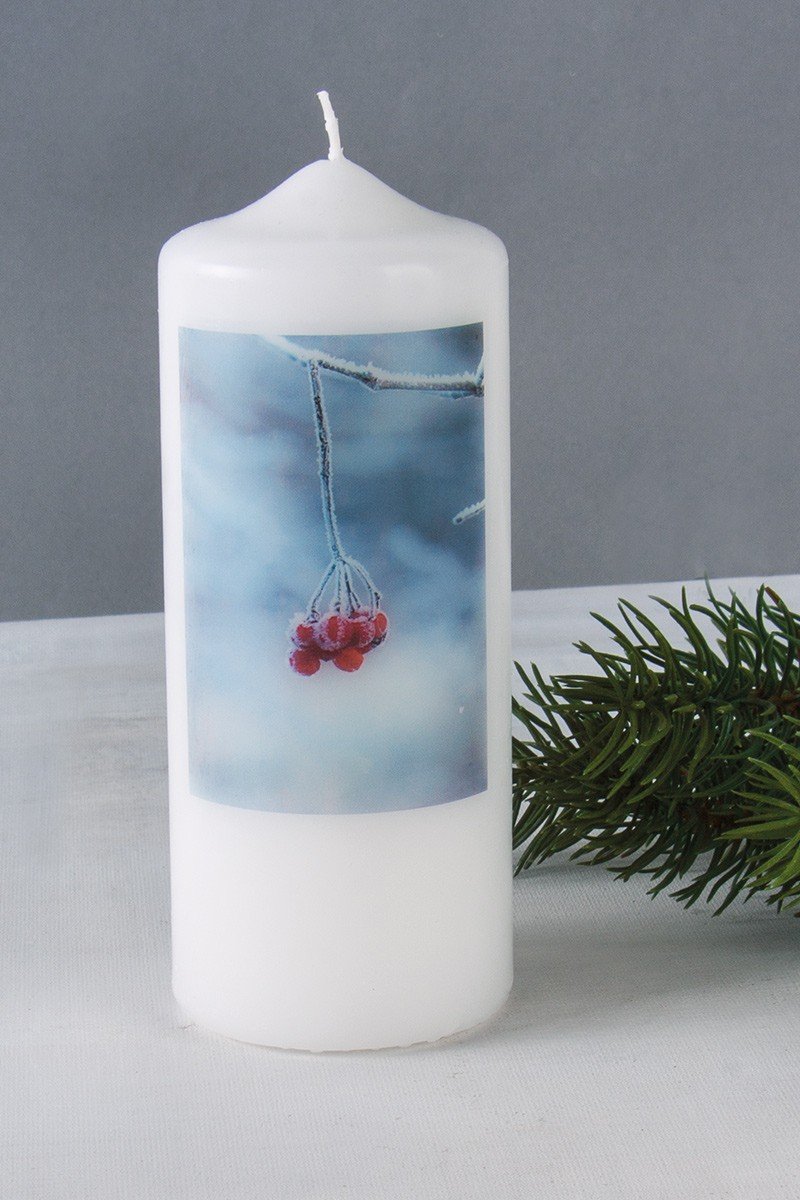
Cut the printed motif out, lay it printed face-down in water, turn it over and once the motif begins to dissolve, slide it onto the candle.3 ![]()
Step 3
The motif can be adjusted while still being wet, then dab dry with a cloth and let it dry for about 6 hours.4 ![]()
Step 4
After a drying out period, the candle can be lacquered with the candle lacquer 31 159 00.Related craft ideas Looking for similar craft ideas? You can find them here: ![]()
![Difficulty -]()
![]()
![Difficulty -]()
![]()
![Difficulty -]()
![]()
![Difficulty -]()
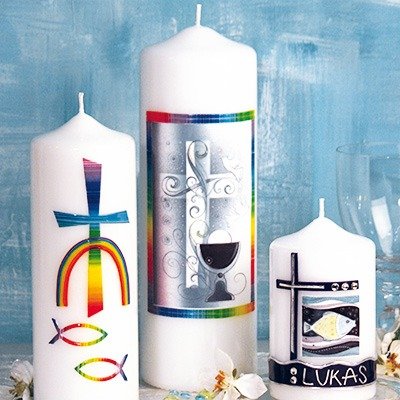
Candle with a subject for Communion & Confirmation
DIFFICULTY

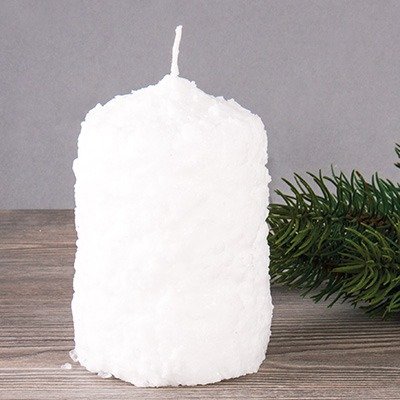
Snowy candle
DIFFICULTY


Green decorative candle with a white leaf
DIFFICULTY

Candles with wax-motifs
DIFFICULTY