


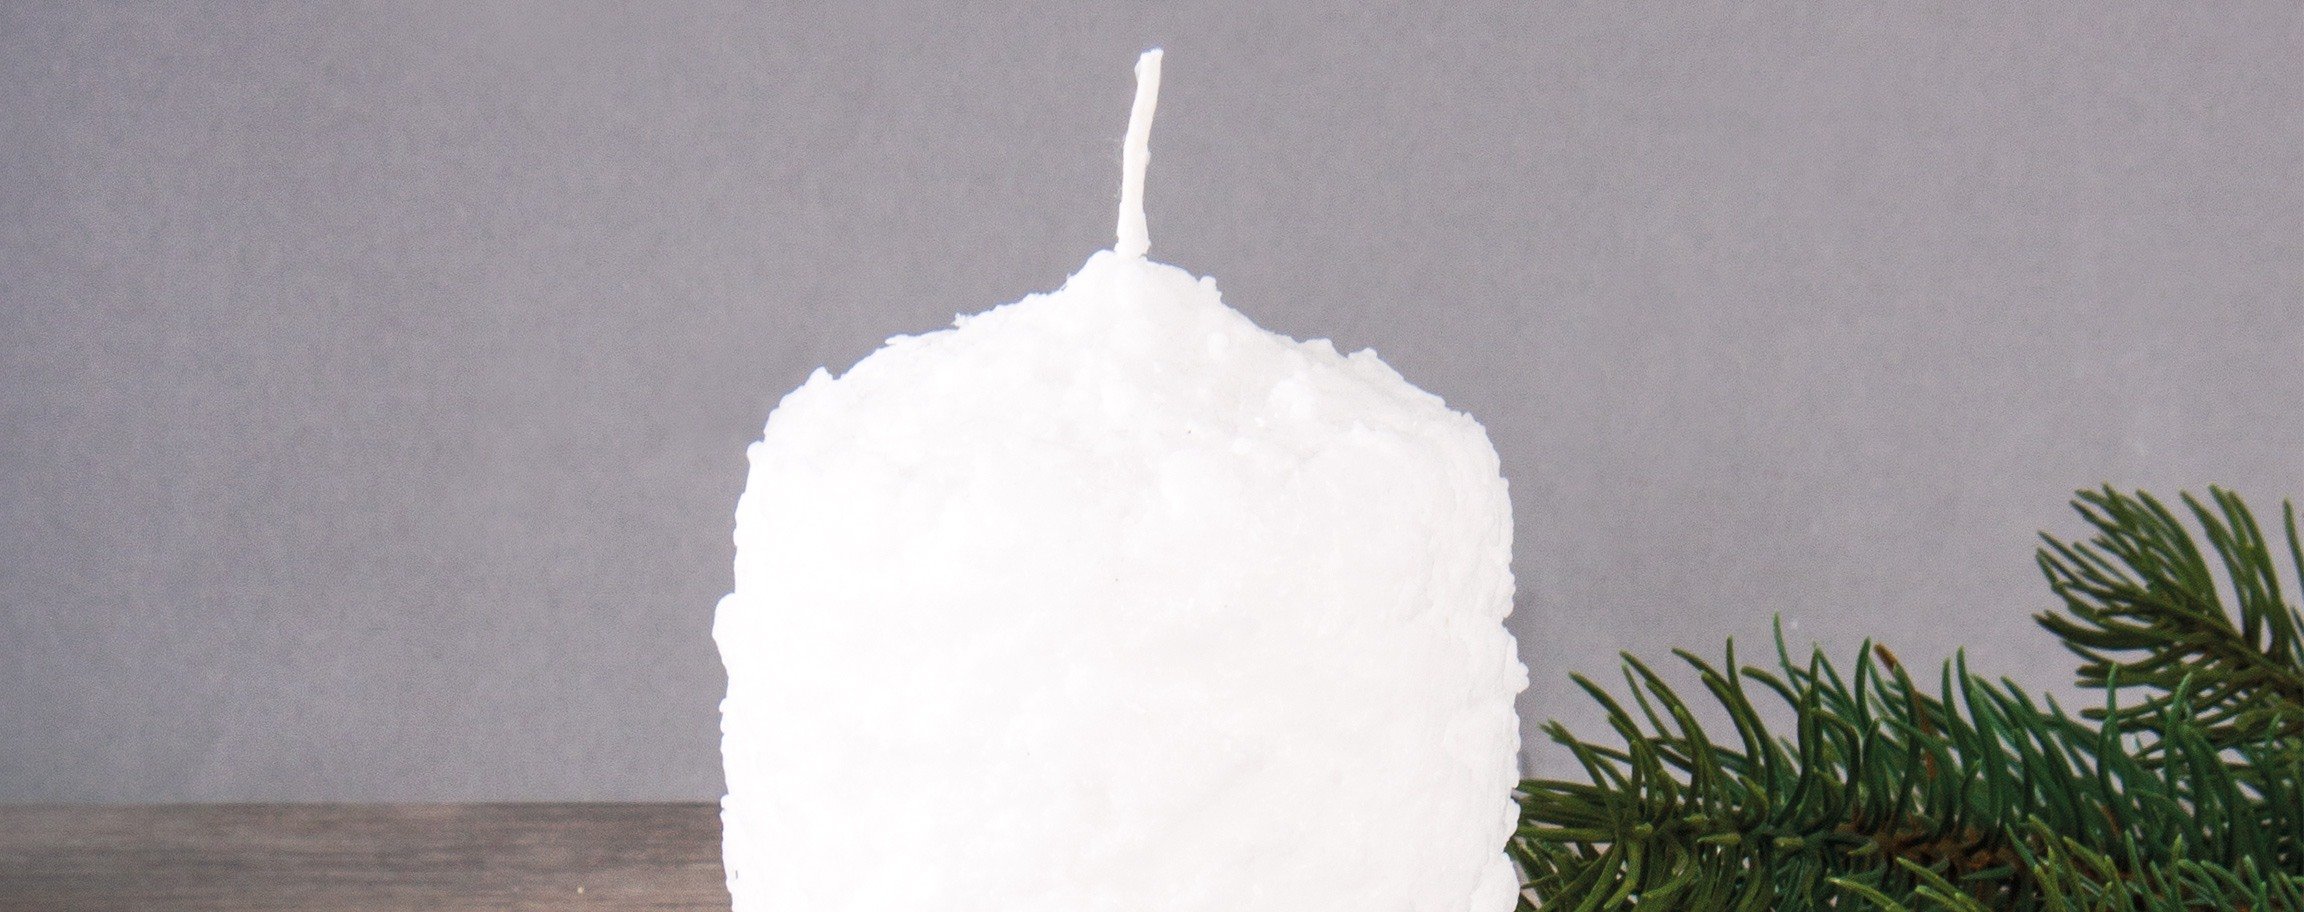


Instructions in 8 steps The snow is reached by whisking the melted wax pellets until frothy.
Besides the articles listed below, you also need: Egg whisk, Spoon, A vessel intended for pouring of a warm wax at 70°C
And this is how it works: 1 ![]()

Step 1
Put the wax pellets in a wax melting pot and melt them in a water-bath at 60-70°C.2 ![]()
Step 2
Pour a small amount of the melted wax in a vessel and stir it with the egg whisk until a white wax-foam forms, then press it with a spatula against the candle.3 ![]()
Step 3
Start at the upper rim of the candle. The candle tips and the lower rim are going to be decorated at the end.4 ![]()
Step 4
Spread quickly the wax-foam whilst an irregular structure is going to appear which you can tap with a spatula. Let the wax cool down slowly in the vessel, pour some hot wax over it, mix it with the spatula and work it out quickly.5 ![]()
Step 5
Take the cooled wax with a spoon from the vessel out and melt it down again.6 ![]()
Step 6
Lay the egg whisk in between for cleansing in the wax melting pot. Repeat it until the side of the candle is decorated, then decorate the tips.7 ![]()
Step 7
At the end, fill the lower rim and let it cool down.Tip: If you want to add some sequins, then you should use aluminium or glass sequins since the candle is going to burn.
8 ![]()
Step 8
Clean the vessel carefully with a hot air blower 89 199 00 or with a hair dryer and put the rests of the melted wax back into the wax melting pot for moulding.Related craft ideas Looking for similar craft ideas? You can find them here: ![]()
![Difficulty -]()
![]()
![Difficulty -]()
![]()
![Difficulty -]()
![]()
![Difficulty -]()
Candle with transfer foil
DIFFICULTY


Green decorative candle with a white leaf
DIFFICULTY

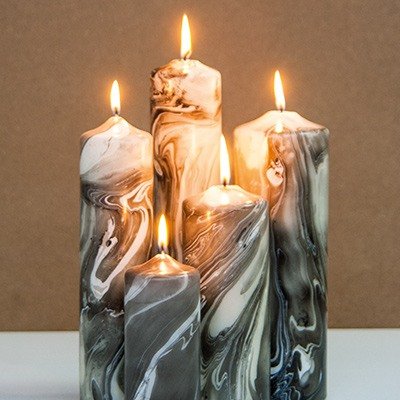
Marbled candles
DIFFICULTY

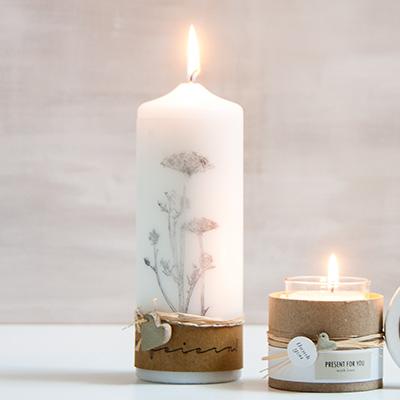
Candle „Yarrow“
DIFFICULTY